Disclaimer: This post contains a very old attempt at shoemaking, during the very beginning of my journey. I really didn’t know what I was doing at this time, and the post is left online for archive purposes only. Please do not “learn” anything from it, as the post is certainly riddled with mistakes. It’s just a documentation on some of my thoughts as a beginner in this venture. For a more updated view of my shoemaking, please see my latest posts instead.
I’ve been thinking about making a Stockholm shoe, but have been unable to decide on how to design it. (Just making a black cap toe oxford and calling it ‘Stockholm’ seemed a bit of a cop out.) Then it dawned on me; of course it should be a burgundy wholecut, in solemnizing remembrance of the Stockholm Bloodbath of 1520.

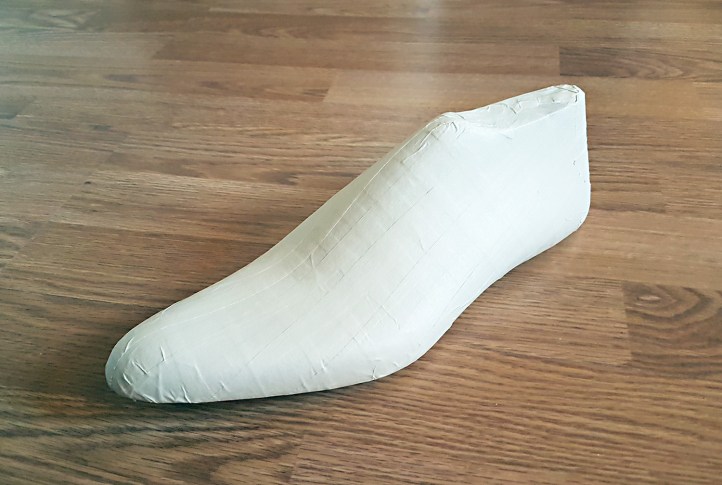
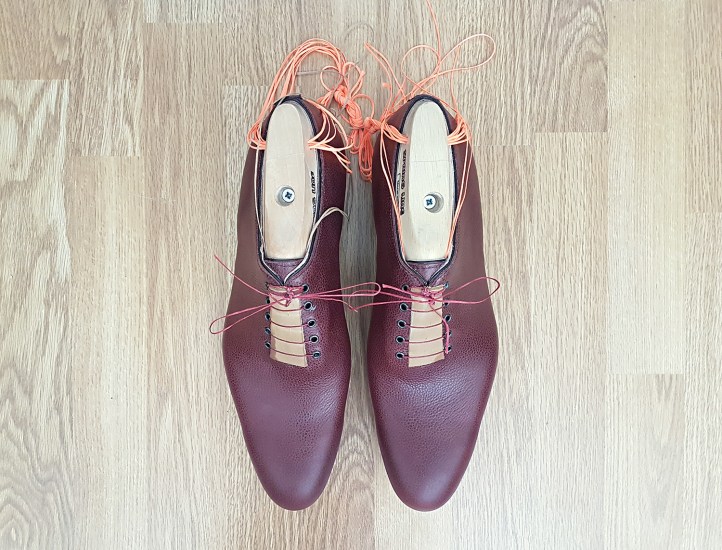
I still needed a pattern, and taped up a Springline last to make the design. To new beginnings:
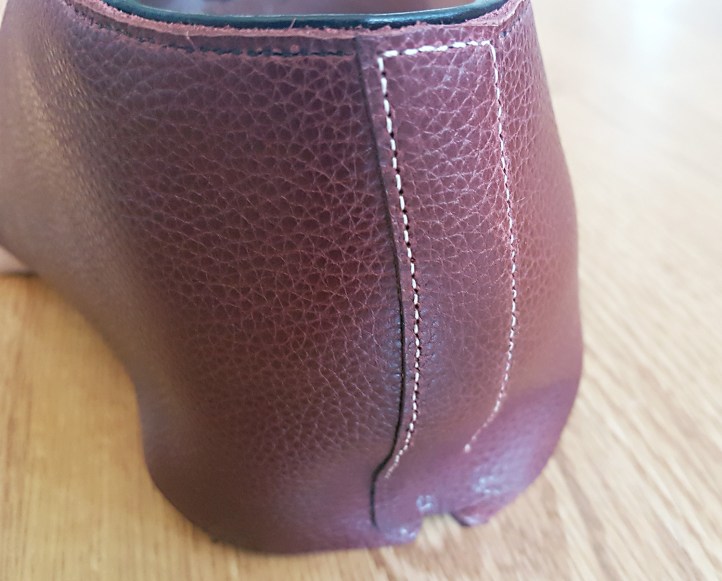
The design was basically adding a 20 mm wide, straight backstrap. The upper leather is 3-4 oz Madras printed calf, and the top beads are made with 1 oz baby calf folded over with cement. The lining is 2 oz veg tanned baby calf. I went with white thread for the backstrap, which will be well concealed by burgundy shoe polish.
To attach the lining to an oxford, this is basically what I do. I crudely last just the lining alone with a bit of water and let it dry. (The lining in this case is made up out of two baby calf leather pieces, glued and sewn together to cover the last in excess of what the uppers will cover.)
Then I pull down the uppers onto the lining and crudely last the ball of the uppers. I put in a nail at the toe for good measure. When I’ve found a good and snug alignment, with the ball nails in place, I pull up the back of the uppers like depicted below. (To not get any unwanted space at the heel, this should barely work.) When in the depicted position, I add a small amount of rubber cement to the inside of the uppers (or in this case, the sanded inside of the top beads), let the cement cure for a couple of minutes, and then swiftly pull the uppers down into position using a lasting pliers. Once in position, I press the upper leather to sit in the right position against the lining, and make sure there are no gaps.

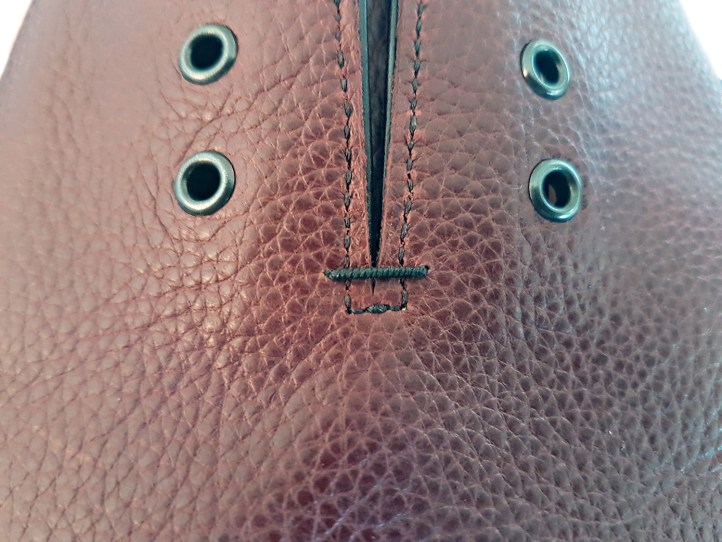
I put in some gun metal 3,6 mm YKK eyelets and sewed a braided reinforcement stitch, which I recently made a separate post showing how I did.
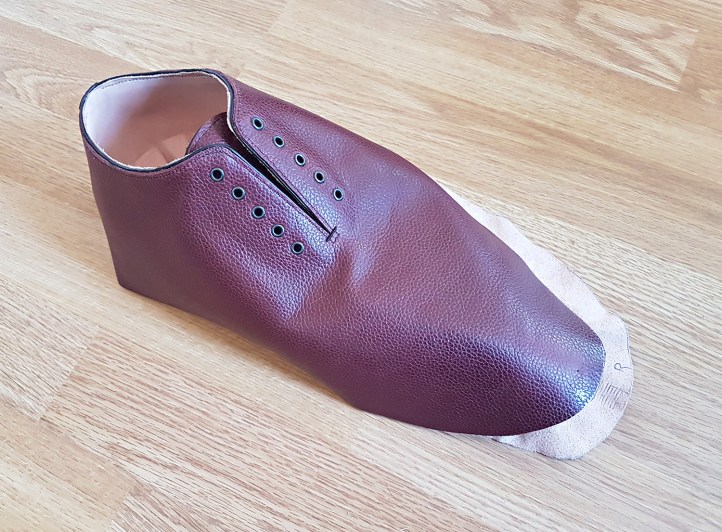
Ready for lasting:
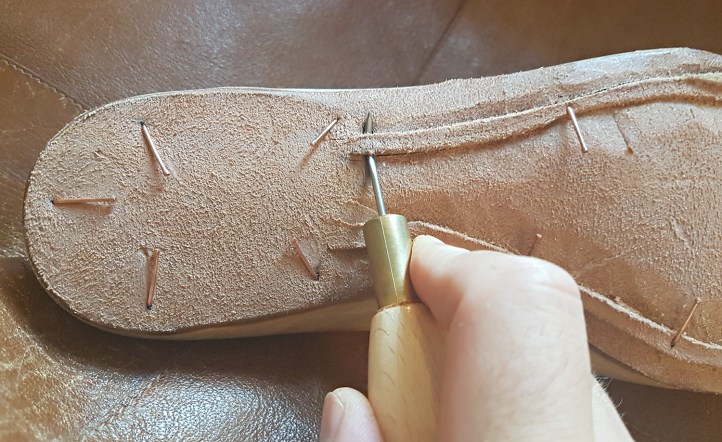
I used a new (vintage) tool to create the holdfast of the insoles.
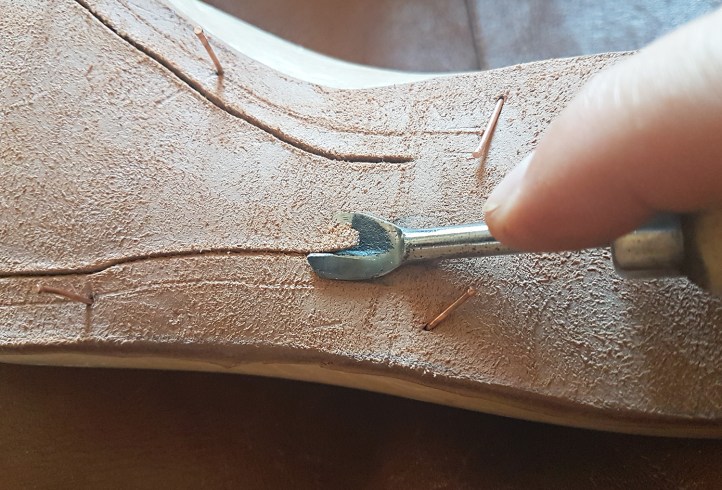
Then I used a welting awl to make the holes through the holdfast in advance.
Because I’m using such a hard leather for insoles (12-13 oz calf butt, sold as outsole leather), I make the holdfasts slimmer than what I usually see people doing. Even with the leather well moist, awl sharp and lubricated in bee’s wax, it takes a bit of force to penetrate. (I want to try a normal tempered veg tanned leather for insoles, but ordering more leather will have to wait.)
With this shoe, it was time to try a (to me) new method of putting in the heel stiffeners. I did something similiar to this on the one derby shoe I’ve made, and wanted to try it on an oxford. I cut out, skived and burned some 5 oz latigo tanned shoulder, and moistened the pieces in warm water. Then I pasted one up on the grain side with Hirschkleber craft paste. It was cut out so that it would match the feather edge of the shoe, and not go in under the lasts.

I slid the stiffener in between uppers and lining, with the pasted side facing the nap of the uppers, and aligned it as symmetrical as I could.
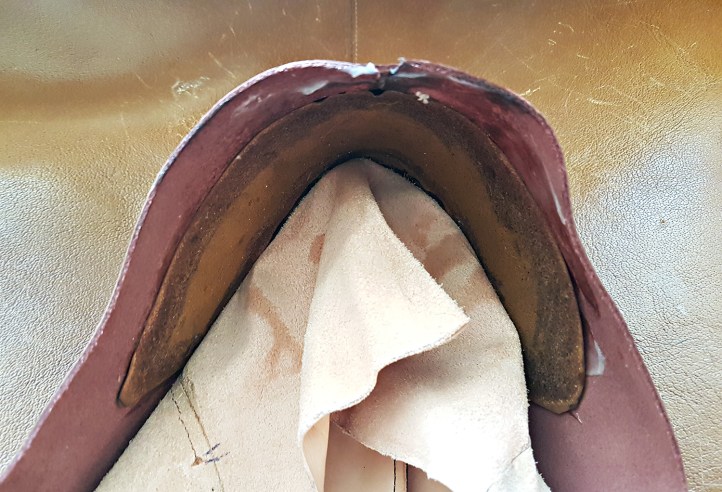
Then I pasted the heel stiffener with more Hirschkleber on the nap side of the stiffener while it was in position. I crudely lasted the ball and toe (just to align the uppers on the last), and went on to last only the lining of the heels, without pulling up the uppers at the heel during the process.

Once that was done, I removed the nails at the ball and toe and lasted the rest of the lining properly, leaving the heel in the state depicted above for the time being. When I was done lasting the rest of the lining, the heel had started to dry somewhat but far from entirely. (Thankfully, because as shown it was left in an awful state.)
At that point, I removed the nails at the heel carefully, trying to retain the shape the lasted heel lining was in, and lasted the uppers onto the heel. I don’t know if this is standard procedure (it most probably isn’t), but I think it worked out well.
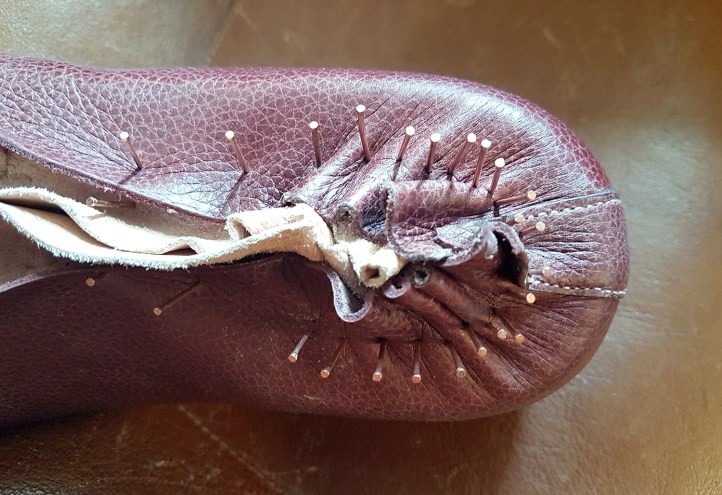
Once the lasted lining at the toe had dried completely, I removed the nails at the toe and lasted a piece of 4 oz veg tanned calf with Hirschkleber pasted on the lining underneath.
I’ve previously used 5 oz leather for stiffeners at heel and toe. Now I wanted to see if I could use something slightly thinner, to try and minimize the difference the thickness of the toe puff does to the last shape. I guess I won’t know whether this worked well or not until the shoes are unlasted and I can feel if the toes are hard enough.

Once dry, I trimmed the toe stiffeners in preparation for the final lasting.

Then I pasted the toe puffs with more Hirschkleber on top, lasted the toes and rest of the shoe.
The orange thread (put in for unlasting purposes) is disrupting the image a bit. Nevertheless, Stockholm is taking shape.
Continue reading Part 2 »

Hej, i recently started to get interested in all kinds of leatherworking. I saw your post and I find it really interesting, are you professional? Thanks
LikeLike
Hey manolson, I’m glad you like the post! Even though this is ages old, and veeery much has happened since in my development. (I’d rather recommend reading the blog beginning from the most recent post, where my shoes are far more well made and elegant…)
I haven’t sold any shoes thus far, so I’m just a layman hobbyist.
LikeLike