Disclaimer: This post contains a very old attempt at shoemaking, during the very beginning of my journey. I really didn’t know what I was doing at this time, and the post is left online for archive purposes only. Please do not “learn” anything from it, as the post is certainly riddled with mistakes. It’s just a documentation on some of my thoughts as a beginner in this venture. For a more updated view of my shoemaking, please see my latest posts instead.
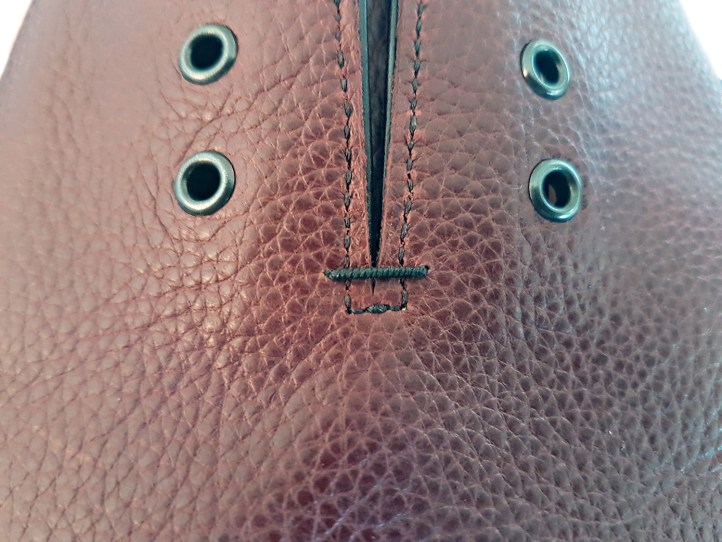
This is a brief description of how I’ve done a reinforcement stitch on shoes. Disclaimer: I may or may not know what I’m doing. Here’s how it can look on a shoe:
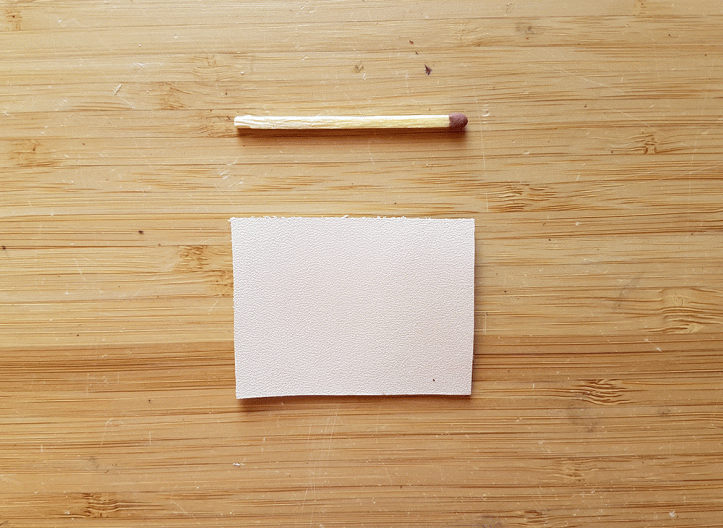
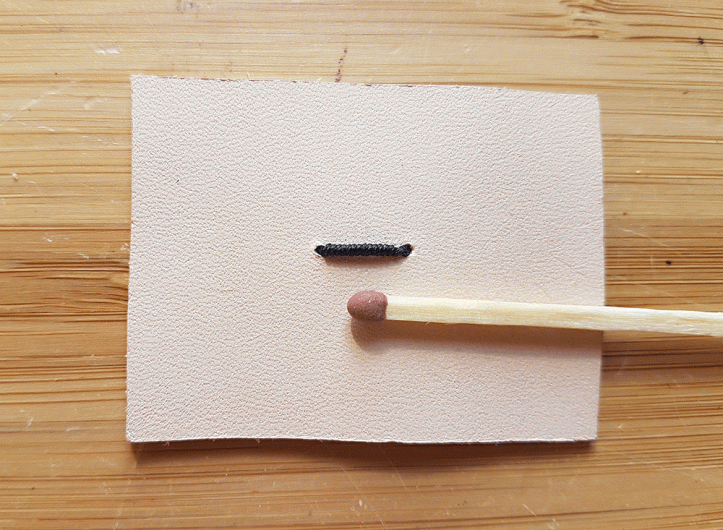
For display purposes, I used a piece of 4 oz scrap leather. The match is not only there for size reference!
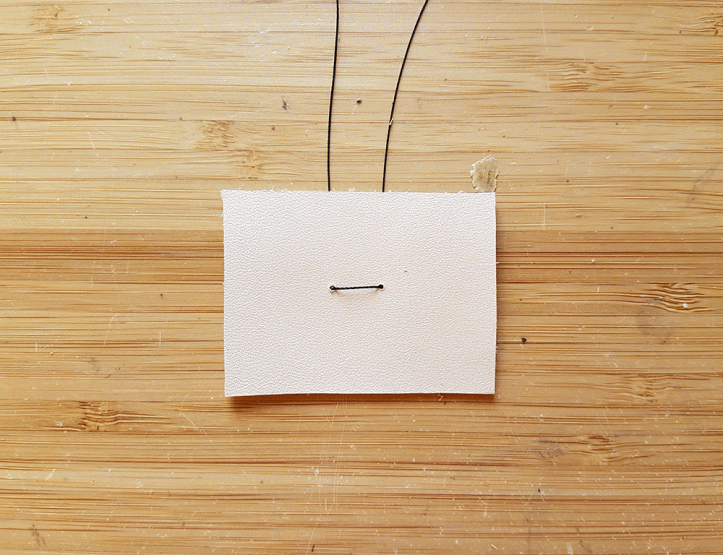
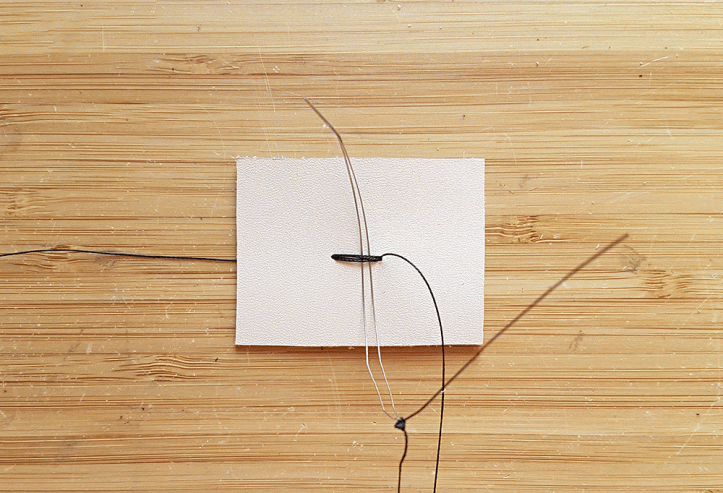
Make two holes in the leather, and guide a thread through from the nap side and back as shown below. I use a bristle for this, because having the thread on a bristle will be handy later on. (A thin, slightly curved needle would also work, but it would become difficult with a straight needle.) The thread I used is 40’s bonded nylon thread.
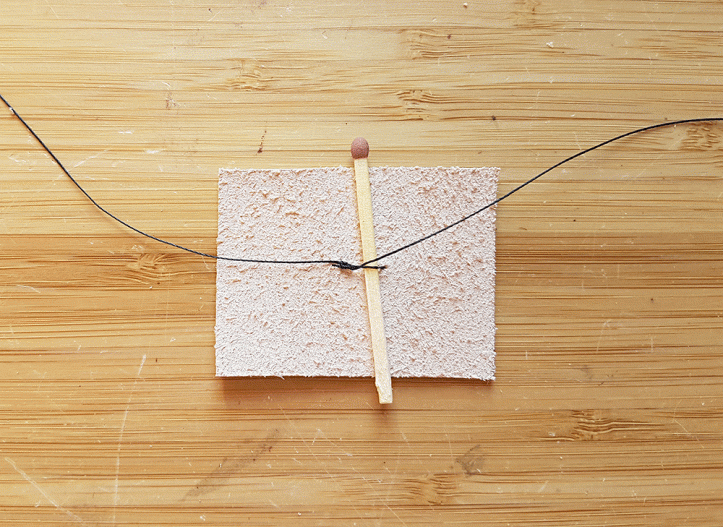
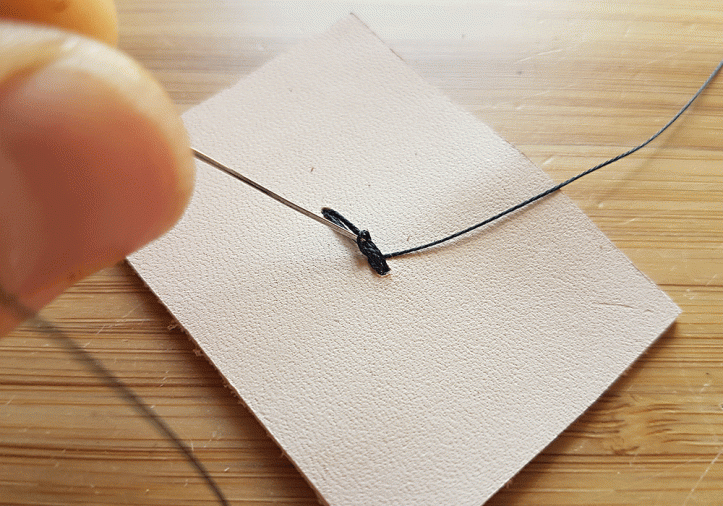
Because a little space in the loop is needed, put a match on the nap side of the leather and knot the thread with the match inside.
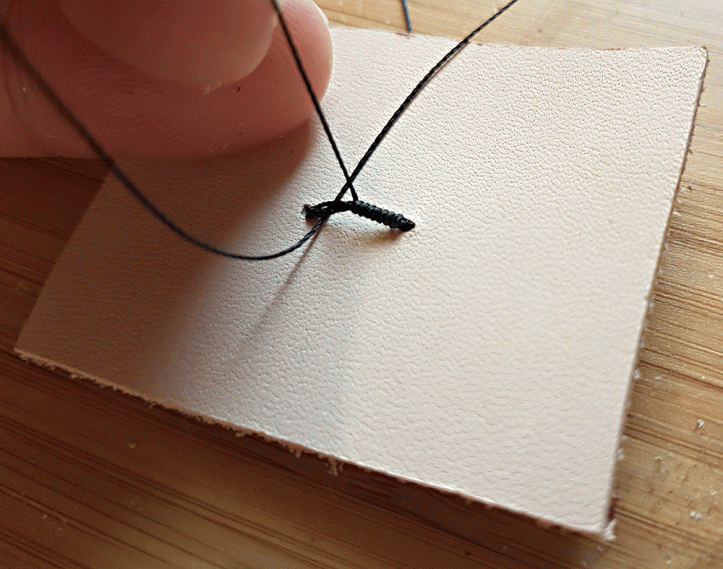
With the match still in place, draw the thread a couple of times through the two holes (and over the match on the nap side). I settled for four threads running on the grain side, and then went back with the bristle from nap to grain.

Guide the bristle under the bundle of strings on the grain side, creating a loop.
To make sure that the loop created sits nice and snug against the edge, I use the bristle tip to carefully put the small loop in the position where I want it. (In the picture below, I’m still tinkering with it and will move it close towards the edge on the right.)
As more loops are created, it will be important to really place them next to eachother without any overlap, or it will look ugly. Also, you don’t want any excess space between the loops, so try and really stack them snugly against eachother.
Below I am a couple of loops in. When going under the strings with the bristle to create a new loop, I hold the thread with my other hand as not to allow the made loops to come undone. I guide the thread under the strings on the other side of where the loops are. (If the thread would be guided on the same side as the loops and the thread tightened, overlap would ensue. Getting it on the right side from the start makes it easier to calibrate the loop.) Keep making loops and adjusting them with the tip of the bristle to avoid overlap.
Done! I knotted the thread on the other side, did a couple of sloppy loops around the thread on the back for good measure, and knotted it again. Hopefully, this thing is strong enough to pull an 18-wheeler (or at least a soapbox car). It will sit well, but the excess space created by knotting the thread around a match will enable it to flex a little bit.

Looks great. I can’t see that the loops add strength, though. Seems to me that what gives strength is the number of passes left to right. They certainly look nicer than just the plain stitch.
LikeLike