Disclaimer: This post contains a very old attempt at shoemaking, during the very beginning of my journey. I really didn’t know what I was doing at this time, and the post is left online for archive purposes only. Please do not “learn” anything from it, as the post is certainly riddled with mistakes. It’s just a documentation on some of my thoughts as a beginner in this venture. For a more updated view of my shoemaking, please see my latest posts instead.
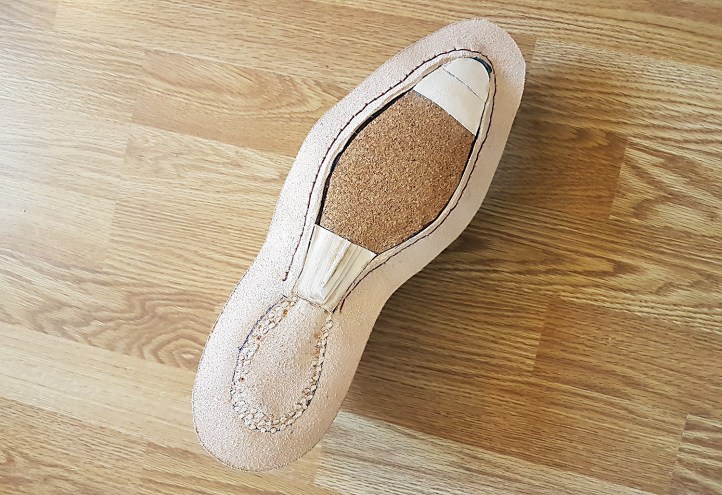
I made the rand/welt combo piece using 5 oz vegetable tanned shoulder. It was pegged on, the shoes were welted, and I filled the footbed with three layers of 2 mm sheet cork. The waist was reinforced with a couple of layers of 4 oz veg tanned calf, as encouragement for the coming fiddleback. The toe was reinforced with two skived layers of the same leather, to even out the extra space at the toe.
I cut out some outsole pieces from 5 mm veg tanned calf butt. I opted for this leather and not Rendenbach soles, because I will later add some Vibram stick on rubber soles. (I figured that a shoe commemorating the Stockholm bloodbath could not have plain leather soles – unprotected Rendenbach’s just wouldn’t fare well over blood-drenched cobblestone. A bit macabre perhaps, but so, I am told, was the bloodbath.)
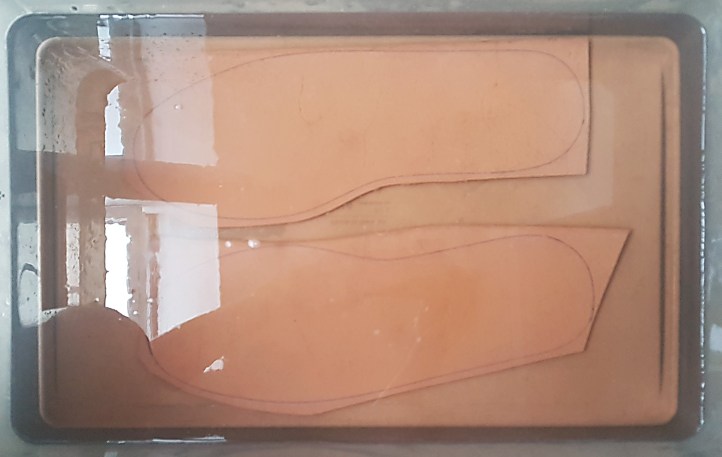
I let the outsoles soak in warm water for about 3,5 hours, and then dry wrapped in a towel for about 1,5 hours. After that, I cemented them onto the shoes. I attempted to try a new square awl I had obtained to make the outsole stitching holes, and strike while the outsoles were wet. However, attempting my first hole, I over-wiggled and broke the awl.
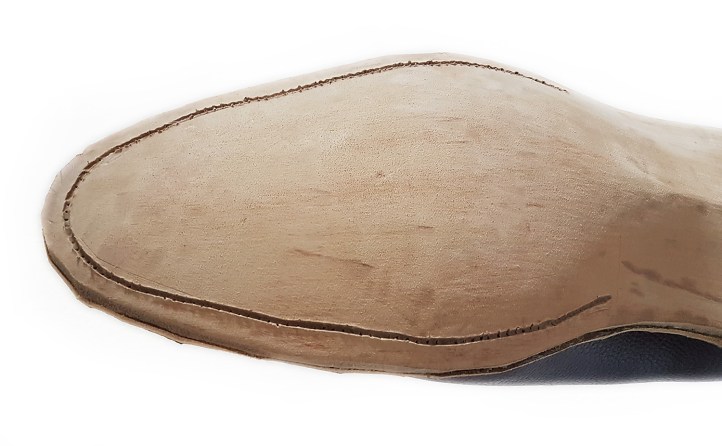
The shoe must go on – in lack of a suitable awl, I made the holes with a hand-held precision drill once the leather was dry. After doing so, I ground up a channel using a drill bit grindstone. For the first time, I did not cut up an outsole flap; as I will later stick some Vibram rubber on, I figured this would be more durable.
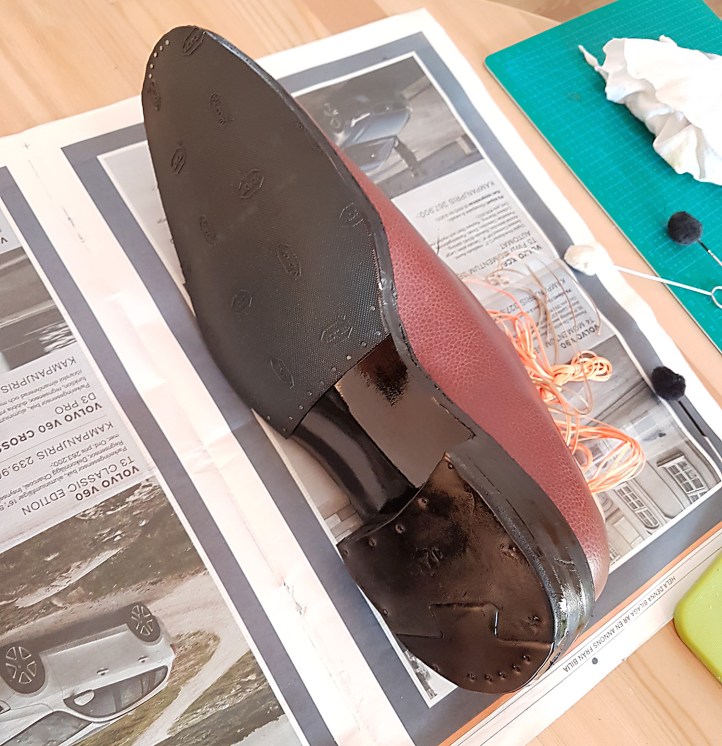
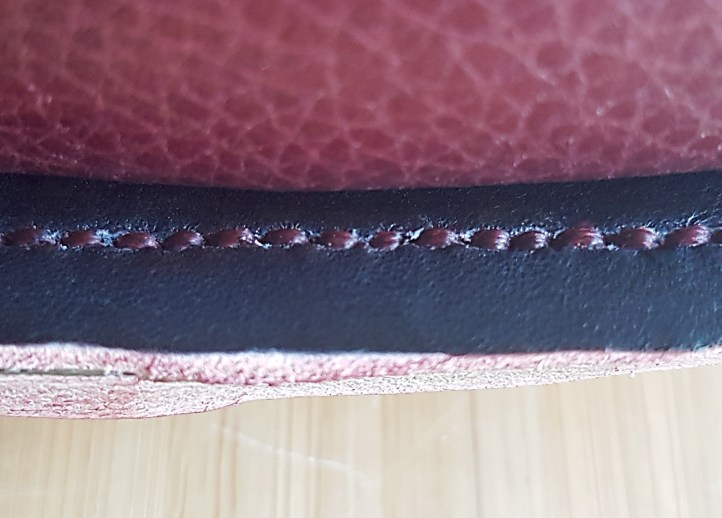
Although the lighting in the image below doesn’t quite reveal it, I used burgundy thread to match the theme. I made the holes as close together as my current skills and tools would allow.

The deep blood color of the thread is more apparant in this view from above:
I used the same 5 mm calf butt as for the outsole to make the main heel lifts. The chunk depicted below was enough to produce four heel lifts, using only two on each shoe. (This in combination with a 5 oz second rand and a 5 oz middle layer on each heel, plus some JR top lifts.)

With the heels in place, outsole edges ground down, moistened and hammered all around, I trimmed the edges off with my trusty leather edging tool.

With the stick on soles cemented on (and nailed for good measure), I dyed the heels, sole edges and the visible outsole part with Fiebing’s Pro Dye in black. Then I coated it with Resolene, gum thragacanth, Saphir mirror gloss and Saphir pate de lux in black.