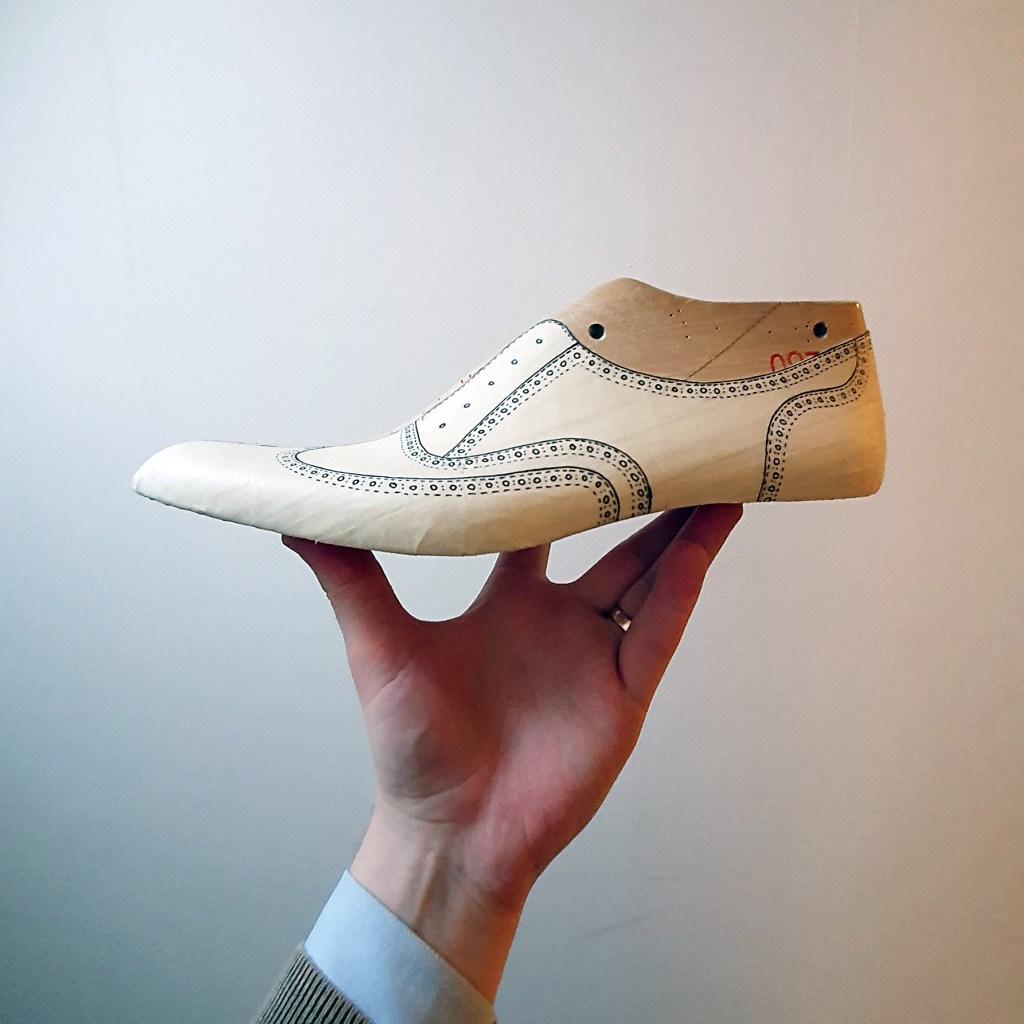
Long have I wanted to make this shoe: a full brogue minus the medallion, in dark brown box calf. Now I’ve finally gotten around to it!
In the design, I let the wings of the toe piece follow the shape of the last. This makes the wing design go in a slight curvature around the last, rather than in a straight line.
The uppers will be made out of this beautiful baby boxcalf from Tanneries du Puy. This is easily the smallest calf hide I’ve ever seen.
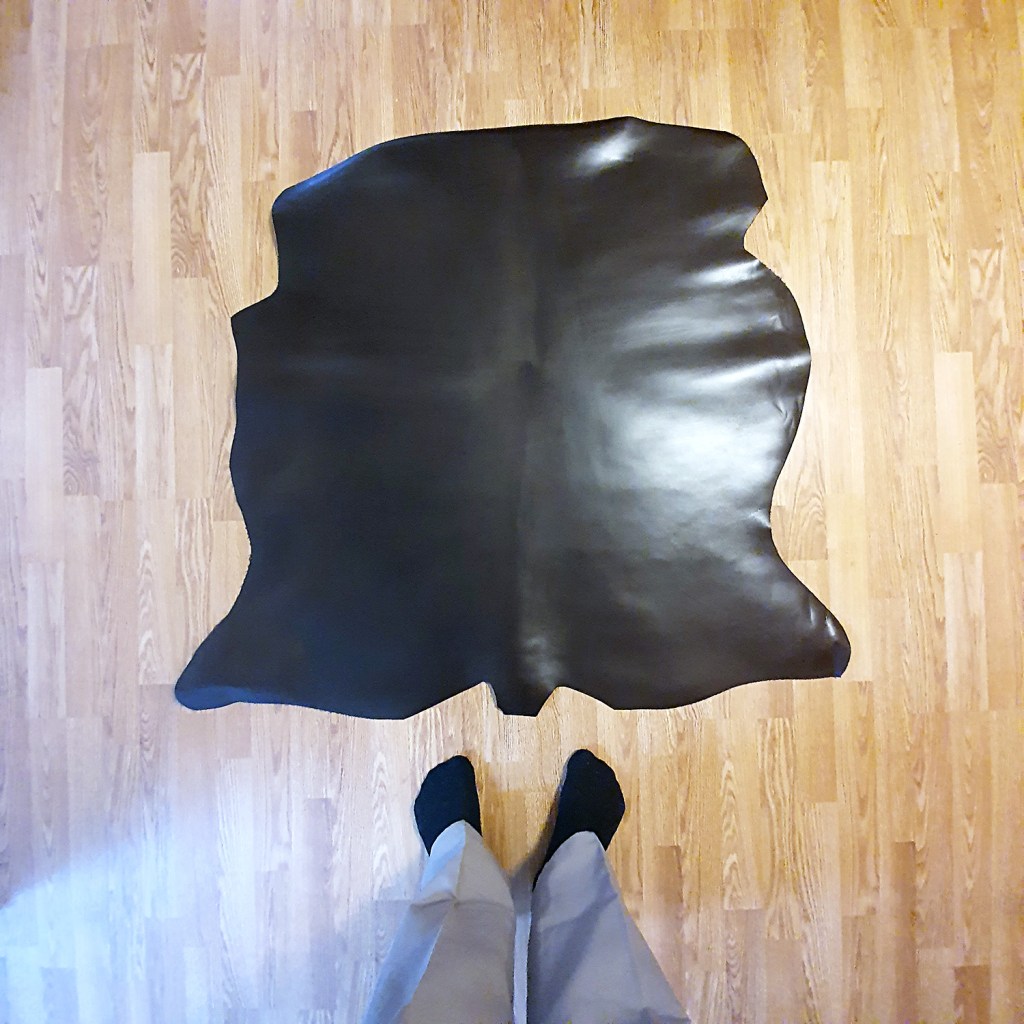
I placed the pattern pieces like so. I’m using more of the leather than I normally would, since it looks to have such nice quality in this miniature shape. I started by putting the winged toe parts in the most premium position of the hide, aligning with the stretch along the spine.

I closed the uppers with Serafil 40 thread.
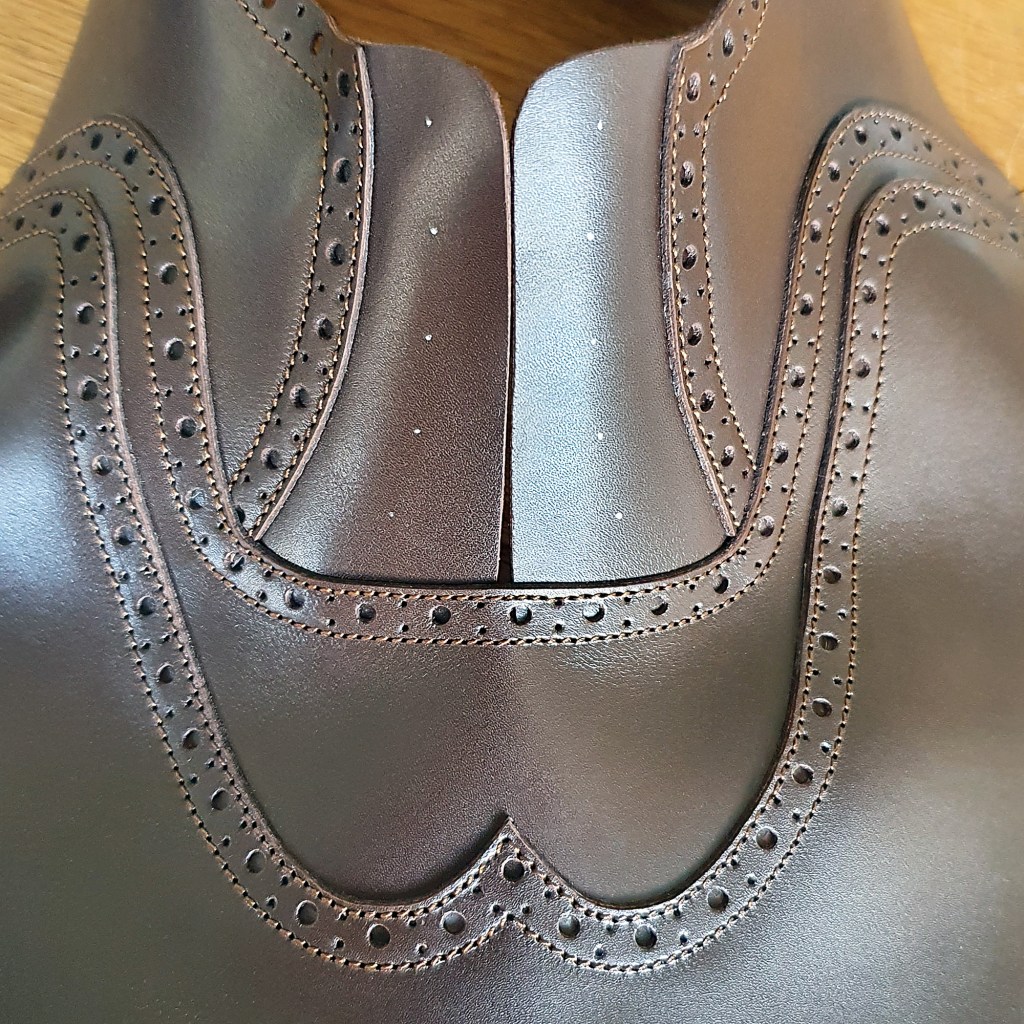
Here’s another closeup of the seams. This slightly lighter colored thread will take the dark brown shoe cream very nicely once the shoes are done, and then conform to the color of the leather.

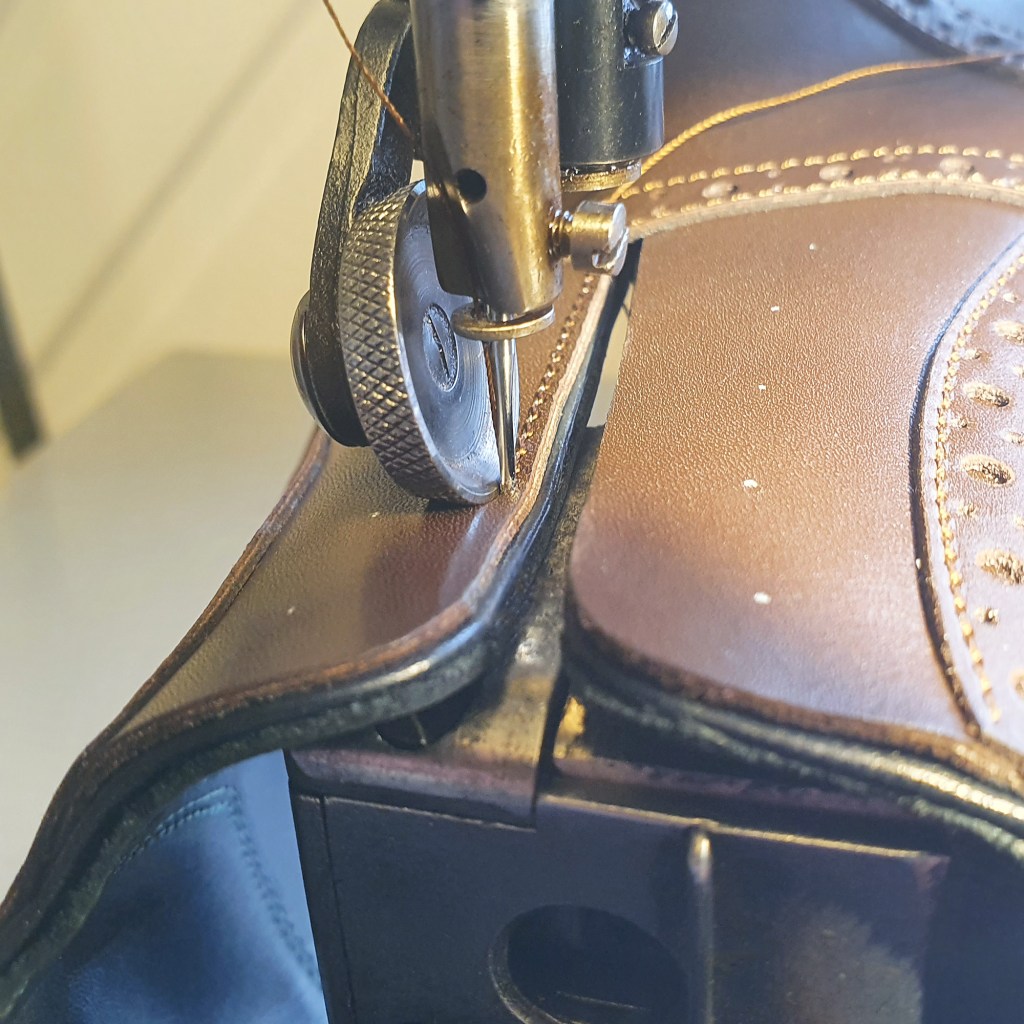
Sewing the upper, lining and beading all together around the opening of the shoe.
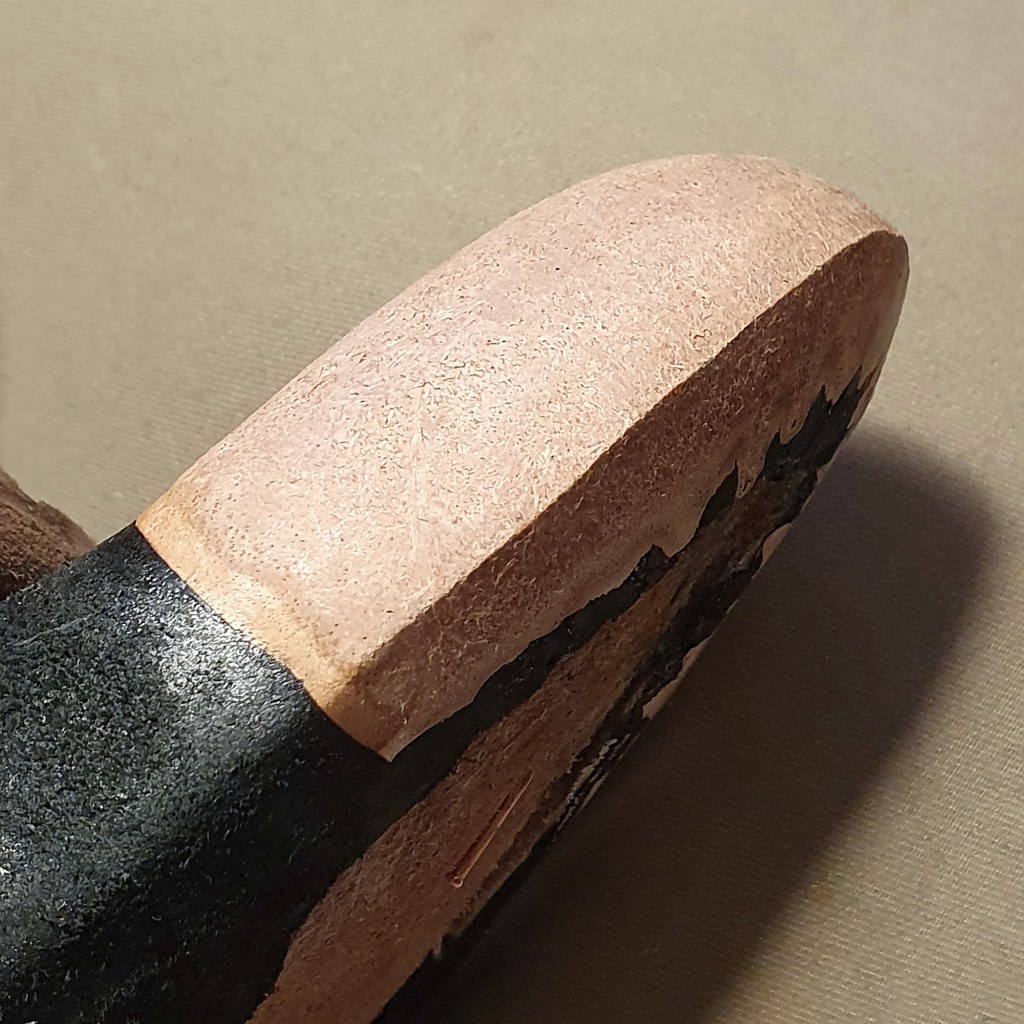
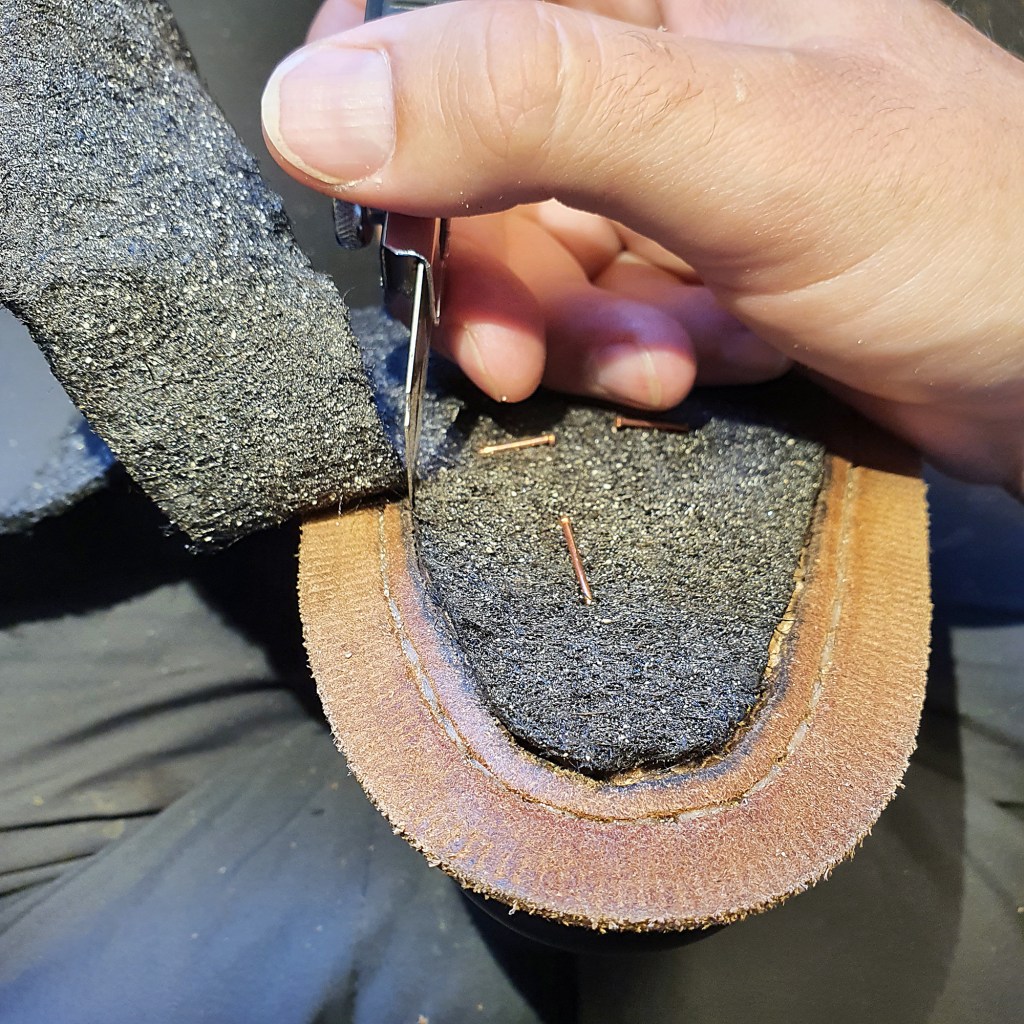
I carved the insoles using my good old 7-9 iron buffed insole shoulder from J&FJ Baker. I applied my usual technique of using a snap off blade to create the holdfast channel in one continuous strip.
I do this going slowly around the inside perimiter with the knife, aiming with the tip of the knife for the vertical cut that I’ve made along the inside of the holdfast. I hold the blade at the desired angle, and concentrate on finding but not cutting through the holdfast with the very tip of the knife.

At the toe it can be a little bit tricky, but I have yet to mess one of these holdfast strips up.

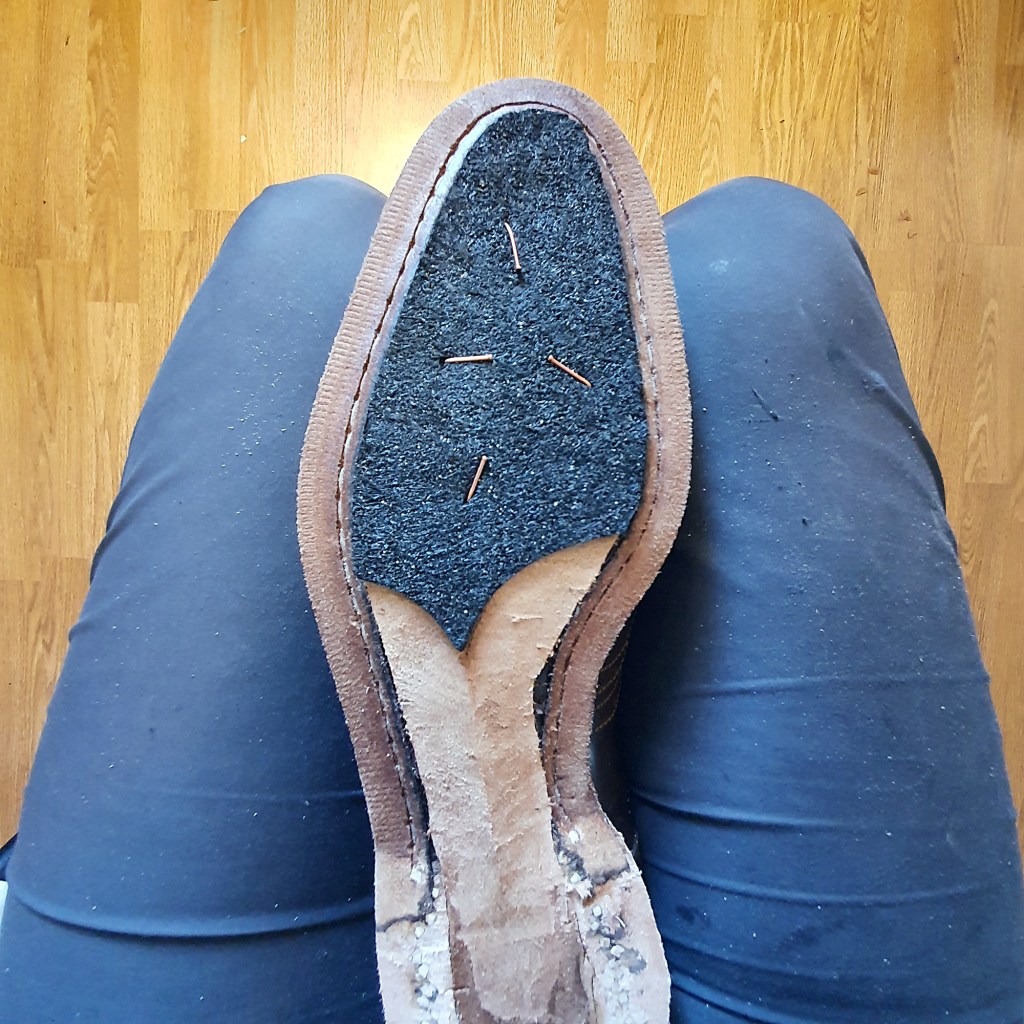
Once completed, a single strip of leather has been created inside the holdfast. I save this strip so I can put it back in at a later stage.

Lasting the toe puff, I went the extra mile this time to get it really sharp. This was mostly attained by trimming it slightly with a knife, hammering on it, and rubbing a wooden hammer handle along both angles to create an edge.
I inserted boxcalf side stiffeners with contact cement under the feather and overlapping the toe and heel stiffeners. Once in place, I ran a heated heel iron along the edges of the side stiffener.
When the final lasting was done, I ran a warmed up (but not scalding) heel iron along the upper leather from both sides – under the feather as well as along the side of the shoe. I think that the spadework above paid off, and created the sharpest feather edge I’ve done to date.
Once welted, it looked like so. (And once again, the same leather really plays very differently in different lighting.)

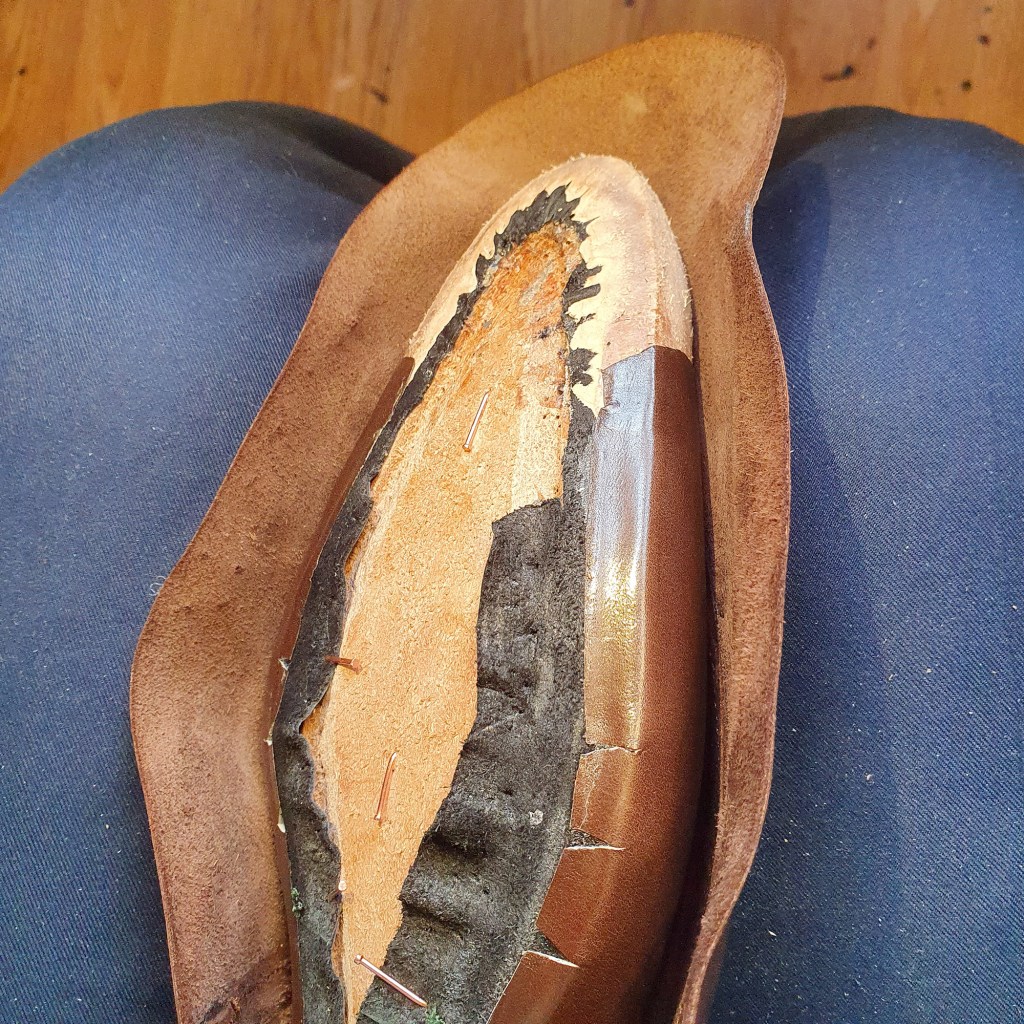
A view from the inside, with the previously cut out leather strip inserted back inside the holdfast.
Once shanked up with the shanks covered in veg tanned leather, I filled the foodbed with tar felt. The preparation work above makes it so that one layer of tar felt is enough. This creates a nice surface for the outsole to attach to: flush towards the welt, and following the slight curvature of the insole/last.
In this case, I wanted to aid my outsole waist decoration to create a fiddleback with a distinct waist. Thus I left the tar felt edges untrimmed, protruding slightly over the veg tanned shank cover (that I’ve carved to form a tip, aiding with the fiddleback).
Before cementing on the outsoles, I cut down the waist of the outsole leather to around half thickness – thus enabling the waist decoration.
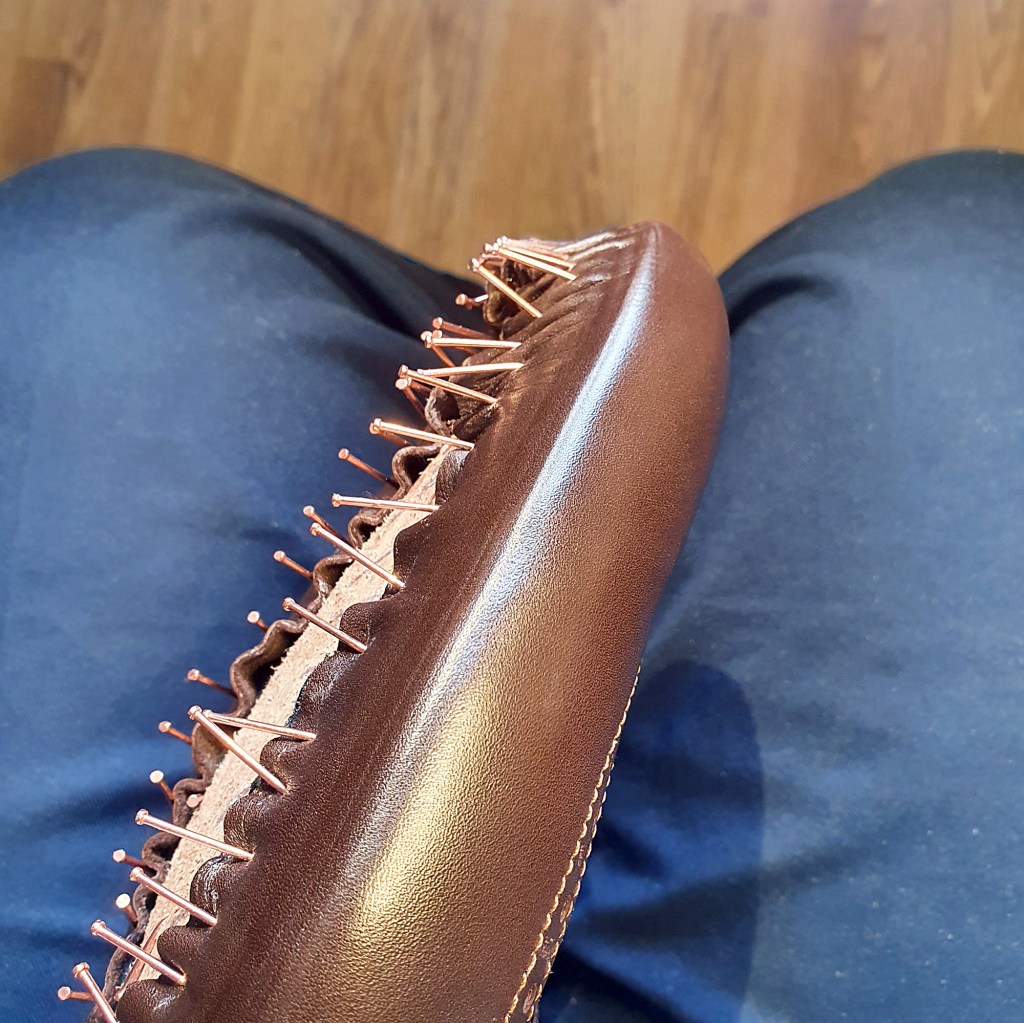
With the outsole cemented on moist, I used a bone folder to create the foundation of a fiddleback waist. (I also used a cardboard pattern – the same I used to cut out the base of the tar felt – in order to make the fiddleback symmetrical on both shoes.) Shown below is what I did just before stitching the outsole.
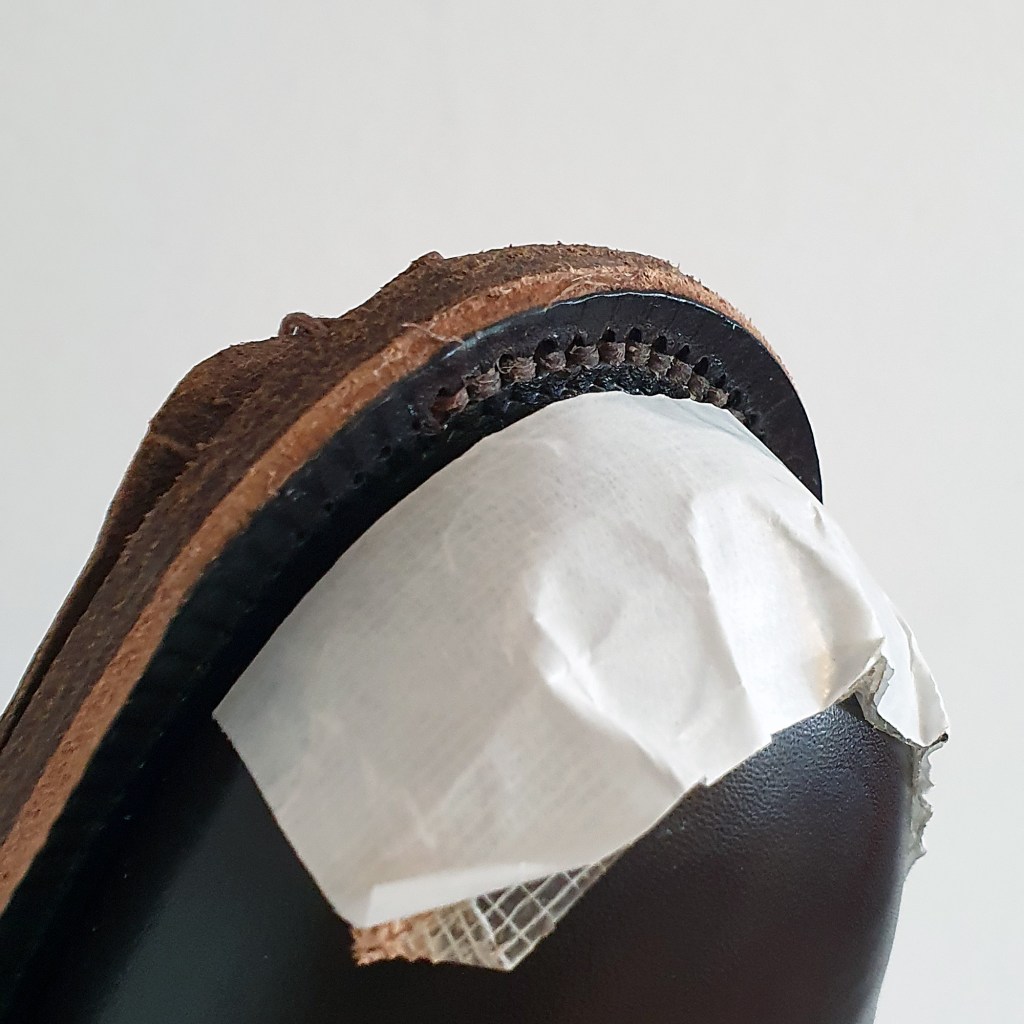
Here’s a shot from the outsole seam in progress, using 0.035″ waxed polycord from the Maine Thread Company.
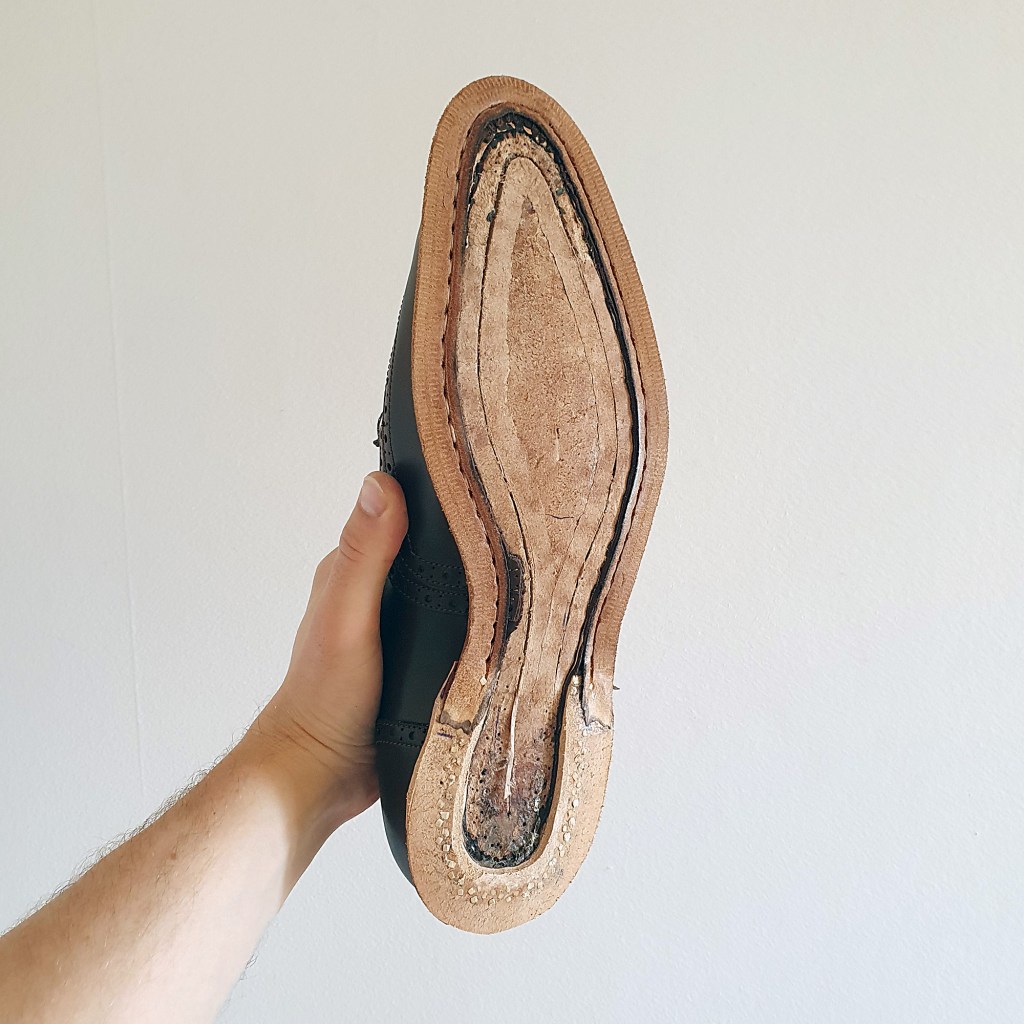
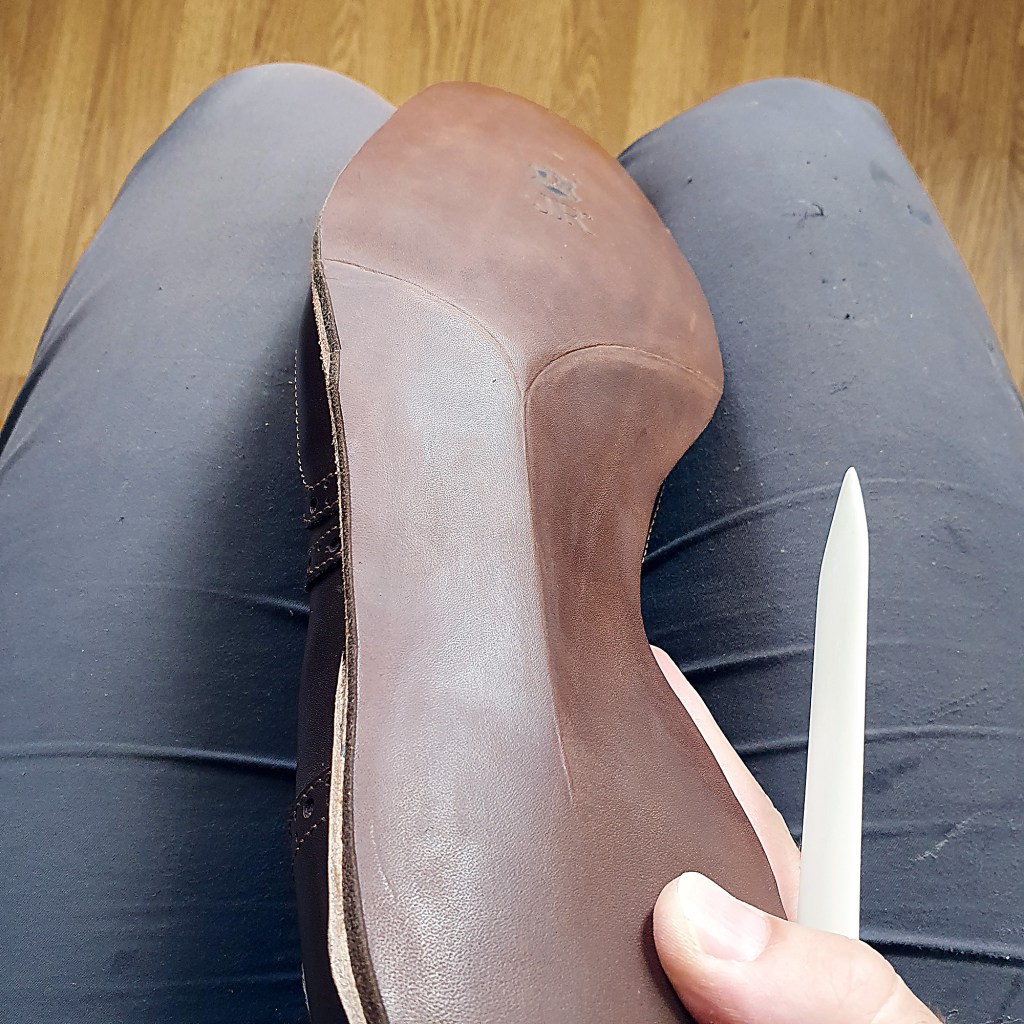
In the finishing process, I dyed the waist in two steps. First I dyed it in dark brown before glassing and sanding, just as a pre-coat. When the heel and sole edges were finished completely, I glassed and sanded the outsole and top lift. This is what it looked like after sanding:
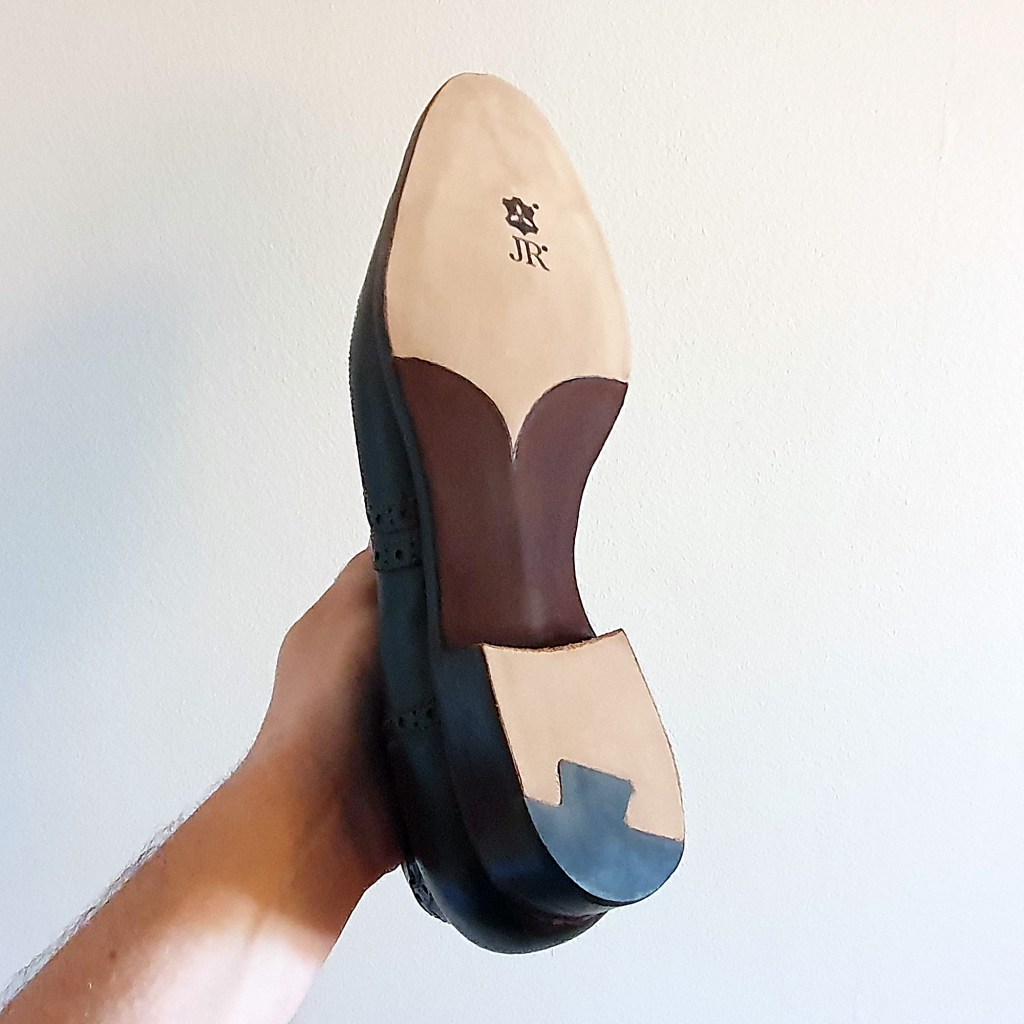
I almost considered leaving it like that, with a velvety suede sort of touch after sanding. Then I dyed the waist again, in a mixture of dark brown, mahogany and black. I went for a really rich and super dark brown, almost black color. Once dry, I burnished and waxed it up, and finished the rest of the outsole. Stay tuned for the end result.

Great work! This is inspiring me to get going on my own shoe making plans!
LikeLike
Thank you very much – I’m very glad to hear it! 🙂
LikeLike