Disclaimer: This post contains a very old attempt at shoemaking, during the very beginning of my journey. I really didn’t know what I was doing at this time, and the post is left online for archive purposes only. Please do not “learn” anything from it, as the post is certainly riddled with mistakes. It’s just a documentation on some of my thoughts as a beginner in this venture. For a more updated view of my shoemaking, please see my latest posts instead.
I started working on this shoe in September of 2018, and then put it on hold for other projects.
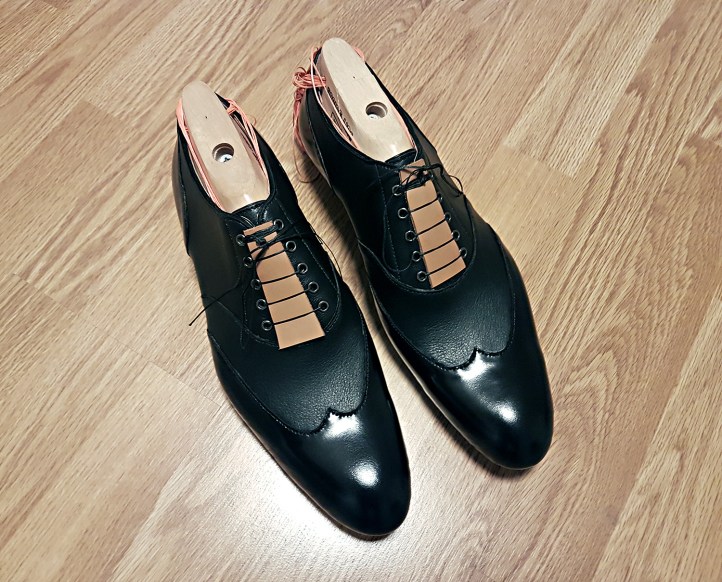
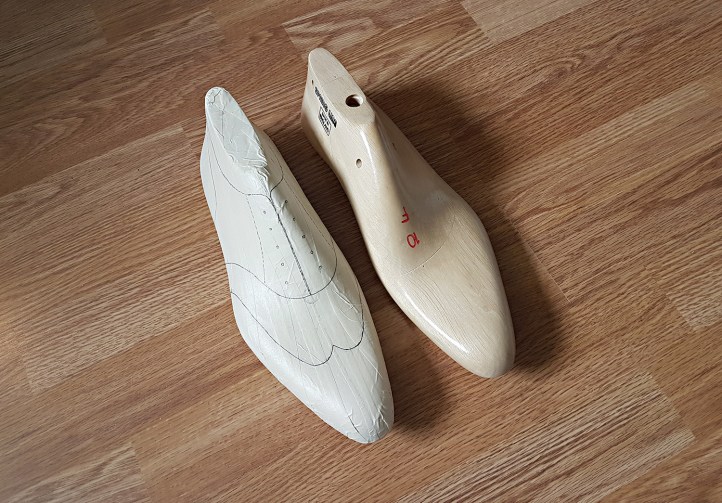
Gotham is an austerity brogue ‘spectator’ for myself in matte and shiny black. For the first time, I’m re-using a pattern that I’ve previously made. Not to save time, but because I liked the pattern I made for Wik and wanted to see how it could look in a different style. Here’s what that looked like, on my favourite Springline lasts:
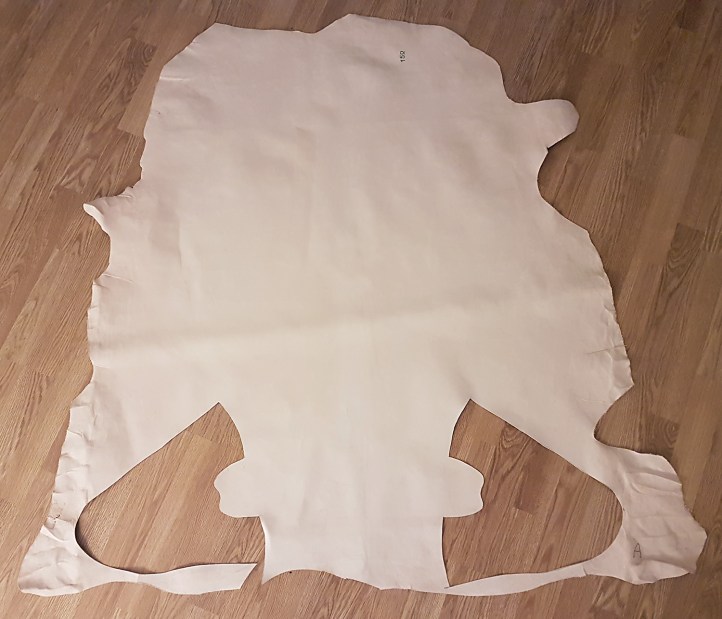
I cut out the leather pieces, skived them, burned them around the edges and laid them out for assembly. The image below doesn’t show it, but the toe and heel are in a stiff and shiny brush-off calf, while the vamp and quarters are in a matte calf.

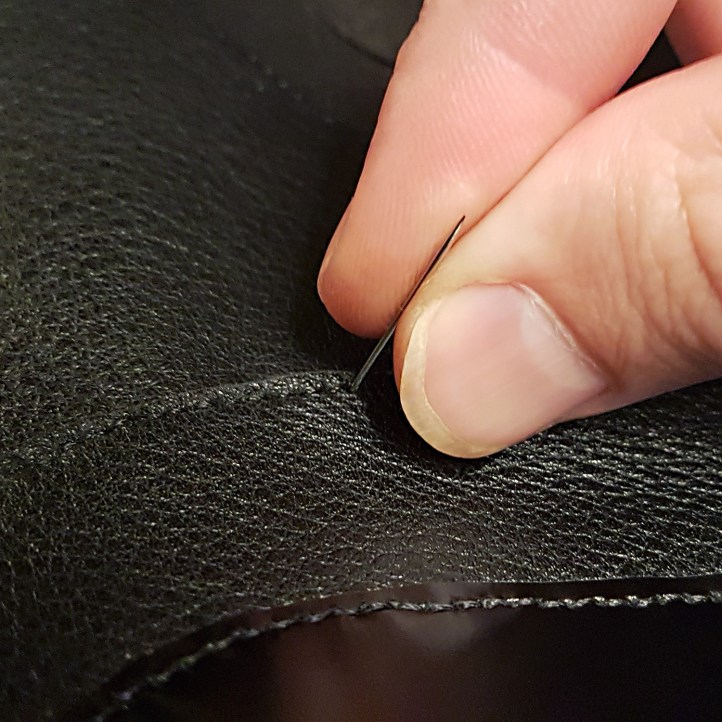
I put the pieces together with Renia gummilösung, punched out the stitching holes with hammer and awl, and sewed the uppers by hand with two needles going back and forth.
It took a lot of time, but I was content with the result. Here the differences in the upper leather is more visible:
Brush-off leather isn’t ideal leather for shoes. Nevertheless, I wanted to make this shoe, so I did.
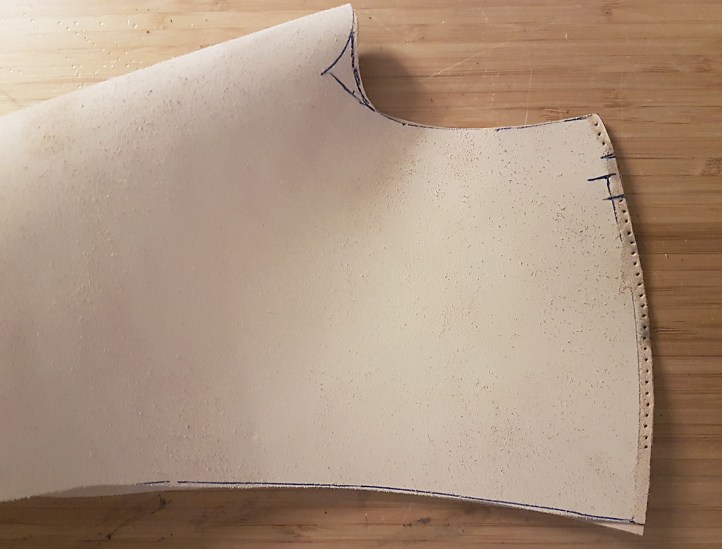
For this pair, I decided to experiment with making a ‘whole cut’ lining, with just one seam at the heel. I used the upper pattern for my shoes Stockholm, added margins to the top, and made a test lining using a piece of scrap.

The test seemed to work, so I cut out the pieces to be used from 2 oz vegetable tanned baby calf.
I stuck the pieces together with Renia gummilösning grain to grain, and hammered up some holes for sewing. (I also stitched the very top of the lining to later be cut off with the excess leather, as not to have the lining split down to the seam while pulling the lining over the lasts.)
Once they were made, I lasted the lining pieces moist and hammered lightly at the back as to hide the excess leather at the seam.
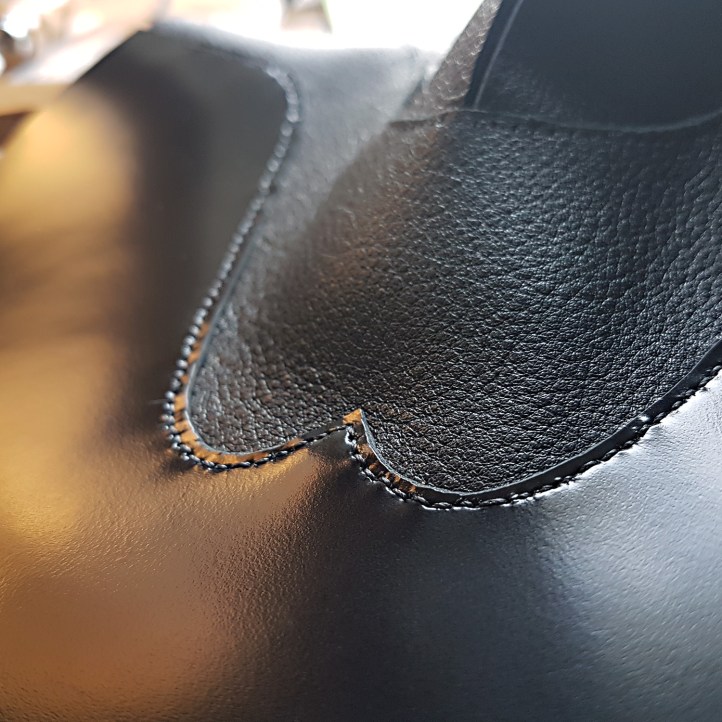
When I had attached the uppers to the lining (with home-made beading of 1 oz black baby calf) and sewed it up, I took a break for a couple of months. Skipping ahead a bit, come januari I decided to finish the uppers and ready the shoes for lasting. I had put this off because I used the same brush-off leather for the shoes Lisa with limited success while lasting.
After having lasted the lining of the completed uppers with moisture and let it dry, I lasted some 4 oz veg tanned toe puffs with Hirschkleber underneath. It may be a bit light for a stiffener, but I’ve done it once before and the result seemed to work.

After having dried up for 24 hours, I trimmed them underneath and pasted them with more Hirschkleber on top like usual.

Soon enough I had lasted the shoes completely. In preparation for this, I wet the brush-off calf from the nap side quite a bit with warm water. Even though it was still a tricky leather to last for my ability, it was made waay easier with the high moisture content.
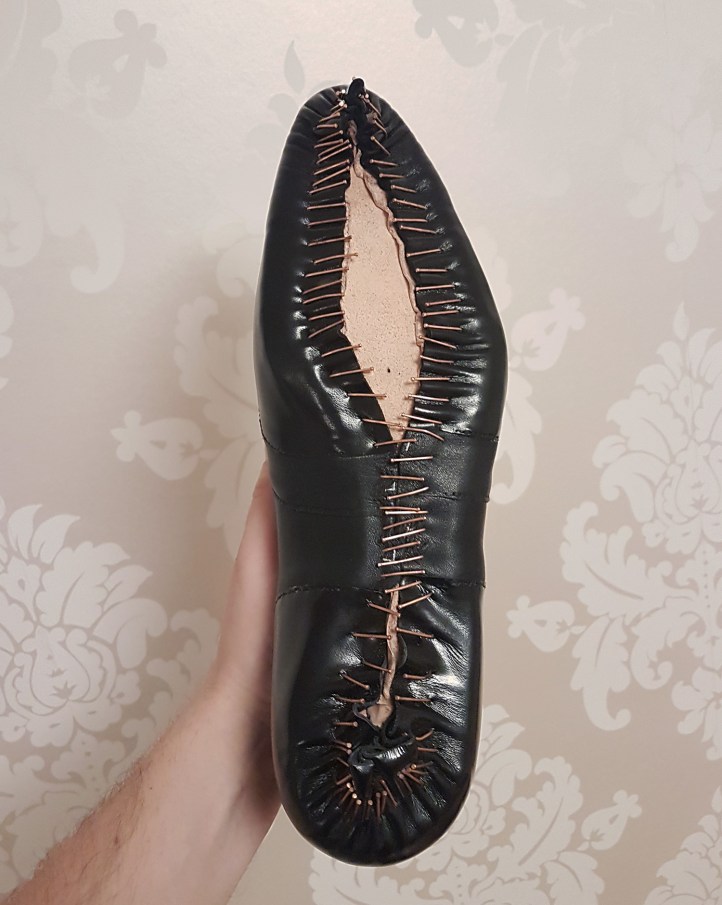
And so, Gotham is taking shape: