Disclaimer: This post contains a very old attempt at shoemaking, during the very beginning of my journey. I really didn’t know what I was doing at this time, and the post is left online for archive purposes only. Please do not “learn” anything from it, as the post is certainly riddled with mistakes. It’s just a documentation on some of my thoughts as a beginner in this venture. For a more updated view of my shoemaking, please see my latest posts instead.
At last, I can come clean. Unbeknownst to my fiancée (up until today), I’ve been making her a pair of hand-welted shoes for Christmas. (I’ve also made a bundle of other Christmas presents, which is why activity has been so scarce on the blog lately.)
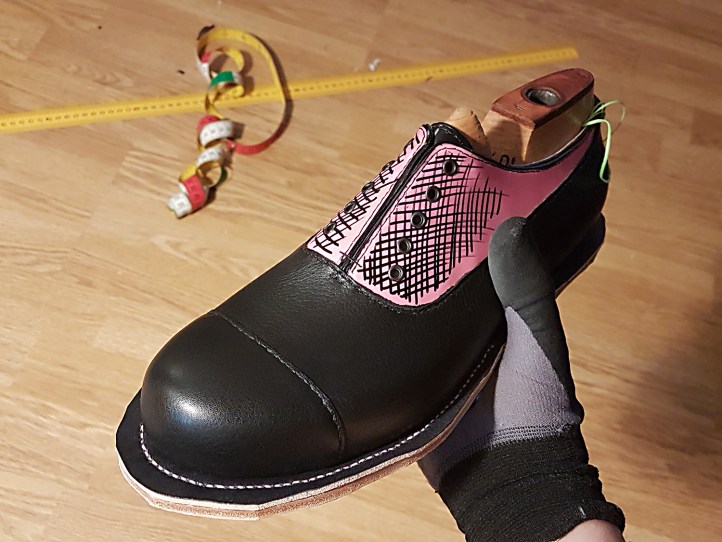
I’ve worked on these shoes on and off for about two months, and the production was riddled with problems. The design was made on October 23d using the tape method:
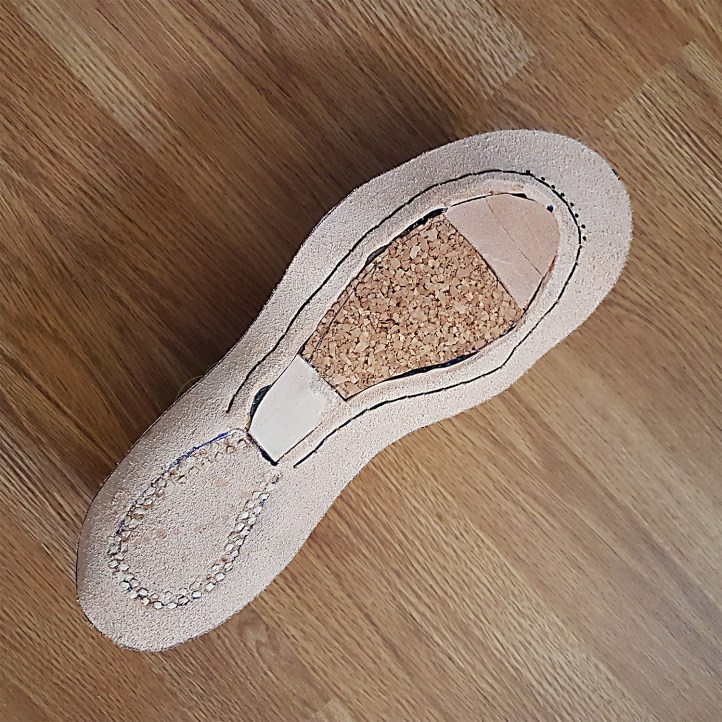
I made the insoles out of 13 oz hard outsole leather. It’s a bit tricky to work with, but I think it makes for very sturdy insoles. Because the leather is so thick and hard, I pre-made the welting holes and plugged them with nails, letting the leather dry into shape around the holes.

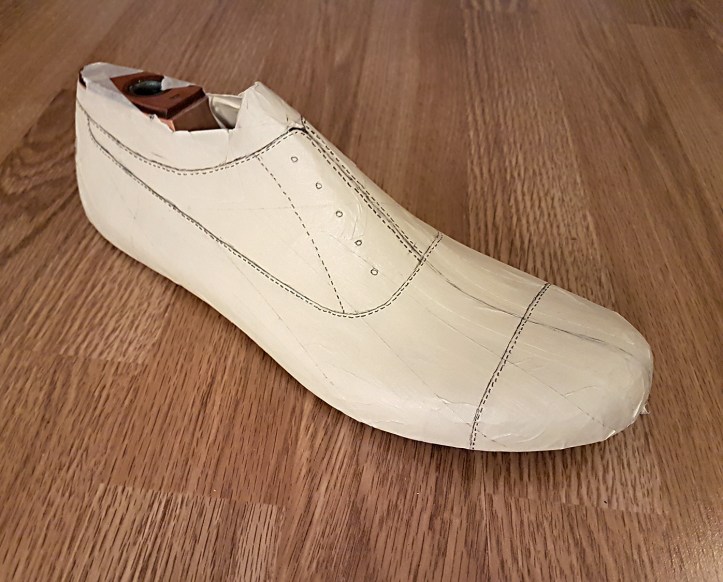
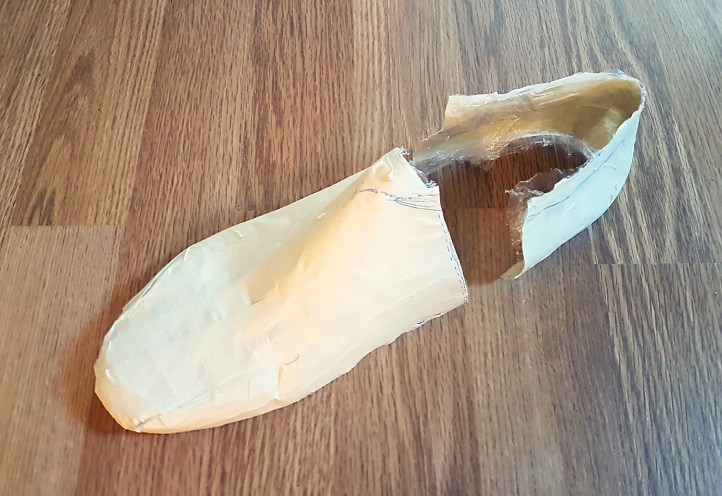
I experimented with making a lining pattern using plastic wrap and tape. It doesn’t look like much, but the pattern it produced worked well.
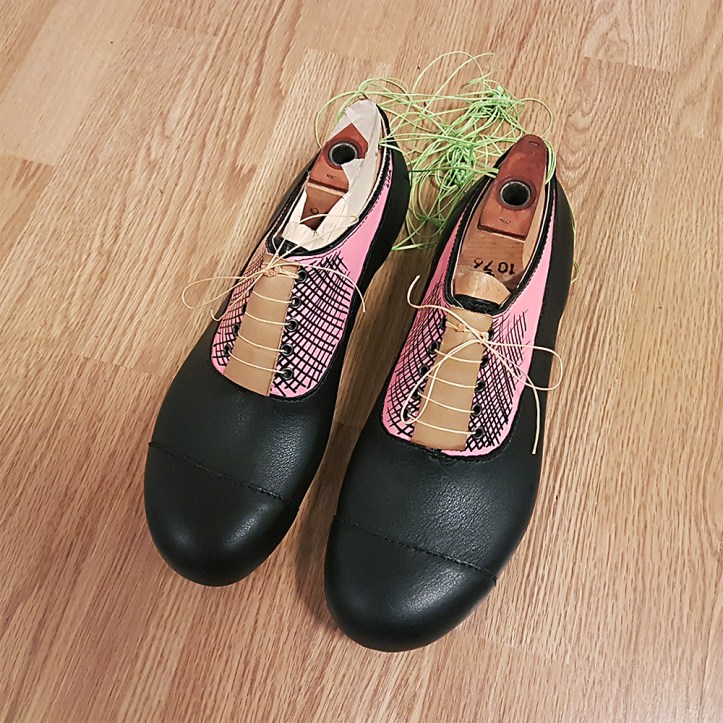
I didn’t take any images from making the uppers, but they were put together with rubber cement and hand sewn. I opted for a base out of 4 oz black calf, contrasted by 3 oz brush off calf in pink and black.
However, upon lasting the first shoe (with Hirschkleber, stiffeners and all) I made a terrible mistake. The brush-off leather was really hard, and I had no previous experience working with such leather. I failed to moisten it properly – or at least, I think that’s what caused this abhorrent result:

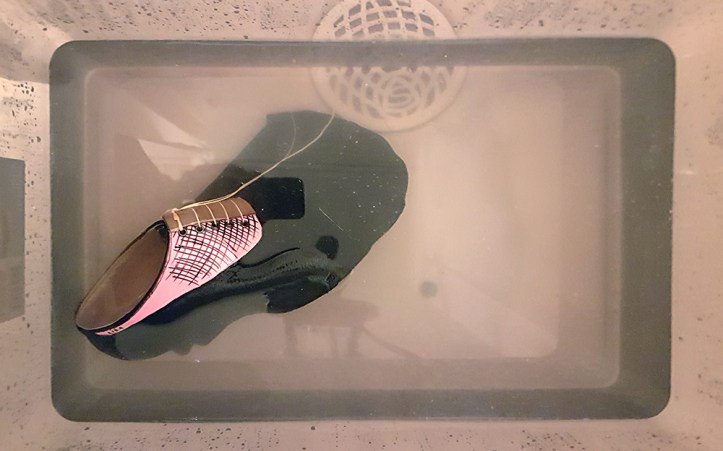
At this point I thought the shoes were beyond salvation, and that it was back to the drawing board. Adviced by a shoemaking friend, however, I was made aware there was a way to try and save the shoes. I could throw them into water, rip off the toe cap, and re-do it. This was scary, why I postponed it as long as I could. With christmas rapidly approaching, I finally removed the lasted shoe from its last and gave it a bath.
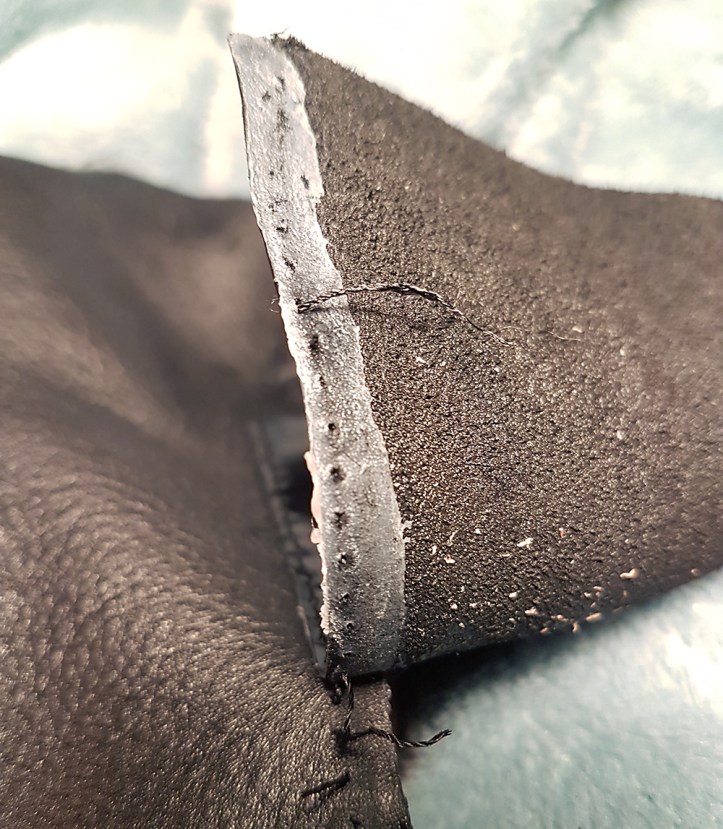
Then I could easily remove the stiffeners and Hirschkleber, and rip off the old toe cap:
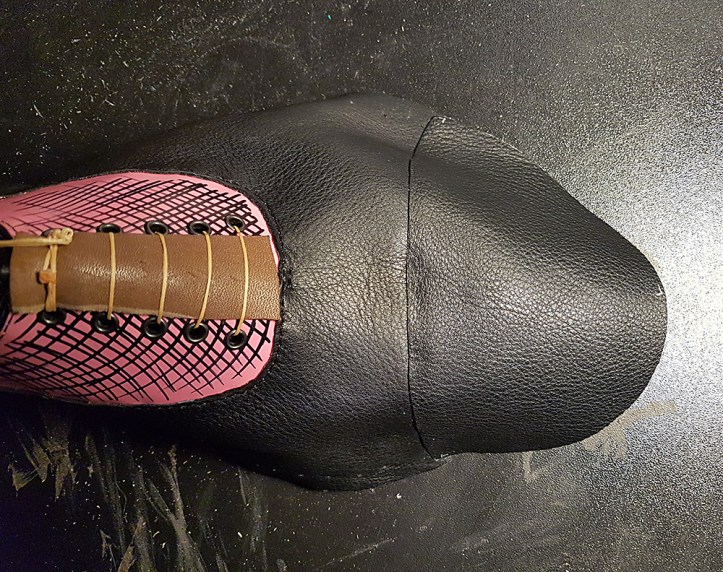
New toe caps were put into place on both shoes. Disheartened by the brush-off leather, I switched to using the same black calf as for the vamp.
I had trimmed the vegetable tanned baby calf lining before lasting the stiffeners, and had just enough left to be able to re-last them.
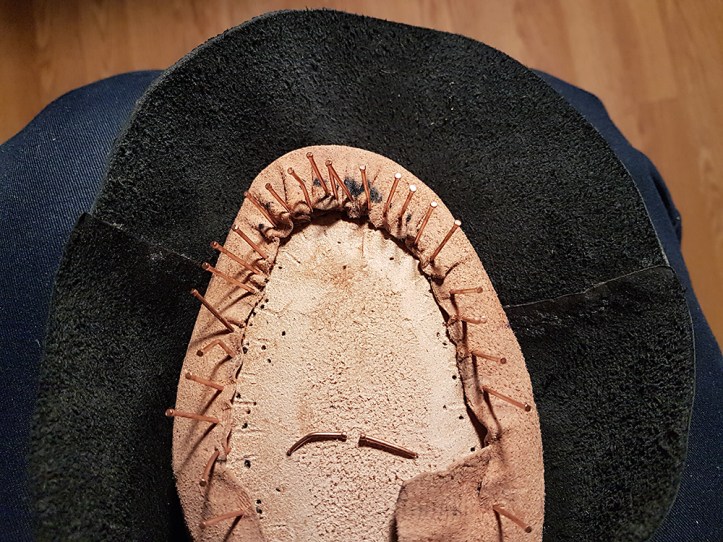
The rescue mission was a success, and I was able to last the shoes smoothly.
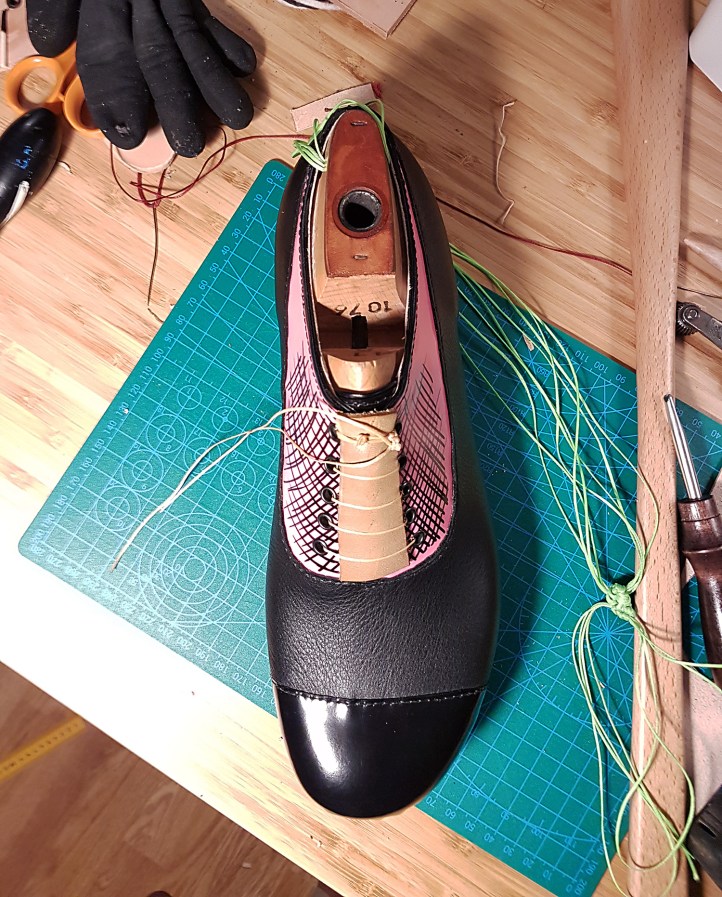
Once that was done, my energy was renewed. I pegged a combo rand/welt piece onto the shoes, hand welted them, and filled the footbeds with cork. Instead of using three layers of 2 mm sheet cork like I’ve done before, I tried using one layer of 6 mm cork. While I can’t comment on the durability yet, it was easily done and saved some time with just being one layer.
I slid in metal shanks and covered them with 4 oz veg tanned leather. I also evened out the gap at the toe with two skived layers of leather on top of the cork.
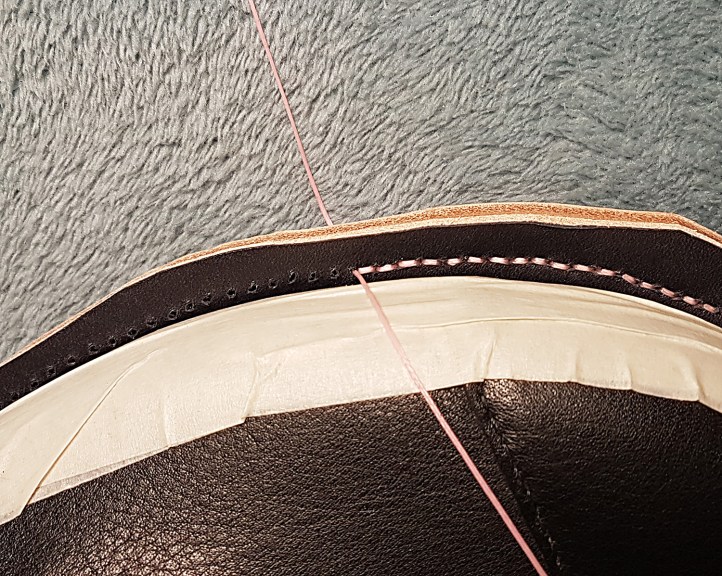
When I cemented on the 9-10 oz vegetable tanned outsoles, I was a bit too eager. I cemented them on while the outsole leather was too moist. Hence, they didn’t quite stick, why I had to rip them off and re-do it with more patience regarding the moisture level of the outsoles. Thankfully, the second attempt worked fine.
Once firmly hammered into place, I stitched the outsoles with 1 mm waxed polyester thread in pink. One of these days I should really learn how to do this in accordance with the olde tradition.
Voila: