It was kindly pointed out to me (by a distinguished bespoke maker to boot), that I had blundered when putting on the top lifts on these shoes. Without realizing, I had mixed up the right and left top lifts when putting them on.
I obviously don’t like going backwards in the shoemaking process, but was left with no choice. The top lifts had to come off. I brought out the big guns to get the job done: one of my larger E.A. Berg vintage hoof pincers.
In order to get the errant lifts off, I first made a knife slit in a corner between the top lift and the rest of the heel. Then I used a knife to carve my way through the top lift leather to the corner nail, so I could pry that nail out. With the corner nail gone, I was able to get a grip on the lifts after some tinkering. Here I am a bit into the job:

When I originally made the heels, I had secured the top lifts with copper plated lastning nails, going through the heel stacks. I find this does a great job of holding everything together. As such, getting the lifts off required some time and a bit of brute force, but I eventually made it.
The rest of the heel stacks (everything but the lift) had also been pegged into place. Thankfully, there was no damage done to the rest of the heel, other than the actual top lift.
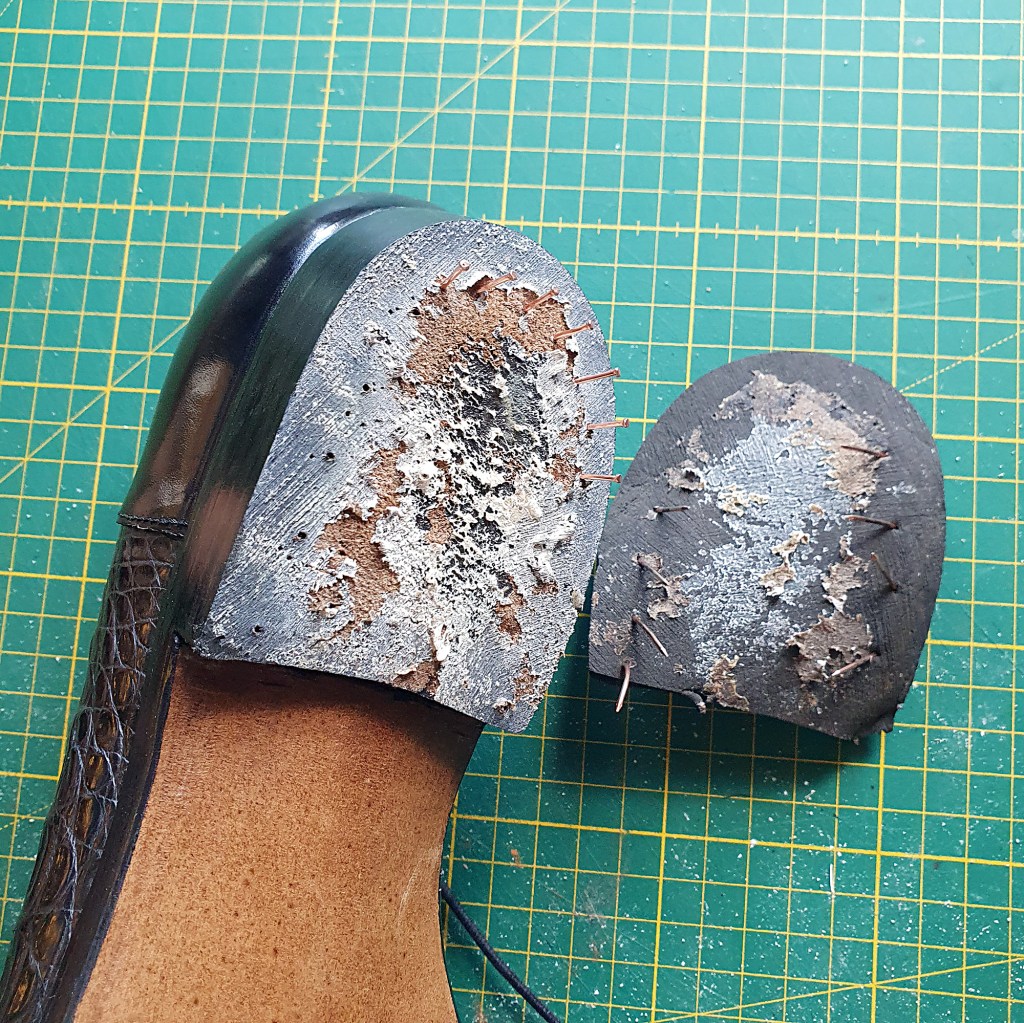
As shown above, the rubber and contact cement had left quite a bit of residue on the top layer of leather. I carved that off as evenly as I could, starting with the very edges (where I needed to be the most careful) and working myself towards the center. Then I roughed the heels up and got ready to put on some new lifts.

I of course double-, triple- and quadruple checked that I had actually paired the lifts correctly this time…
I try to think of this blunder as a blessing in disguise, since I wasn’t really happy with my original choice of top lifts to begin with. The ones I had first put on were not oak bark tanned, and didn’t really match the outsole colour. Furthermore, the original lifts were slightly too thick to get to the right heel height: the original heels had thus become slightly too high. (I wouldn’t have ripped them off only due to that, though. They weren’t catastrophically high, just slightly higher than the optimal toe spring of the last.)
For this repair, I used vintage, unbranded J. Rendenbach top lifts, with oak bark tanned leather. These were slightly thinner than my original choice, which put the heels to the perfect height. I put them on, and then re-finished the entire heels – scraping all the wax off with glass, and re-doing the whole sanding process. This is the end result.
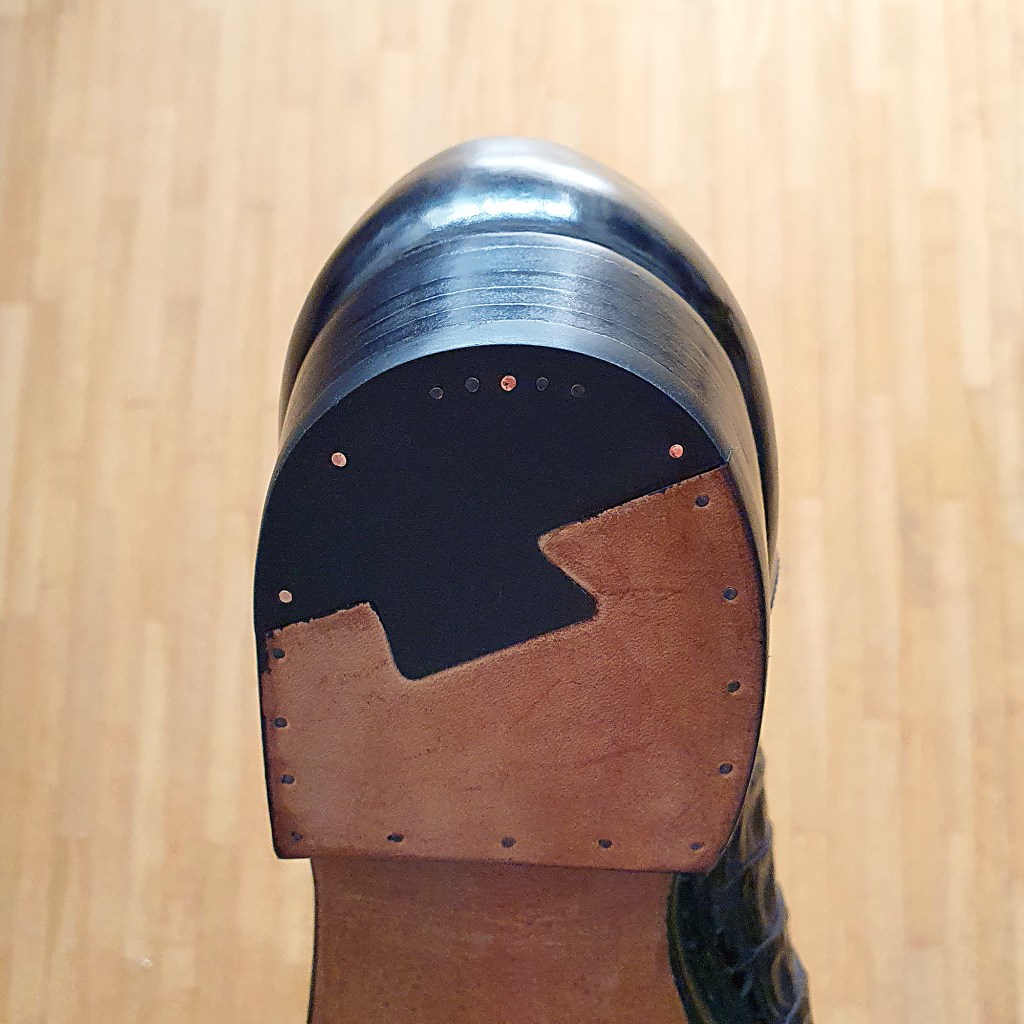
I find it very difficult to make a nice heel to begin with, and these probably turned out to be my best heels yet. I guess I had them ‘warmed up’ after having already finished them once before.

More images coming soon, in the summary post for the shoes!
