Making up on one of the goals I set up in my latest year review, these shoes will be made out of exotic leather. Never before have I made shoes in any exotic, and now the time has come. I picked up a batch of exotics from Italhide for this purpose. For the first time ever, without safety net, this is my attempt at putting together a shoe with genuine shark leather.
Shark leather is really textured and lively. In order to let the leather speak for itself, I don’t want to clutter the shoe up with an intricate pattern. Thus I made the simplest possible design for a seamless heel oxford (not counting wholecuts).

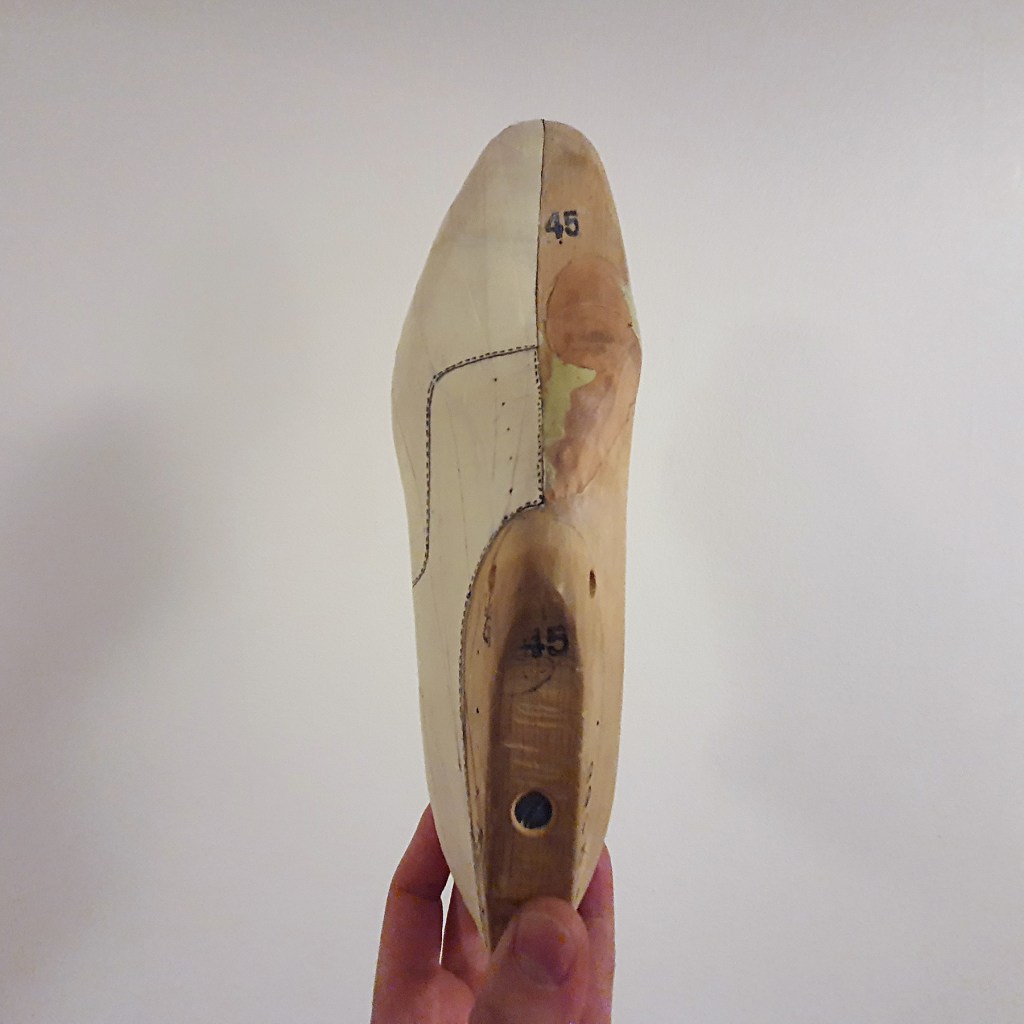
Here’s a view of the tape pattern from above. I’ve adjusted these lasts to fit me well with veg tanned leather as well as milliput epoxy putty – a really great product to combine with leather for last adjustments.
These shoes will be made with vegetable tanned shark. The individual shark in question was fished in Japan, dyed green by the tannery in Italy, before being shipped to my abode in Sweden. Globalism at its finest.
It was so much fun to try and find an optimal placement of the pattern pieces. Shark leather is very textured in comparison to calf or cow, and the texture is indeed quite unique. It does have a sort of symmetry to it, but is still far more assymetric than I’m used to. It was quite evident that the individual specimen I’m making these shoes out of, had been in his/her fair share of fights. Avoiding scars and tear marks in placing the pattern, while still considering the lines in the grain and trying to make two somewhat symmetrical shoes, was difficult but fun.

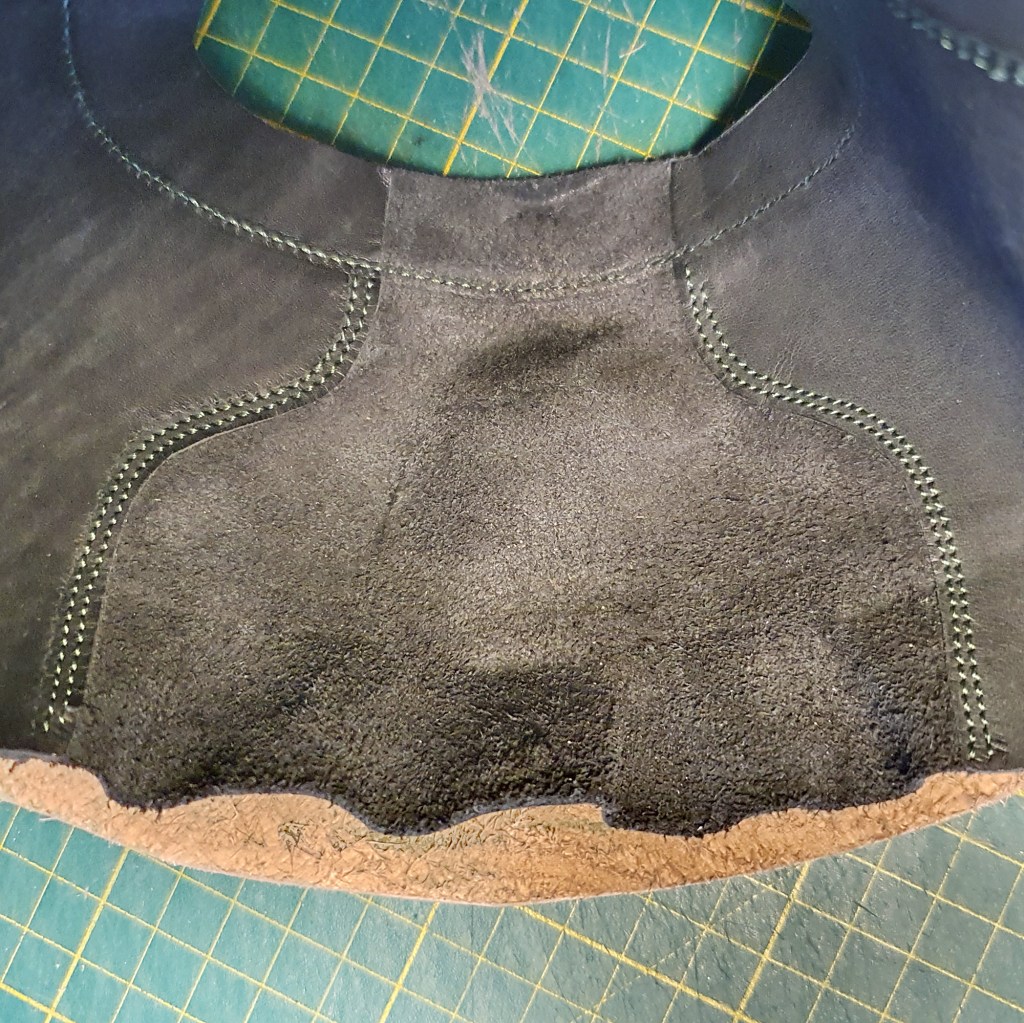
Another new thing I’m doing with this pair is an inverted heel lining. In short, I made the lining pattern with a separate heel piece. The theory is that inverting the lining at the heel, thus having the nap side of the lining face the foot at the heel, will create better grip and less slippage. The lining used here is 2 oz veg tanned baby calf in black, sewed up with two rows of dark green Serafil 40s thread.
I lasted the lining separate. Once the toe stiffeners were lasted, dry and trimmed, I clicked my pre-lasted veg tanned heel stiffeners into place. I put the side stiffeners in using contact cement under the feather, as well as against the stiffeners at the back and front. After the image below was taken, I basically just slabbed some Hirschkleber onto the heel stiffener and lasted the heel completely. Then I pasted Hirschkleber onto the toe puff, and lasted the toe completely. Then I applied some Hirschkleber at the sides under the feather, and lasted the middle parts of the shoe.
I know that dragons are commonly thought to have scaled hide, and I do subscribe to that mythological thought as well, for the most part. However, I’m thinking that the flexible hide that a dragon would have at its wings, in between the wing bones, is not scaled. This is pretty much how I imagine the leather of a dragon wing would look like – hence the name of this pair:

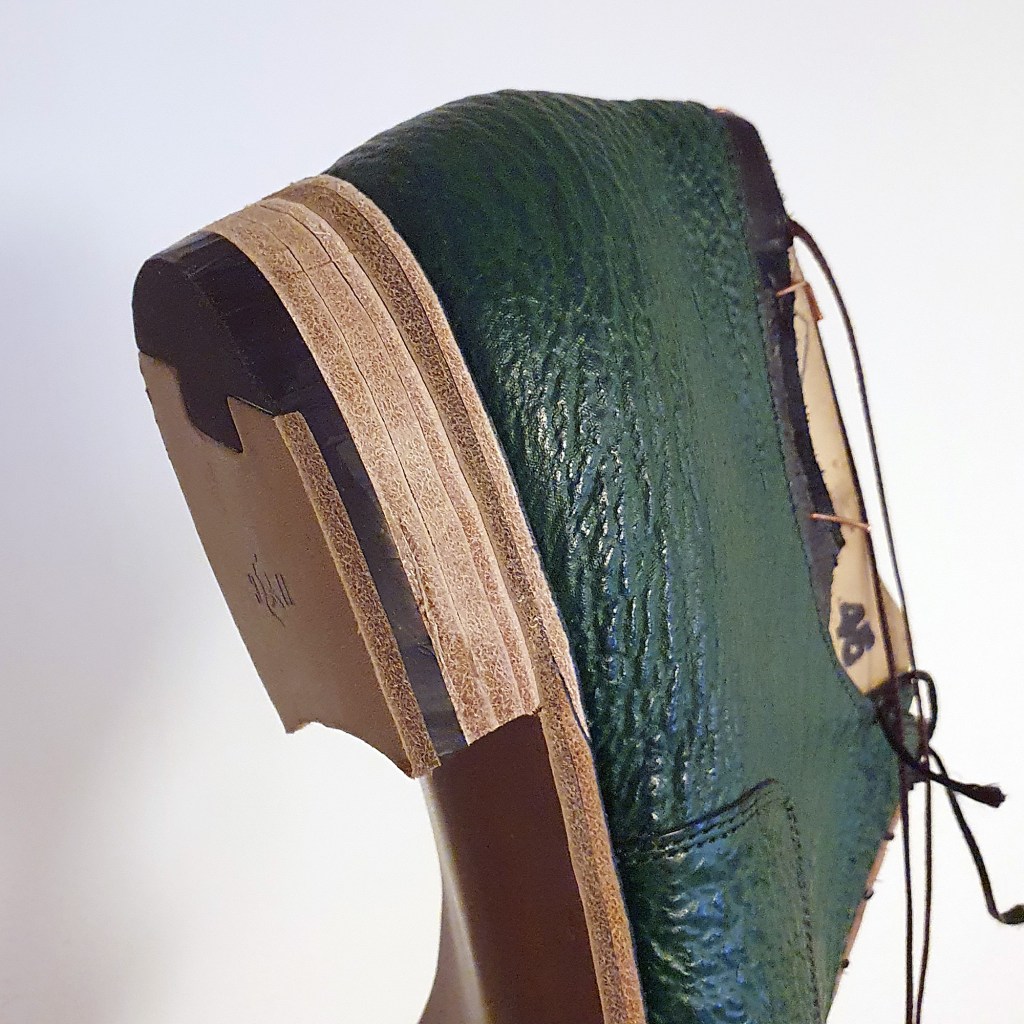
When lasting the heels, I had to be veery careful. Shark leather is tough in many ways, but it’s also rather porous, and I felt a real risk of pulling the leather apart when making this seamless design. As fate would have it, I didn’t tear the leather – but felt it wise to proceed with caution!
To my eyes, this leather is just absolutely beautiful in its emerald luster.

Here’s a profile shot after welting completed, using welting leather from Leather & Grindery. I think I’m starting to get the hang of it.

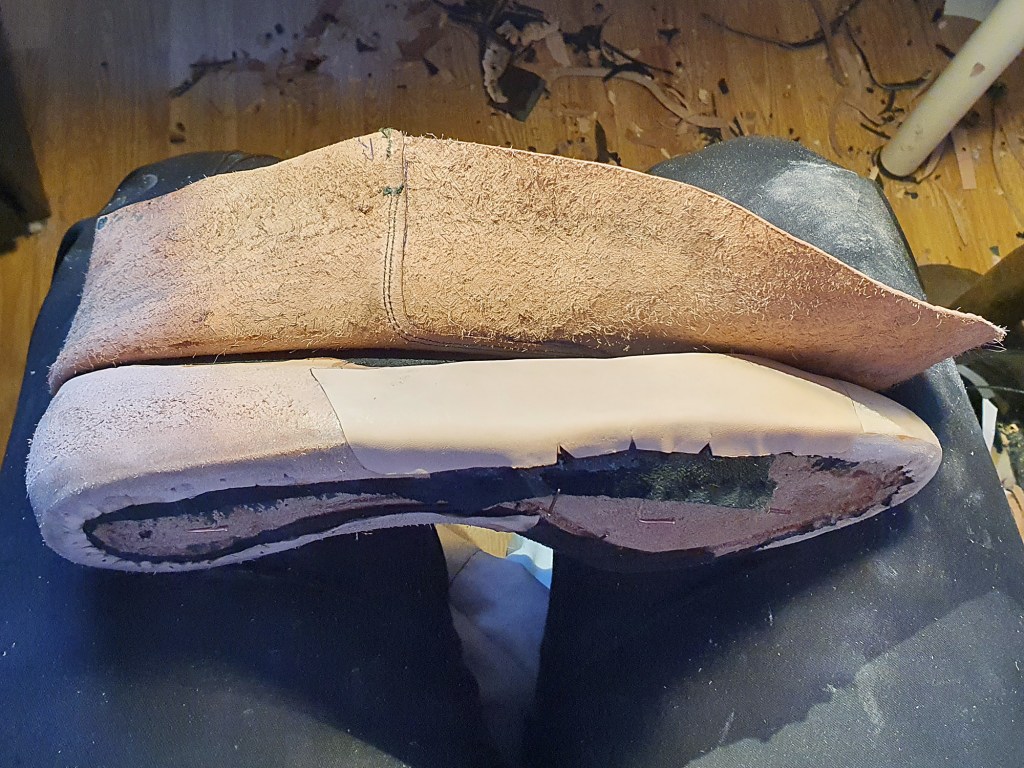
Here excess lining and upper is trimmed away, and the inside channel of the holdfast is glued back into place. The insoles used for this pair is my evergreen favorite, 7-9 Iron buffed insole shoulders from J&FJ Baker.

I shanked the shoes up, covered the shanks in veg tanned leather carved to a tip (in order to promote a nice waist later on), and filled the foot bed with one layer of Swedish tar felt.
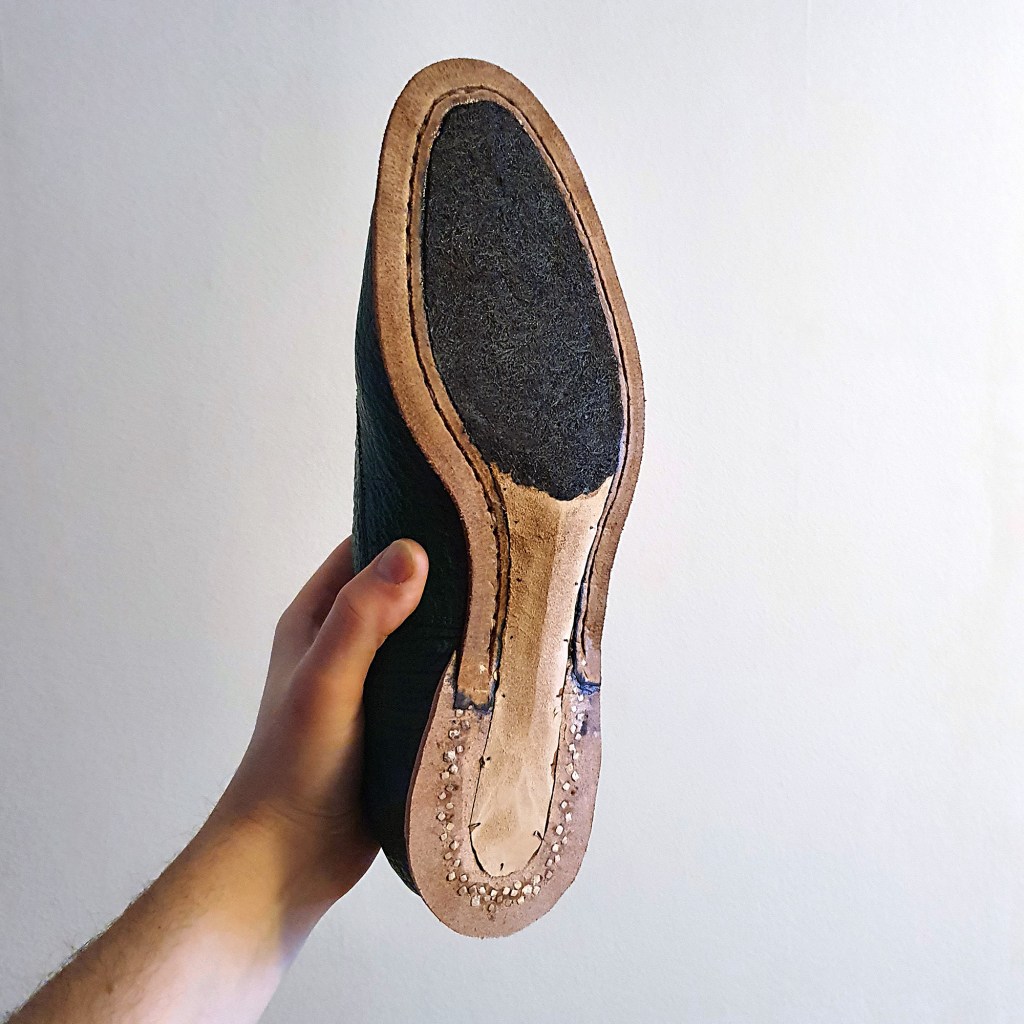
I stitched the outsole seam at 9 spi, using my favorite .035″ waxed polycord from the Maine Thread Company.

I keep coming back to this wisdom: “the shape of the heel is determined by the knife, not by the rasp“. The heel below is shaped entirely with a knife – before rasping, glassing, sanding, burnishing, (etc…).
I actually find it terribly difficult and painstaking to make a bespoke level heel finish, and the work won’t get any easier if the knife work isn’t done properly to begin with.