Ever since I started making shoes, I’ve been wanting to make a hand welted golf shoe with Softspikes, for myself. I did make a ‘golfy’ design for the shoes Augusta a good while back (and they do look quite embarrassing now). But, in lack of an idea on how to construct a proper golf sole at the time, Augusta got regular leather outsoles.
Starting 2017, I’ve been searching for golf soles available for purchase in single copies, but all I’ve found is stuff like 10.000 units min orders from Alibaba. (And even then, I’ve been hesitant about the products themselves). I’ve thought about it a lot and made lots of different searches for golf soles and softspike inserts, all to no avail. (Try searching for “softspike inserts for golf sole” or similar keywords – everything that shows up are results about finished golf shoes with soft spike systems already in place.)
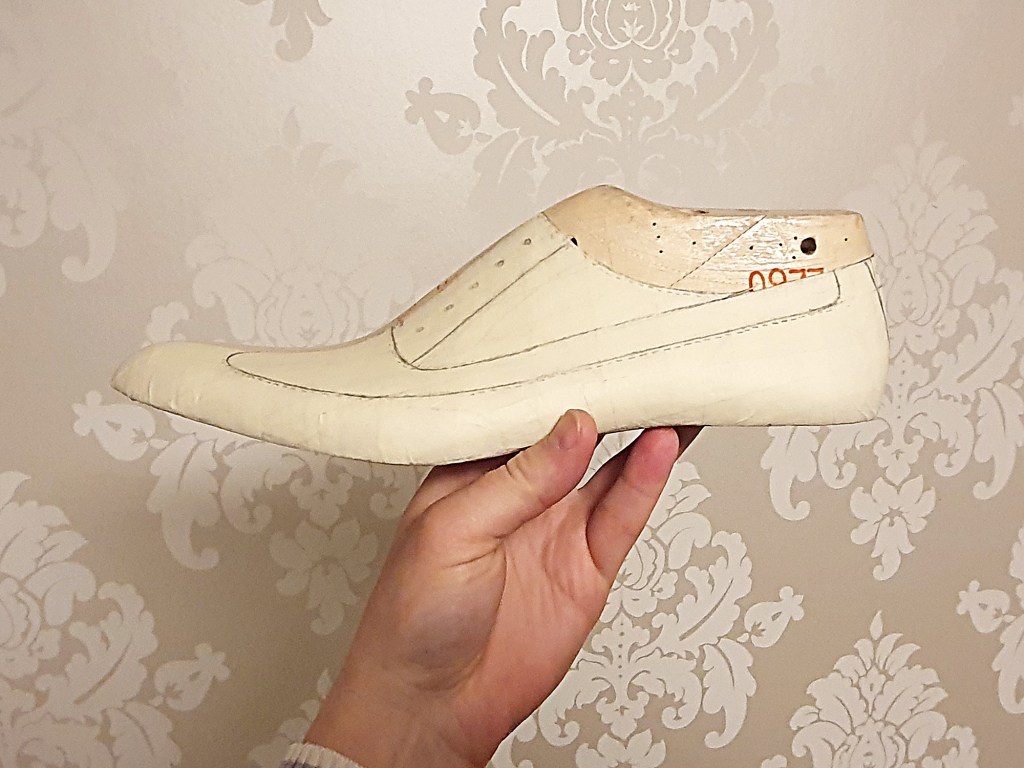
Earlier this year, I was tipped by a fellow Swedish amateur shoemaker (who has actually made golf shoes for himself) that there’s this thing called a T-nut. I had no idea such wizardry existed, but it certainly appeared as if this dark magic could bring my vision of a handmade golf shoe into fruition. Finally, hopeful that I could actually pull it off, I made a new design on April 21st, 2020. I guess it’s an ‘austerity longwing’ of sorts.
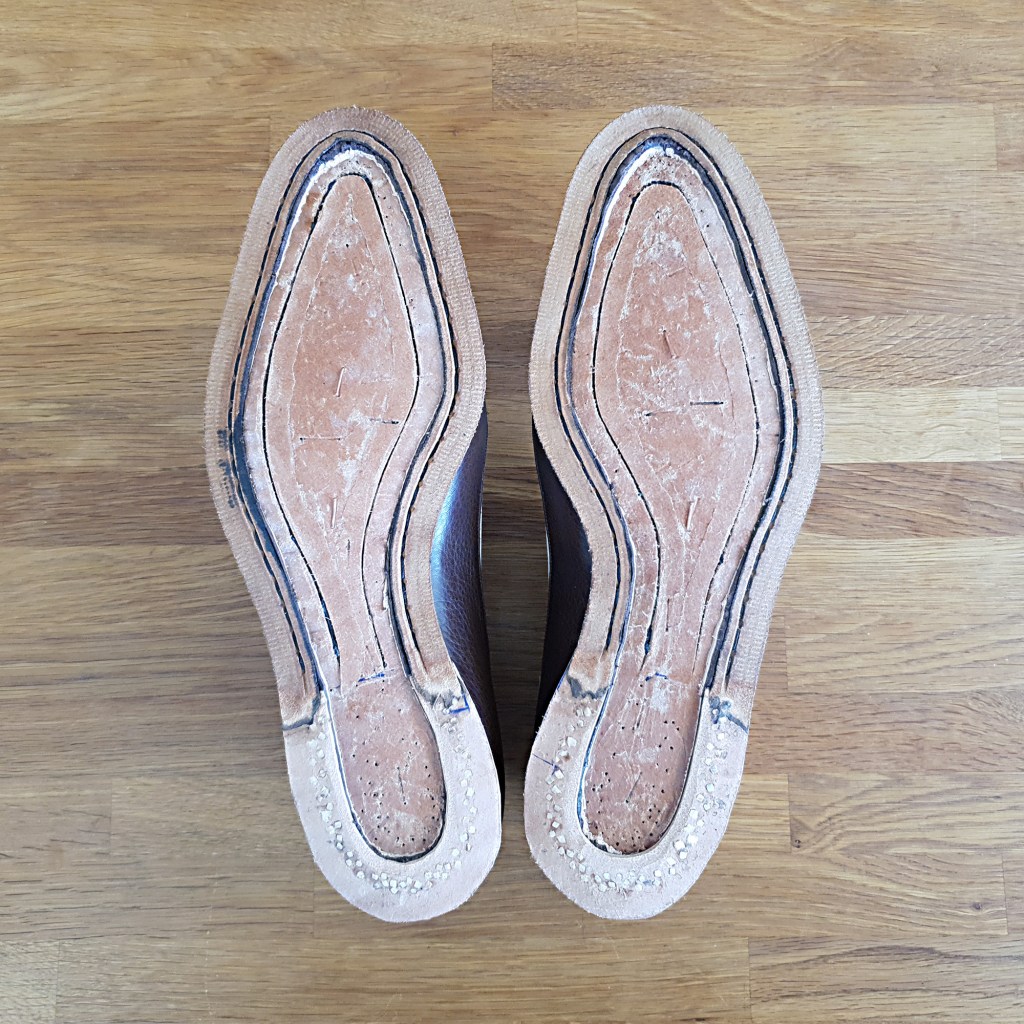
To skip ahead quite a bit, let’s fast forward to welting completed. I inserted the cutaway insole leather back into the channels, as to produce an even surface. This was done on may 5th.
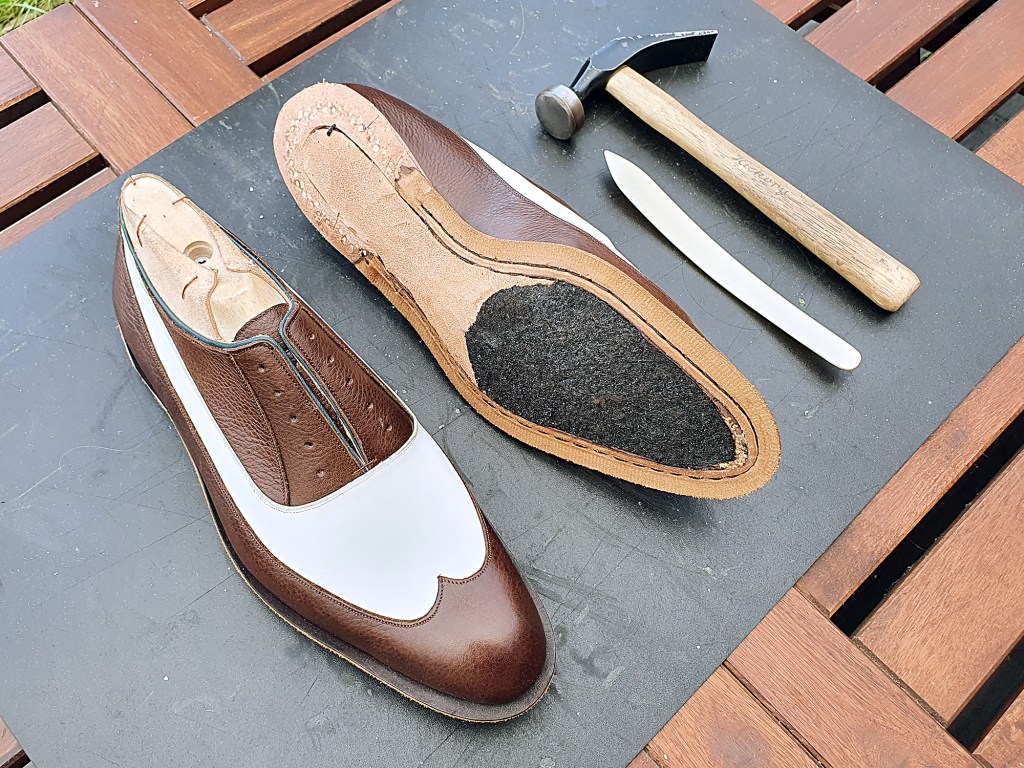
The upper leather used is Italian; brown 4 oz madras calf and white 3-4 oz aniline calf. (The uppers were closed ca four months ago, and now I regret not using premium shoe leather.) The shanks were covered in Tärnsjö leather, and the footbeds were filled with a layer of tar felt. I think the slightly odd pattern works, all tied together with green beading leather. Here I’m ready to cement the outsoles on:
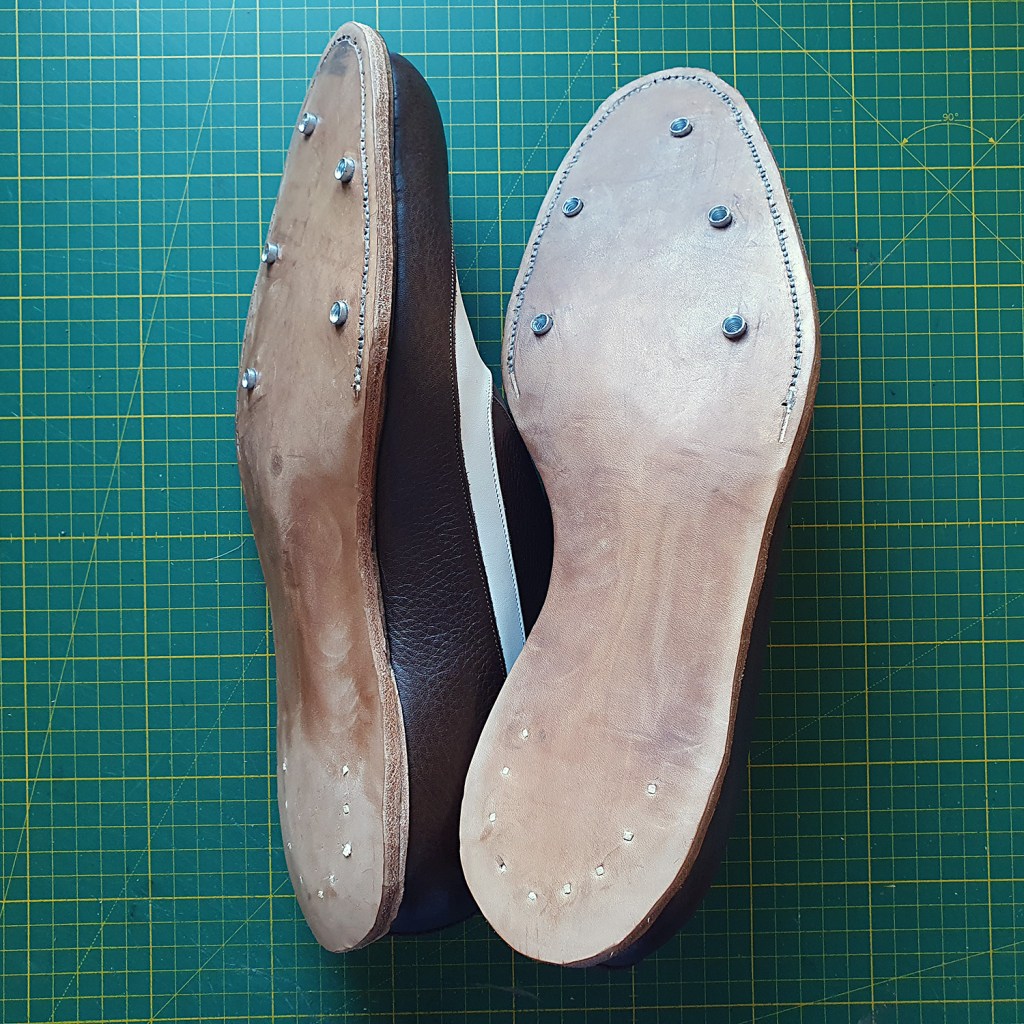
I prepared some 5 mm veg tanned hard outsole leather by making a pattern for where to place the t-nuts. I drilled holes in the leather at those points, and hammered the t-nuts in from the inside with the leather moist. (The t-nut cardboard pattern is important to save for later.) For inspiration on placement, I looked at my Nike golf shoes and basically copied that spike placement. Then I cemented on the leather outsoles onto the shoes.

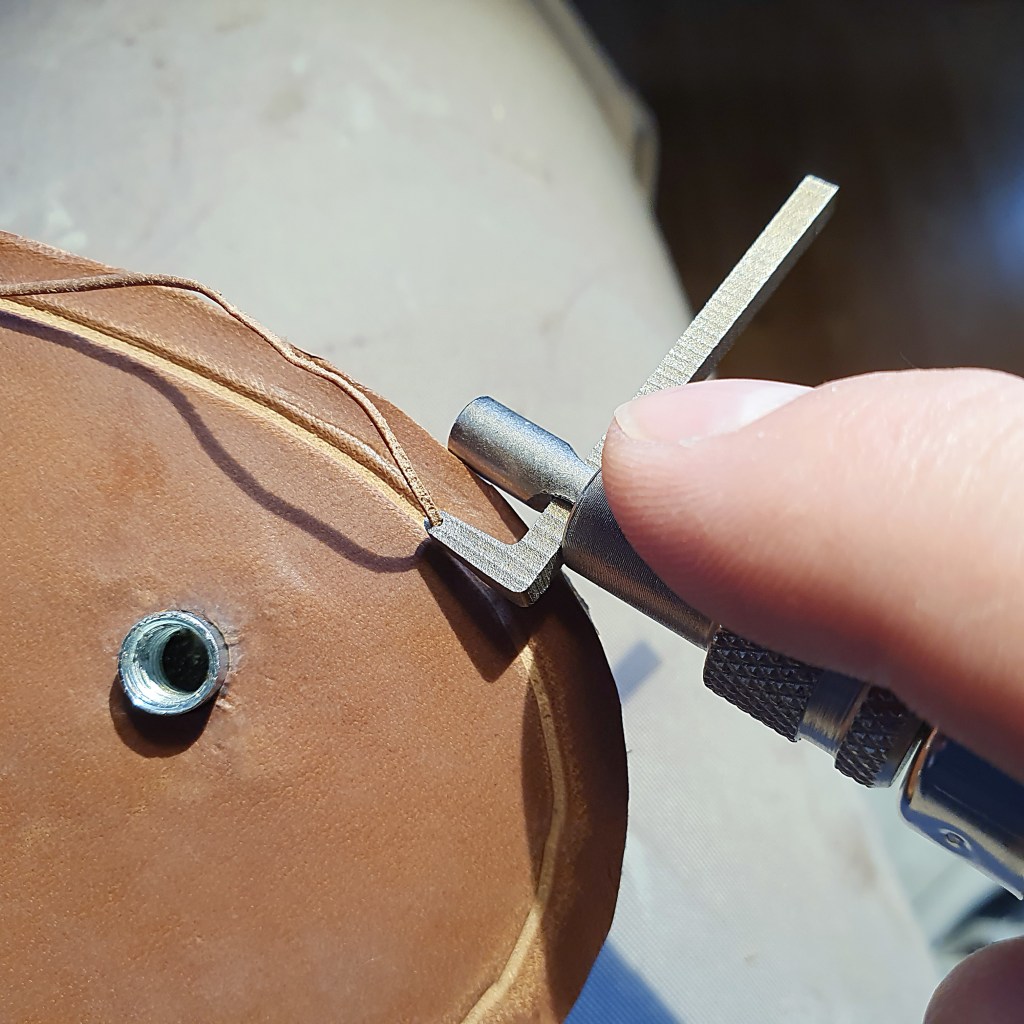
I used this kind of tool (dunno what it’s called?) to create a channel for the outsole stitch. Three laps did the trick.
Then I stitched the outsole at 9 spi. This was the first time I’ve used waxed polycord from Maine Thread Co, and it was an absolute pleasure to work with. This is officially my new thread of choice, and I will certainly be returning to them for more. The thread used here is three ply, 0.035″ thickness (or 0.89 mm in the real measuring system). Alas, I cannot blame the imperfections as seen below on the thread…

With both shoes stitched up, the t-nuts are still protruding quite a bit – which at this stage is good.
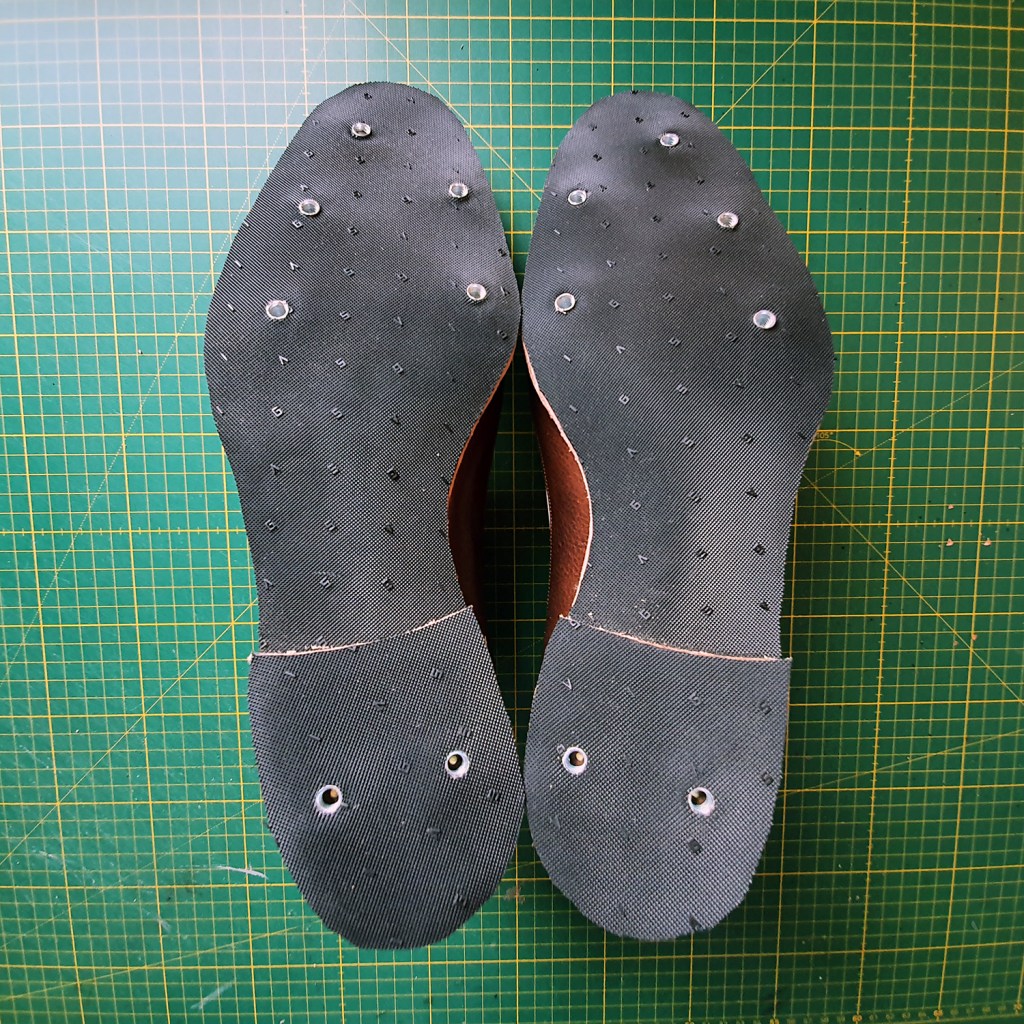
I used the same pattern as before to determine placement of the t-nuts, and cut out full length sheets from 1.8 mm Svig rubber sheeting, continuing in under the heel. (I punched up holes in the rubber, using said pattern, prior to cementing.) It’s quite important to align everything correctly. I also built the heels, and made top lifts in the same manner as the outsole.
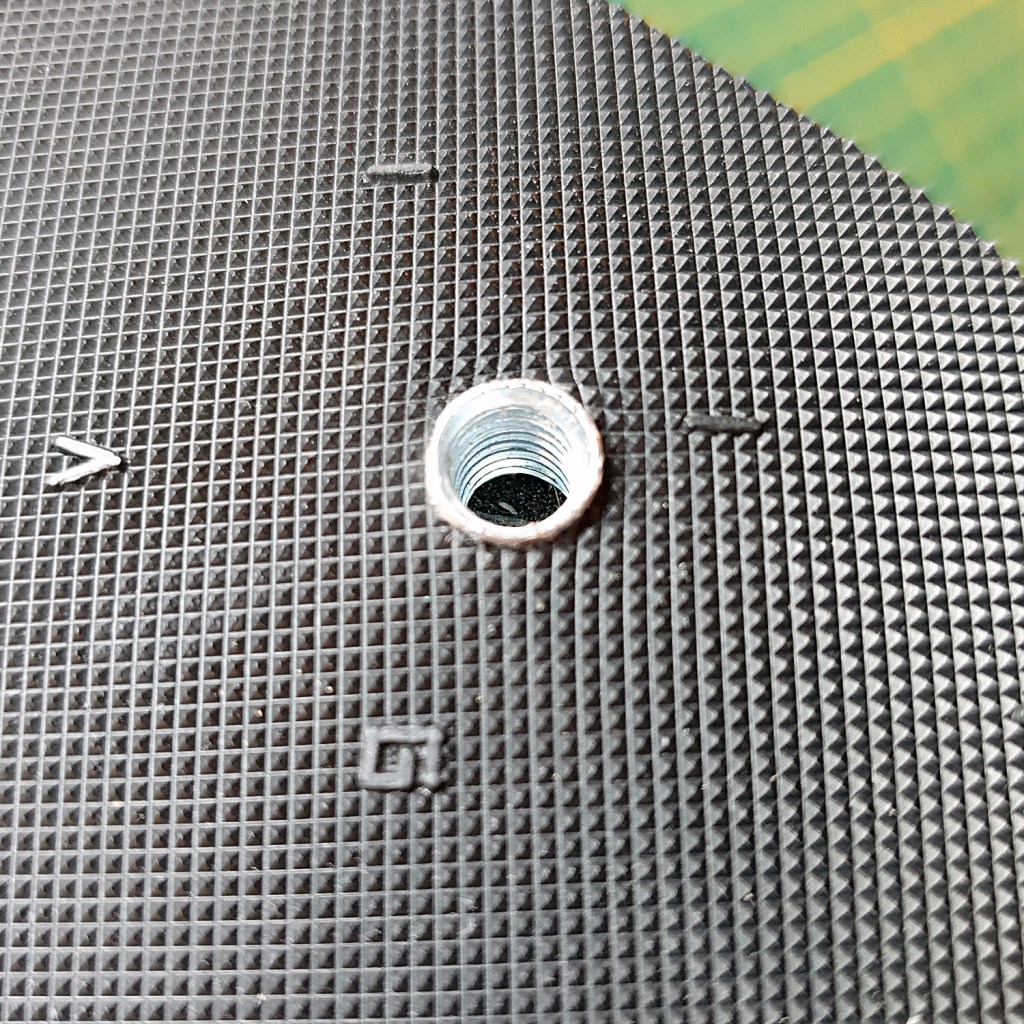
The fit around the protruding t-nut parts was rather snug. I used a plastic bone folder to really tuck the rubber tight against the t-nuts. (I started using a real bonefolder, but the plastic one could get in there even tighter, and didn’t risk chipping in the process.) I guess I could have gone up a girth with the hole punch, but the result was satisfactory.
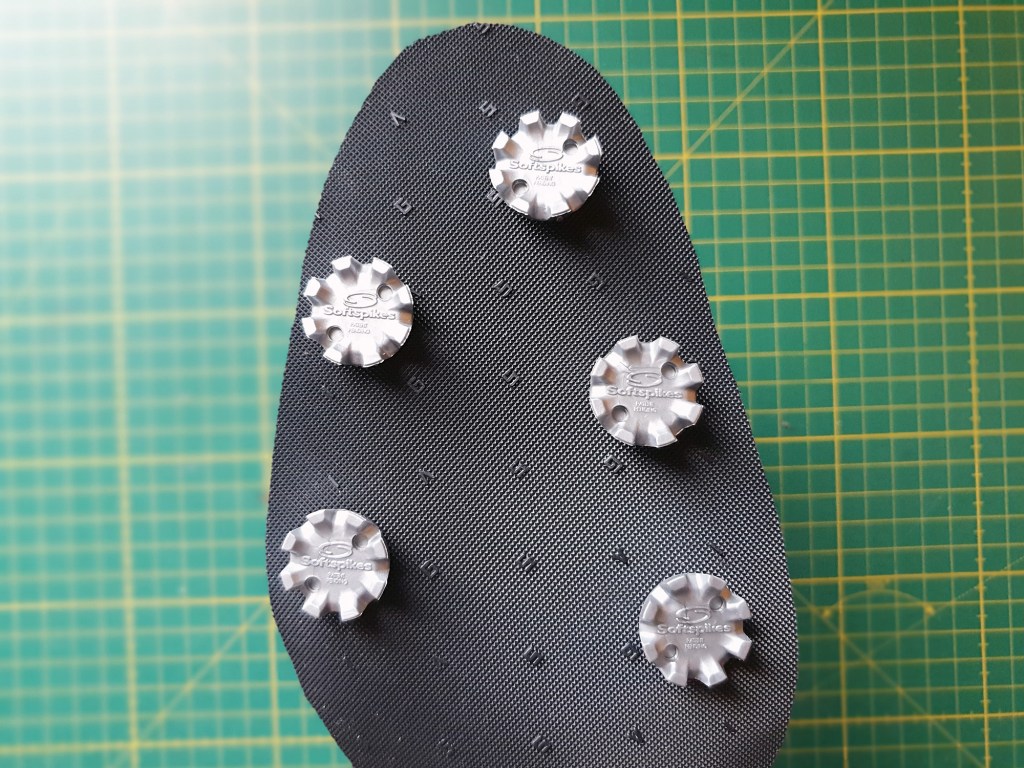
I screwed in some softspikes just to display how it can look like once they are finished.
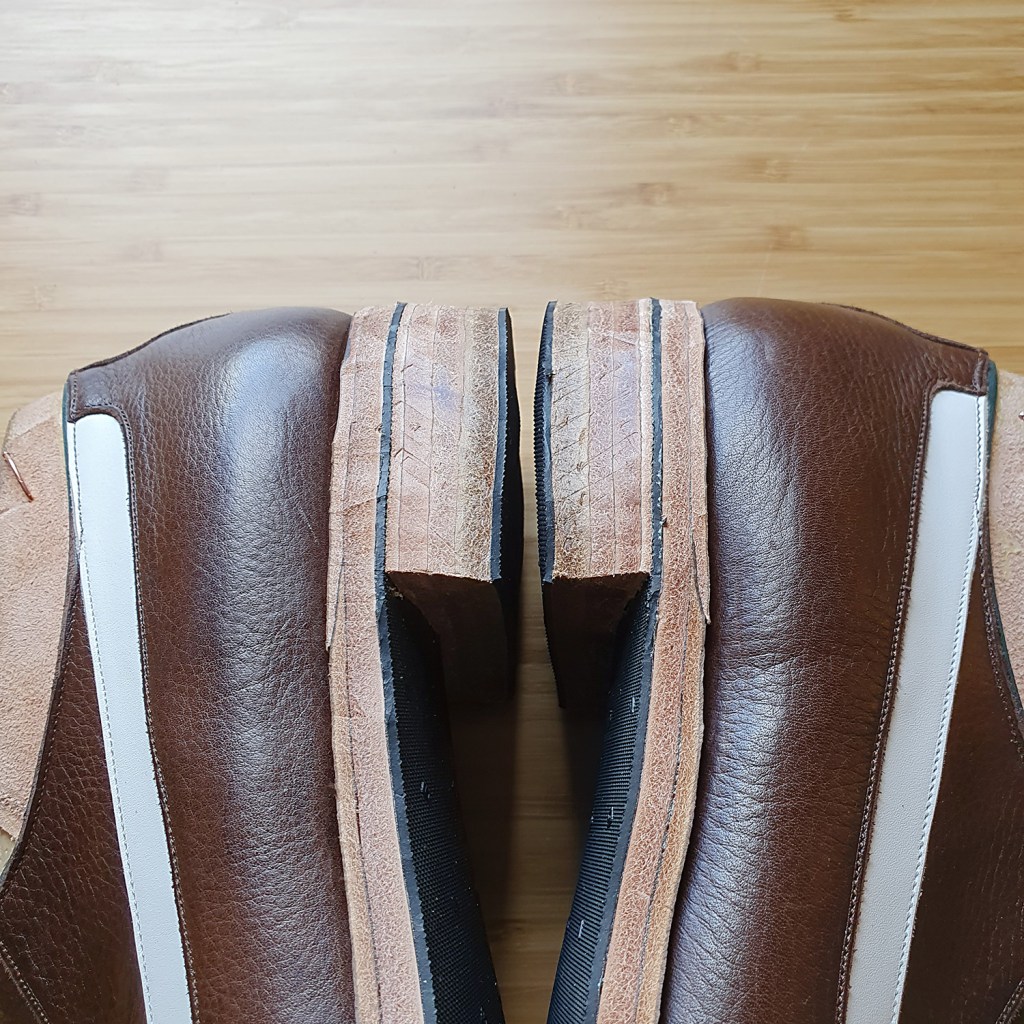
The heels were cut into rough shape and hammered while still moist to harden.
And this is exactly where I am at the time of writing. I have no idea whether the shoes will actually work, maintaining balance throughout the explosive golf swing, trodding through wet rough for a couple of hours over 18 holes… Time will tell. At any rate, the construction is complete, and now “only” the finishing remains.
