This post is long overdue, and so is the construction of these shoes. Life came in between, but now the secret workshop is operational again.
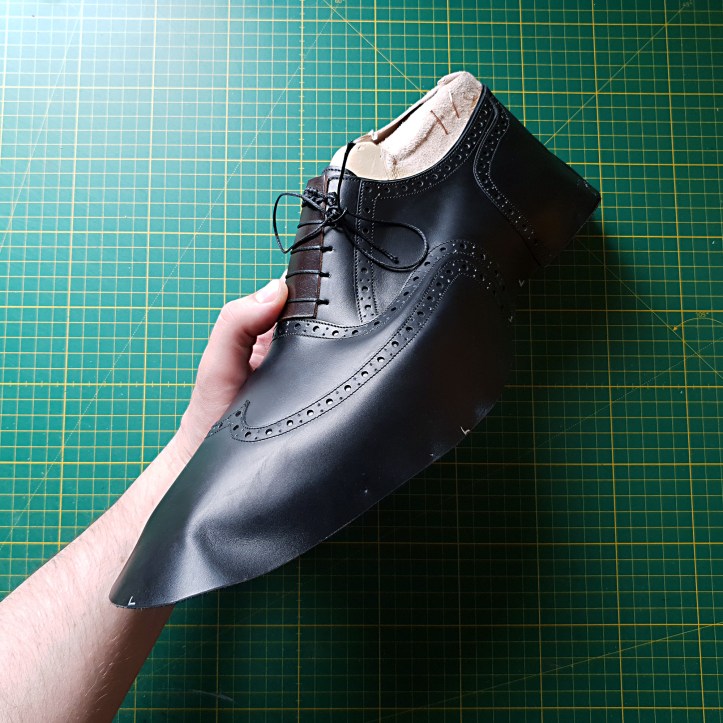
Made for myself, this is an attempt at one of my favorite styles. I’m not sure if this specific style has a certain category name, but it’s basically an oxford full brogue only without the medallion. It’s only personal preference of course, but I aesthetically prefer shoes without medallions.
The pattern design was made on April 29th.

Older still are the stiffeners at toe and heel, which were pre-molded around the chisel toe Springline lasts in febuary.

I have started to pre-shape 4 oz veg tanned side stiffeners like this, as I find it makes them much easier to insert neatly during lasting.
If the insole is the spine and the toe cap is the skull, here’s the hips and rib cages of the shoe skeleton:

I cut out and started preparing the uppers in black Weinheimer boxcalf. Likely the most famous black boxcalf there is, this is widely considered a world class option. It’s also one of the most beautiful leathers I’ve seen. I sourced it straight from Weinheimer, in the highest quality class of 5 (“DD”). But, this is also the most difficult to work with leather that I’ve tried, as it’s very firm.
Making and putting the upper pieces together took a fair bit of time what with all the stitches and broguing. Here’s right before closing them into a ‘three dimensional’ shape:

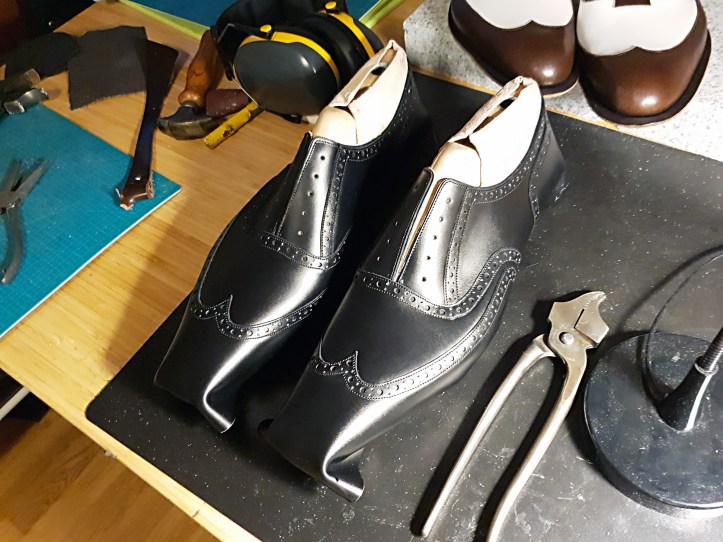
With tongue, beading and 2 oz veg tanned lining attached, the shoes were ready for lasting. In hindsight, I wish I had opted for a black lining.
While lasting the lining, I glued it onto the thick Baker insole at the toe part.

A shot from the bench with the lining lasted.
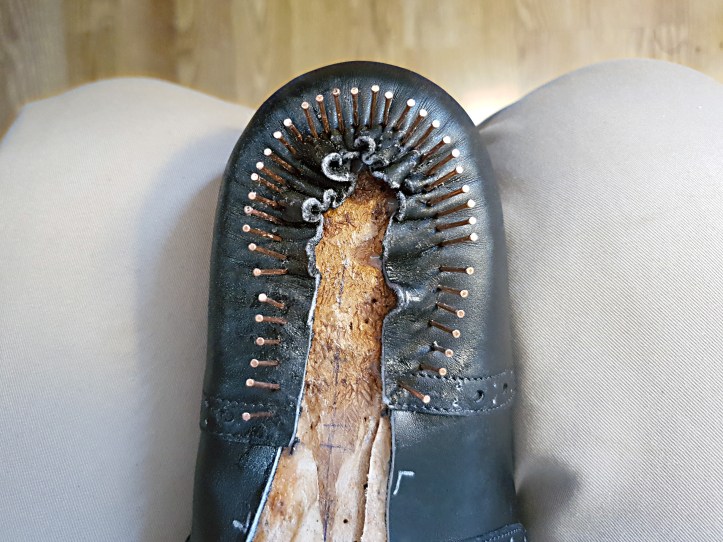
The pattern was made with seamless heels, and I wasn’t sure I’d be able to pull that off in this firm leather. I think it turned out pretty good for my skill level, although there are small wrinkles finding their way above the feather at some places.
In order to manage it at all, I had to moisten the upper leather with some water from the nap side, and use a whole lot of nails.
With hand welting done and J. Rendenbach outsoles attached, I stitched them up with a hidden outsole seam.

I stacked the heels, trimmed them into shape with a knife, and rough sanded them as shown below.
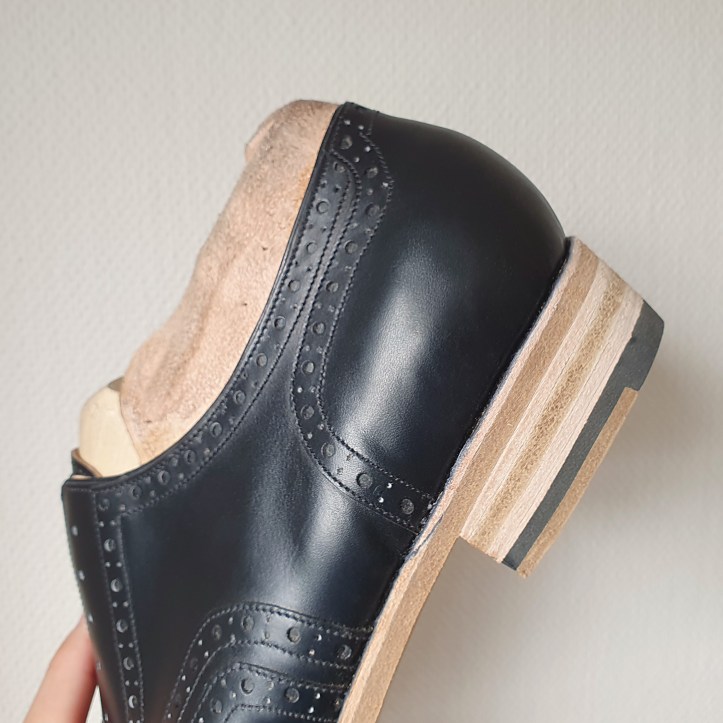
After that I continued with my ‘regular’ finishing process, heavily inspired by Carreducker’s Finishing Tips and Tricks. Here I guess I’m midway into glassing and sanding, before proceeding to burnish, ink and wax.


Those are dope! You are really inspiring me to take up the craft. You are honing your skills with every pair. Keep the post coming.
LikeLike
Major thanks, Curt – I appreciate it! Temporary pauses may come and go but I have no plans to stop any time soon! 🙂
LikeLike