Disclaimer: This post contains an old attempt at shoemaking, during the beginning of my journey. I really didn’t know what I was doing at this time, and the post is left online for archive purposes only. Please do not “learn” anything from it, as the post is certainly riddled with mistakes. It’s just a documentation on some of my thoughts as a beginner in this venture. For a more updated view of my shoemaking, please see my latest posts instead.
The first pair of lasts I ever bought, was a vintage pair off eBay UK. They seem to be bespoke lasts, and look like they were made in the first half of the 20th century. They have been adjusted with extra leather, and have hand written notes all across the lasts. Among these notes, “Ambassador” is written across both lasts. I can’t make out whether this is a base last model name, or the individual title of the recipient of the bespoke pair. I prefer to think the latter.
“Ambassador” will be a cap toe oxford, made in black Weinheimer box calf. This will fulfill one of my goals for 2020 – to make at least one pair with brand bespoke calf leather.
Alas, I have no images of the pattern, but it’s pretty straight forward. The insoles were carved out of thick Tärnsjö leather.

Making a pair of shoes is playing 200 little minigames. I love the “insole holdfast cutting” minigame. I didn’t use a plough – just a knife – and I think I nailed it. The leather strip cut out from the inside of the holdfast was saved, to later be re-inserted after welting.

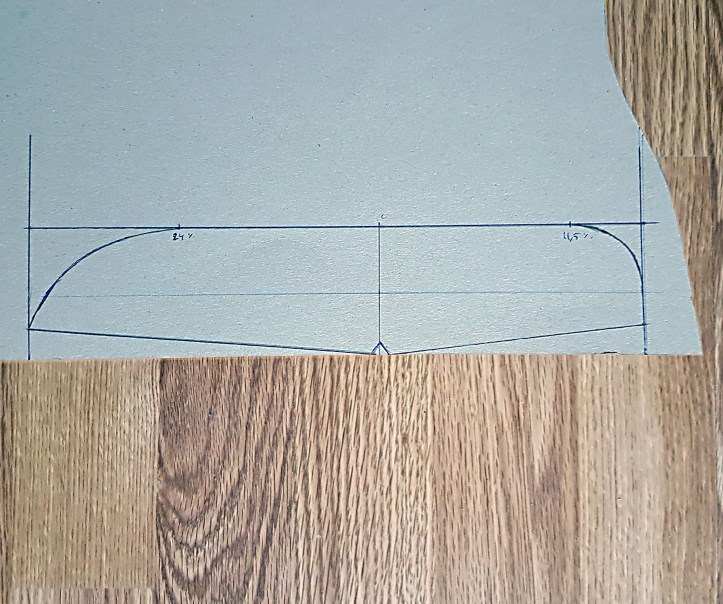
Like when I did the last pair of shoes, London, I used these instructions posted on Instagram to make heel stiffeners. I complemented the instructions with my own estimation of where the curves should start for the inside and outside of the shoe, as noted on the pattern made below. At 24% of the total length of the stiffener (which is also the length of the last), I started the curve of the inside/arch. (The shape of the curve was drawn free hand.) At 11,5% of the total length of the stiffener, I started the curve of the outside, which too was drawn free handed.
When the lasts were free, I made linings out of 2 oz veg tanned baby calf, and lasted them to attach to the uppers. I’ve started to “cheat” while lasting, by pinning a separate piece of veg tanned leather on top of it all. This helps to further eliminate any unwanted space between the leather and the last. (I especially do it after the final lasting, but did it now on top of just the lining as well.)
Focusing on the work itself instead of taking photos, I don’t have too many images from the construction of this pair. My next image is from the welting, with the strip of leather that was carved out by the holdfast inserted back into place.
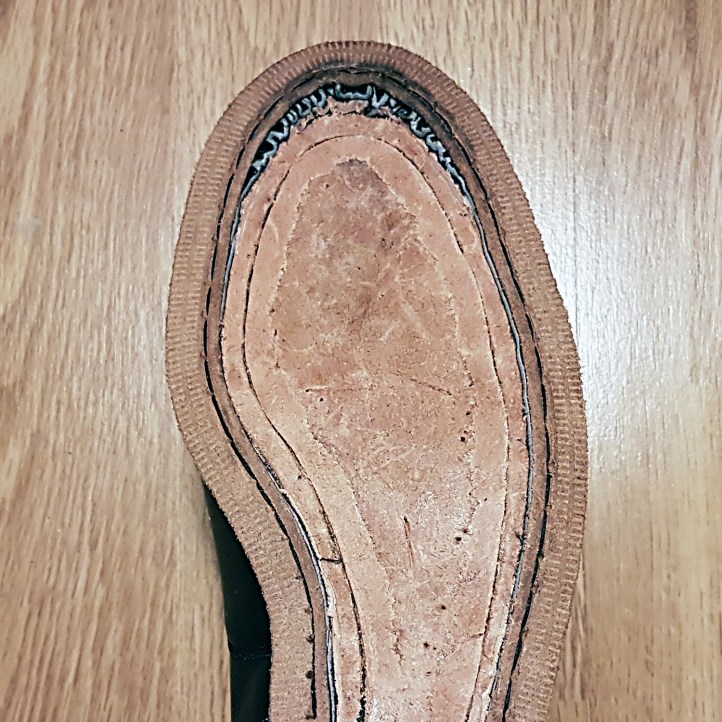
This little strip helps keep the surface level. Here’s a closeup:

When it was time to fill the footbeds, I used tar felt. It has a ‘chewey’ feel, is slightly sticky and emits a pleasant scent. I nail it temporarily to the foot bed, and hammer it on the inside of the welt. This reveals the area needed to be filled, in rough contours.

Carefully following the welt line, taking special care to not cut away too much of the felt, I trim it off. I do so using a cheap snap-off blade, as the blade is quickly ravaged by the sticky tar felt. Once it has a nice shape, I remove the nails and attach the tar felt with some cement.

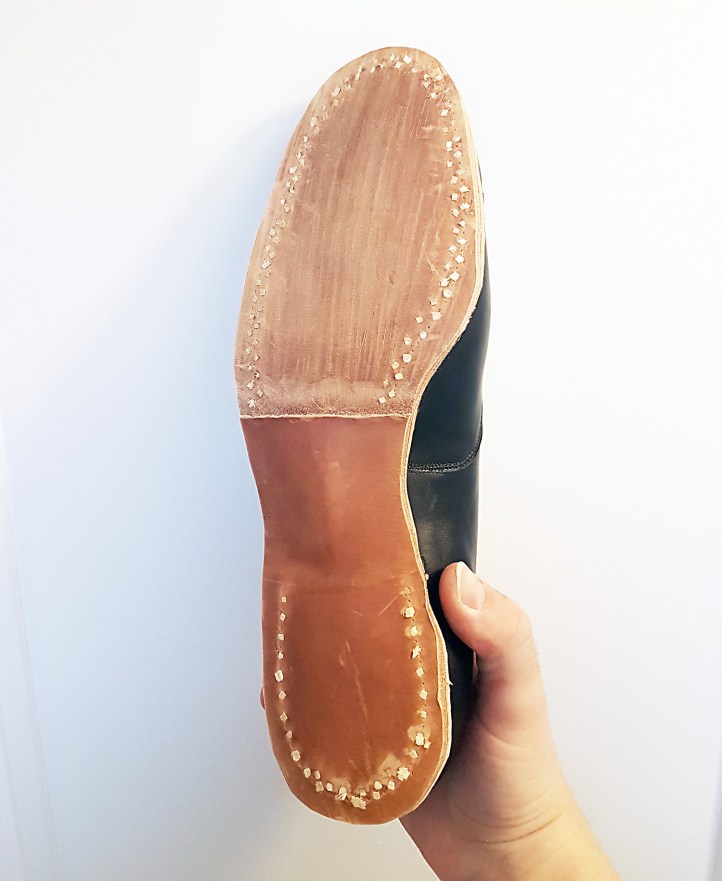
I slabbed some outsoles onto the shoes and cut a sunken forepart, where I will insert Vibram rubber. Then I realized I had made a mistake while welting one of the shoes, where the welt went in too much under the arch. As an experiment, I tried to peg the outsole into place instead of sewing it. I realize it’s a bit weird to peg on top of the welting.
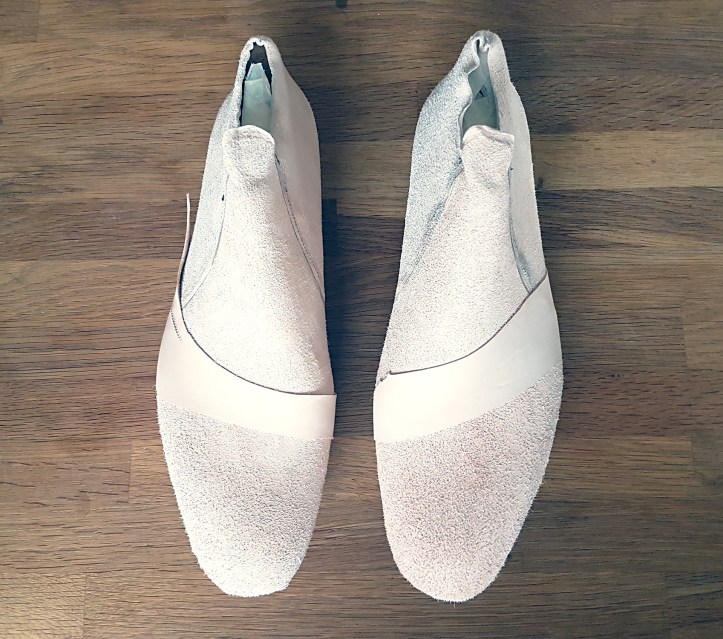
And there we go – an experimental pair completed. It feels strange with no outsole seam. If nothing else, the Weinheimer leather is absolutely stunning (although it was a bit difficult to last), and I look forward to working with it again.

