Disclaimer: This post contains a very old attempt at shoemaking, during the very beginning of my journey. I really didn’t know what I was doing at this time, and the post is left online for archive purposes only. Please do not “learn” anything from it, as the post is certainly riddled with mistakes. It’s just a documentation on some of my thoughts as a beginner in this venture. For a more updated view of my shoemaking, please see my latest posts instead.
This shoe is taking forever to finish. I’ve been focusing on other projects like miscellaneous leatherworks, life in general, and starting new shoe and leather projects before finishing old ones…
Anyway, when Kirby was lasted and dry, I trimmed off excess at the heels and pegged the rands.
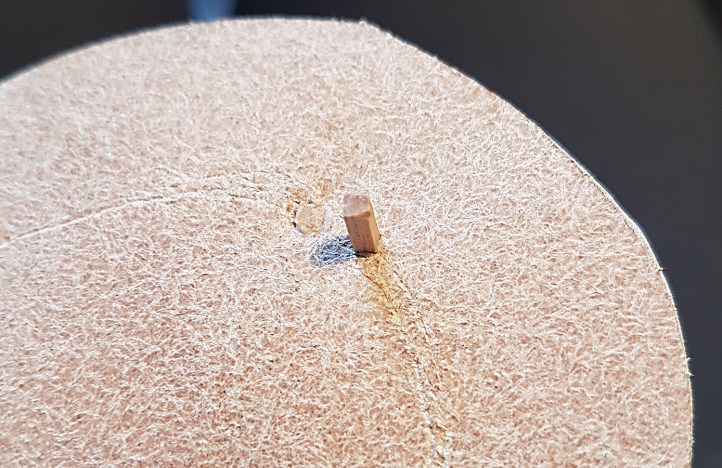
This time around, I am diverging from my usual combination piece of rand and welt. Instead, I pegged on separate rands in 9 oz veg tanned shoulder, and used proper welting leather from Leather & Grindery UK.
I let the welts soak in warm water for a while, dried them off, and cemented one of the edges to the fully pegged rand. (The pre-dyed welt in black did release some color in the water, but the unleashed dye didn’t damage the uppers of the shoes. For my next pair, I will try their regular, non-dyed option for welting leather and just dye it myself.) Then I welted the shoes through the holdfasts of the 9-10 oz veg tanned butt insoles, selected to keep the profile of these shoes down a wee bit.

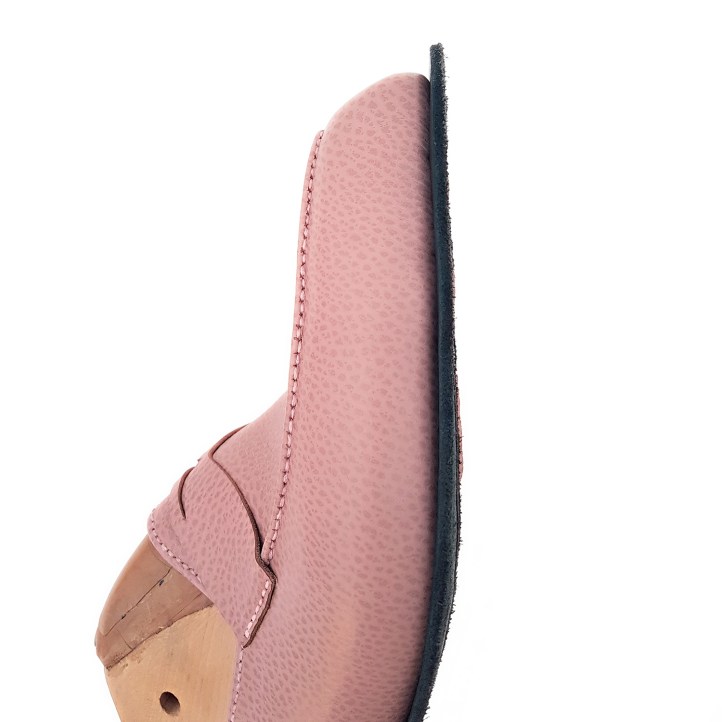
Previously, I had dreaded using a single strip of welting leather, as I could not fathom how to turn it at the toe without having it curve upward. The “trick” was to just keep it moist, not pull it for king and country at the toe, and not do anything stupid in general. For my first attempt with real welting leather, I am satisfied.

A view from the side:
I filled the footbeds with cork, slid in some metal shanks, and filled the spaces over the shanks with a couple of layers of vegetable tanned leather with varying properties.

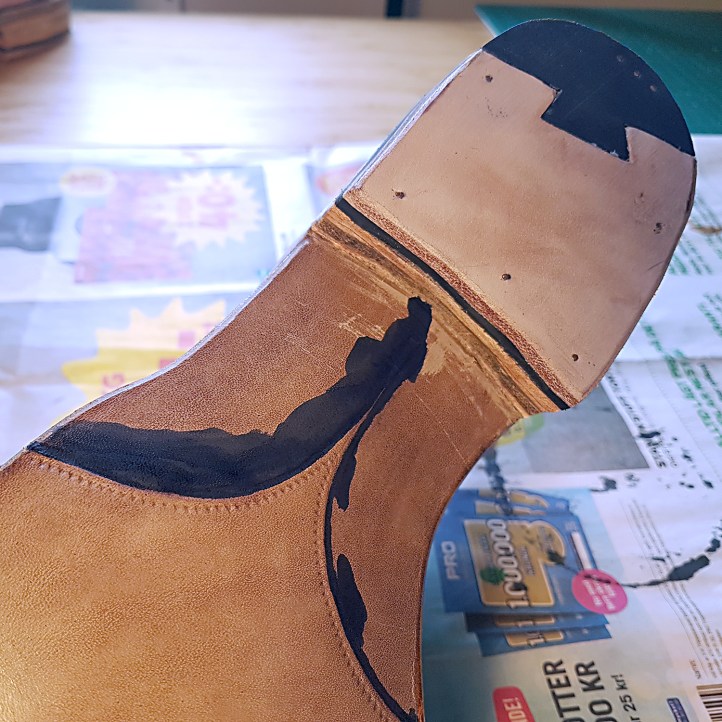
I cemented on the 9 iron JR outsoles, and cut a flap open to do a hidden outsole stitch.

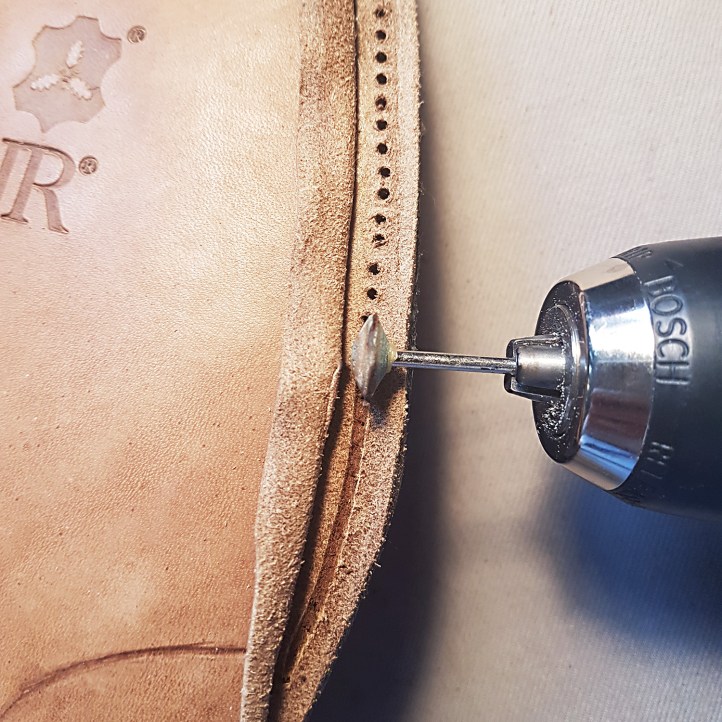
I know that this is cheating, but I used a hand-held cordless screwdriver to make the 1 mm stitching holes, and ground up a channel using a small grindstone drill bit.
Then I sewed the outsoles to the welt with some curved needles and 1 mm thick waxed polyester thread in pink.

I built the heels, and used some proper shoemaking rasps that were generously donated to me by Incognito_leather to start the finishing process. Thanks a million!

Rasp, rasp away – always going in only one direction as not to create a furry fuzzbomb.

After rasping and then sanding the heels and edges in various grits, I decided to go for a contrast finish of the outsole waist. I used a small Warhammer paint brush from my youth to get in close to the fiddleback with the leather dye (which I find has a tendency to spread unevenly unless carefully controlled), before using a bigger dauber for the bulk of the waist.