Disclaimer: This post contains a very old attempt at shoemaking, during the very beginning of my journey. I really didn’t know what I was doing at this time, and the post is left online for archive purposes only. Please do not “learn” anything from it, as the post is certainly riddled with mistakes. It’s just a documentation on some of my thoughts as a beginner in this venture. For a more updated view of my shoemaking, please see my latest posts instead.
The Masters at Augusta 2019 is less than 2 months away, and the making of the (unofficial) Augusta shoe is progressing.
While lasting the heels of Augusta I allowed some Hirschkleber to go in under the insoles, as I usually do. This 3-4 oz deerskin is tremendously supple, which allowed for a very clean trimming around the heels.
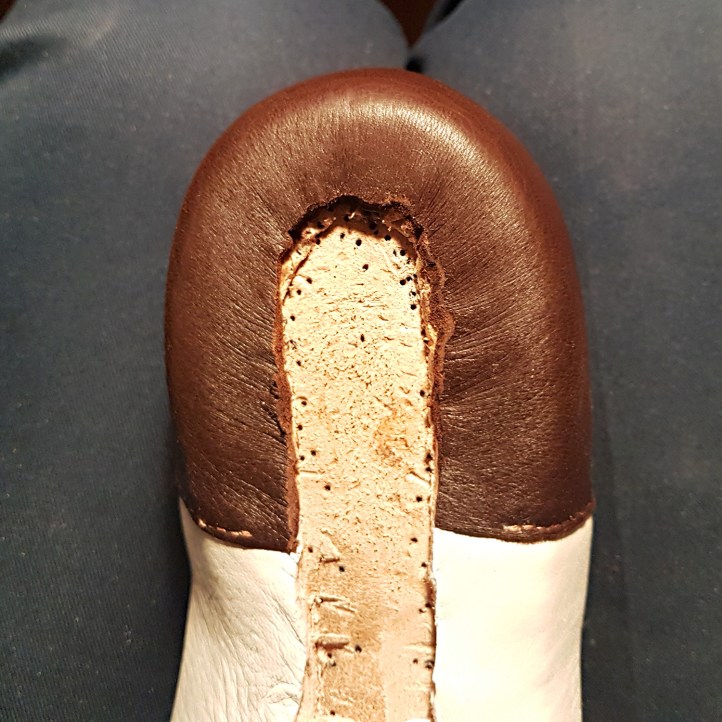
I pegged a rand/welt combo piece onto the shoes, and welted them through the holdfast I had carved in the 5 mm veg tanned insoles.

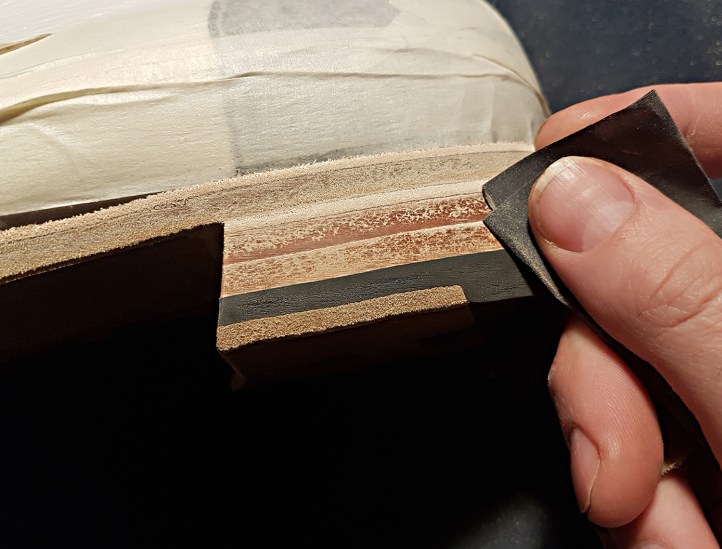
I slid in some plastic shanks, and filled the footbed with one layer of 6 mm sheet cork. Then I covered the top of the shank in a couple of layers of vegetable tanned leather of varying thickness, and put in some skived 4 oz veg tanned calf side at the top of the toe to even out the thickness there. I skived merely a tip of 5 oz veg tanned shoulder and cemented to the middle of the waist, to help with creating a nice waist decoration of the outsole.

I had prepared the J. Rendenbach outsoles by letting them soak for about 2 hours in warm water, then rest wrapped up in a towel for 24 hours, and then aired without the towel for maybe two hours. I cemented them onto the shoes, and went to work with a bone folder to create a fiddleback waist.

I returned another day to re-moisten the outsoles and carved a flap open to do the outsole seam at 8 spi.

It’s only visible for moments, but I do like the look of a stitched outsole from underneath with the flap still open. After this image was taken, I cemented it shut.

Once fully dry, I sanded the outsole edges and used some broken glass (sourced for free from a local glass smith) to even it out. Then I sanded some more, and glassed some more, and sanded some more. The glass I got was slightly too thick, so I think the results would be better if the glass would be slightly thinner.

I also went to work on the heels, determined to make my nicest looking heels yet. The second rand was made with 5 oz veg tanned split shoulder, and the heel lifts are 12-13 oz veg tanned butt. The top lift is JR 1/4 rubber. I rough sanded the heels with heavy sand paper, and then rasped them with a regular toolbox rasp (as I have yet to obtain a proper shoemaker’s rasp). Then I sanded them with 180 grit sand paper, after which I glassed them. Then I sanded a couple of times with 320 grit sand paper, and glassed again. As a final touch, I sanded a couple of times with 600 grit sand paper.
I have yet to proceed with the finale of the finishing process, but aim to do so shortly and return.
