Disclaimer: This post contains a very old attempt at shoemaking, during the very beginning of my journey. I really didn’t know what I was doing at this time, and the post is left online for archive purposes only. Please do not “learn” anything from it, as the post is certainly riddled with mistakes. It’s just a documentation on some of my thoughts as a beginner in this venture. For a more updated view of my shoemaking, please see my latest posts instead.
While activity on this blog has been scarce lately, I’ve been updating my Instagram account more frequently @secretcobbler.
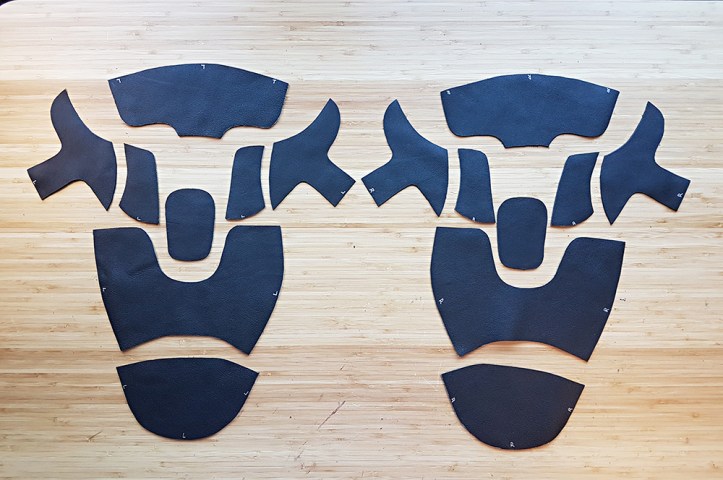
I’m currently working on a new pair of shoes, made on a new (vintage) last bought through German ebay. This will be a black cap toe oxford, with casual details like lots of broguing and visible eyelets. Here’s the pattern design, made on march 25:
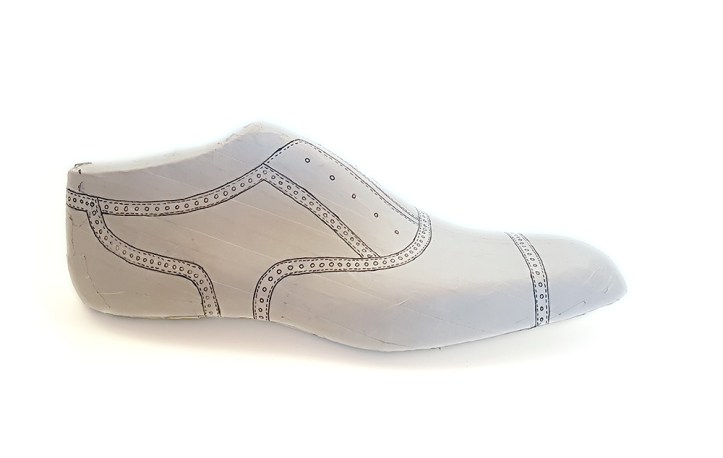
I didn’t go for a medallion, simply because I don’t particularly care for medallions.
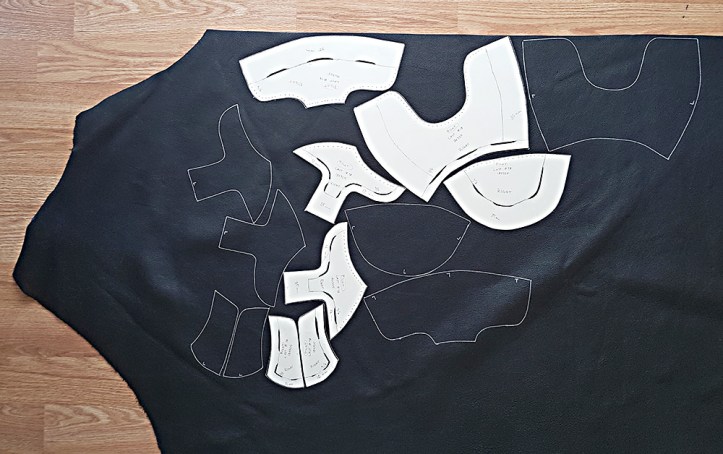
I transferred the pattern from tape to cardboard. Then I traced around the 4 oz upper leather from buyleatheronline.com, on the grain side of the leather with a silver pen. I tried to use the best part of the hide while avoiding bug bites and stretch marks, and keeping the direction of the leather in mind.
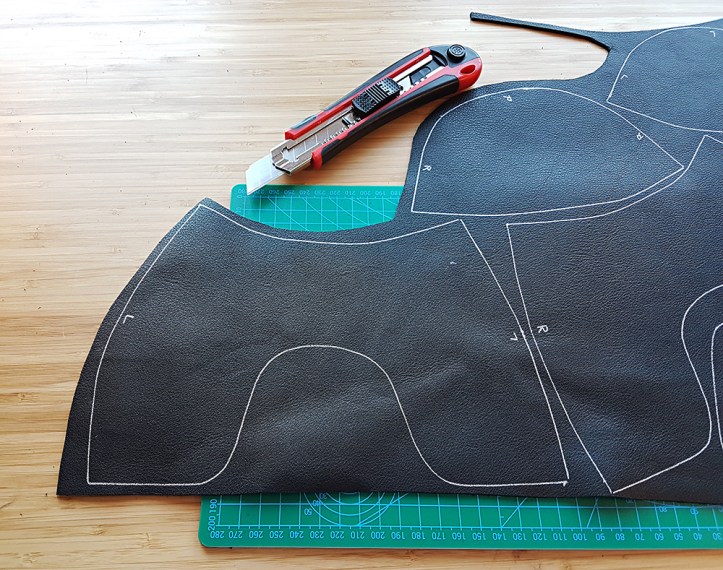
The leather pieces were cut out on my (too) small cutting mat with a snap-off knife, tracing just inside the silver outlines with the blade.
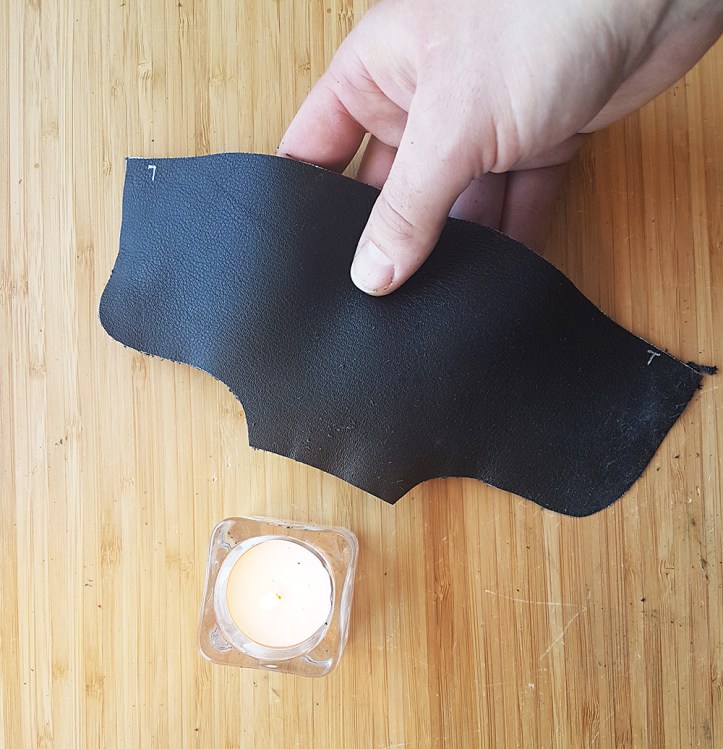
I skived the pieces on a marble cutting board, and burned the nap edges over a tea light.
And so the puzzle of the uppers had begun.
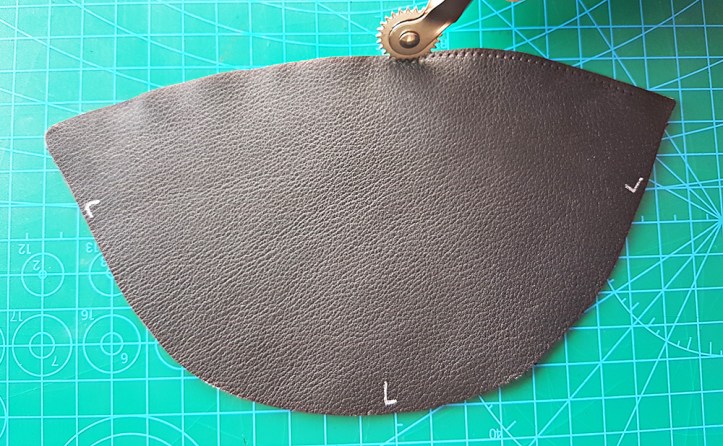
All seams on these shoes will have broguing with two rows of stitching, save for around the facing. I used a pricking wheel where the seam closest to the edge would go on all pieces, before punching the holes out.
Then I punched out the brogue holes. To my aid, I had a set of one, two and four 1 mm barrels. Mostly, I used the tool with two barrels. (I didn’t skive the leather on the sides of the shoe opening, leaving them thick.)

When broguing was done, I pricked the second rows and glued the uppers together. I held the leather in place over the last when setting two pieces together (which is why it wrinkles when laid out flat), but didn’t glue it all together into a three dimensional shape just yet.
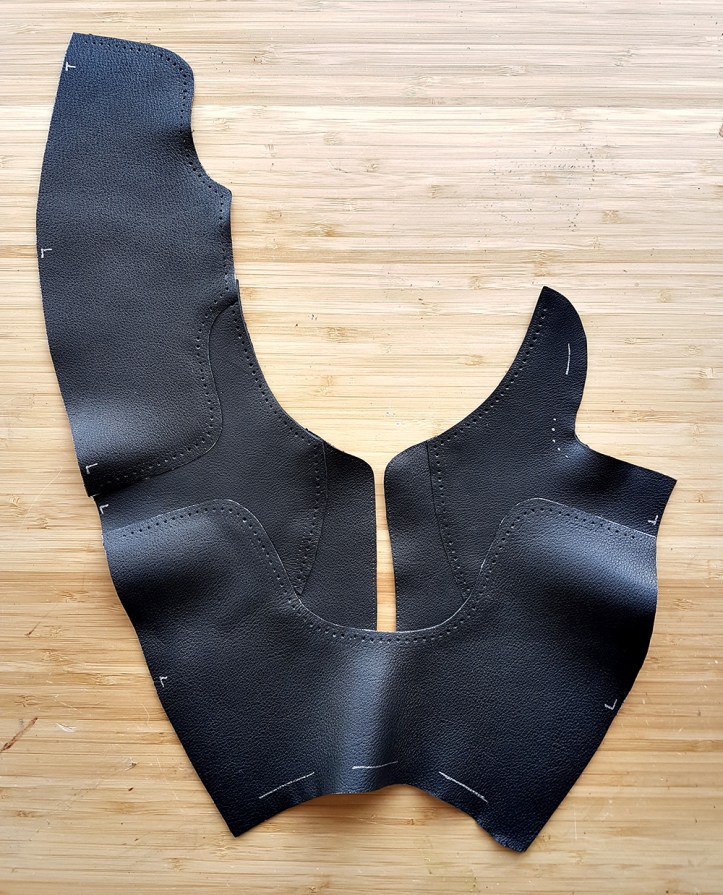
The facings didn’t really connect as I had anticipated, leaving too wide a gap. Even though I wanted to leave a gap, to have sufficient room for top beads, it ended up being too wide. This was a mistake that will not be repeated for my next pair.
With hammer and awl in hand, I punched out the holes for sewing. There were lots of them. (I estimate 800+ stitching holes on each shoe. Counting the brogue holes as well, that easily totals over 2000 hand punched holes on the pair.)
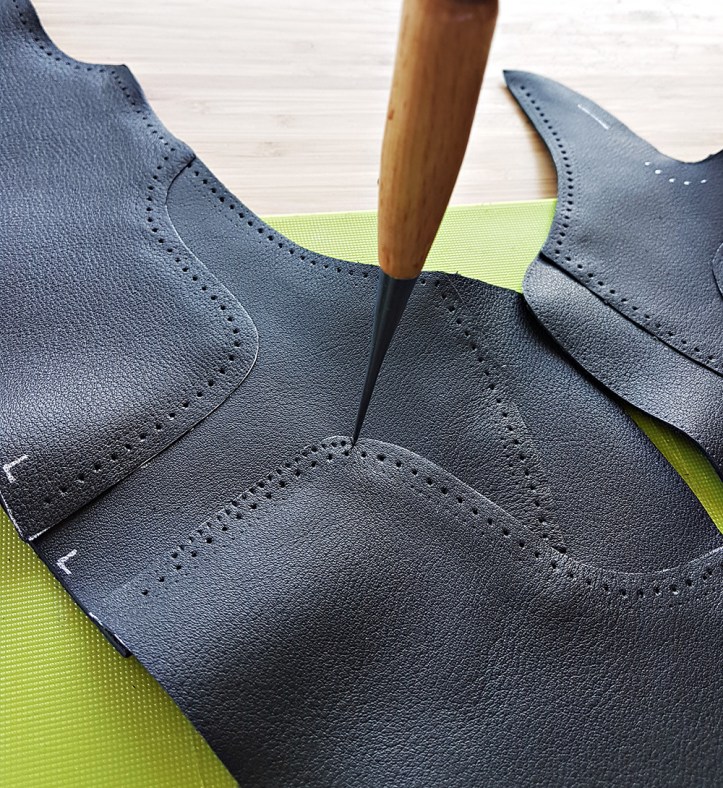
Then I sewed through said holes, with needle and bonded nylon thread. Considering the amount of holes, the fact that there are two rows instead of one, and because I like it, I went for a running stitch wherever there were two rows.

With the uppers sewn together, I made a two-piece lining out of 1st grade 2 oz baby calf. Previously I’ve made linings with three pieces (with a separate piece for the toe), but I figured this construction would make for a smoother shape once lasted.
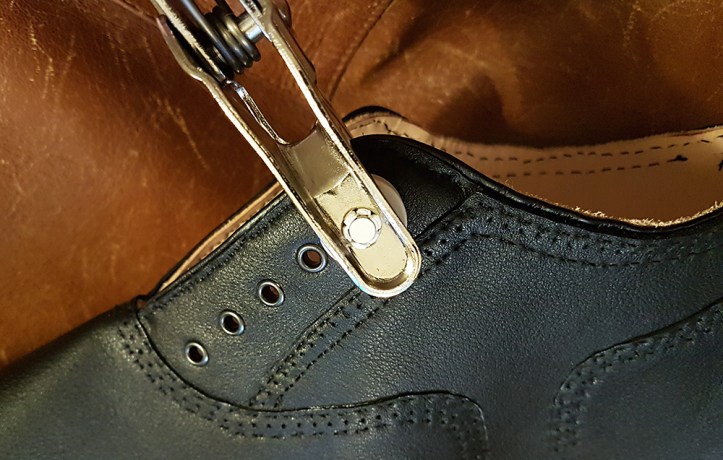
I used an eyelet pliers to set some 3,6 mm YKK eyelets.
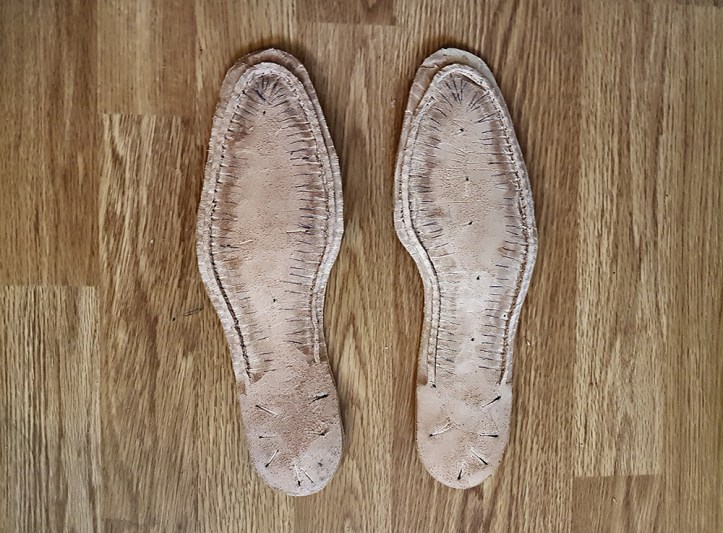
For insoles, I hammered chunks of well moistened 13 oz calf butt onto the lasts. I rough trimmed them, and cut out a holdfast to use for welting.

I used a curved awl to make welting holes through the holdfast. I’m not sure if it’s necessary, but like last time, I also popped a nail into each hole to ensure that the insoles dried up nicely with the holes intact.

Then I removed the insoles from the lasts for a final trim.
To make sure that the fit of the lasts was good, I made a very crude test shoe. I used two cemented layers of 4 oz veg tanned leather for “insoles” and made a two-piece upper out of 2 oz calf leather (basically the same way as I made the linings). I cemented a crude heel counter straight onto the upper and applied contact cement to the toe to stiffen that up a bit (without actually cementing anything on there). I also strengthened the face with a reinforcement fabric. I cemented on a 5 oz “outsole” and nailed on three 5 mm heel lifts.
Only scrap leather was used to make this raw test shoe, and it took around two hours to craft all in all. The arch seemed a bit too roomy, so I ground the arches down on the wooden lasts a bit, trying not to overdo it. (I also ground down the toes into an ever so slightly more chiseled shape, after this test shoe was made with the round toes of the original lasts.)

Confident enough with the fit to proceed, I prepared the actual pair for lasting. (Ie, I tied waxed polyester thread through the last pieces to make last removal easier, and protected the facing with a thick paper.)

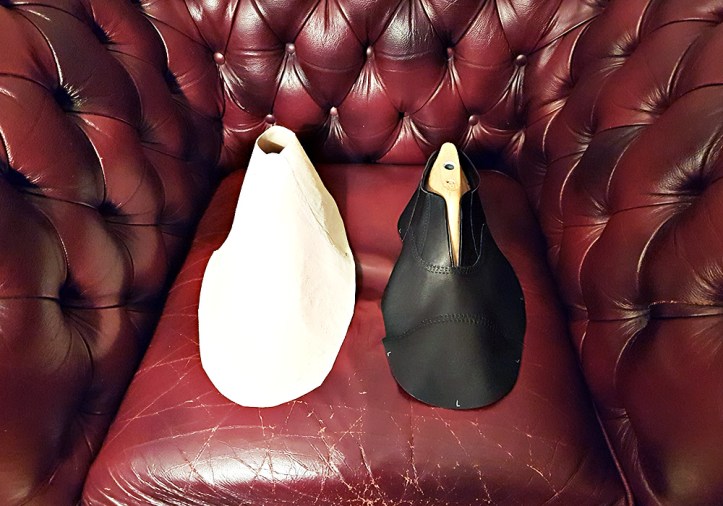
I moistened the veg tanned lining with warm water using a rag, talced up the lasts, and lasted the lining.

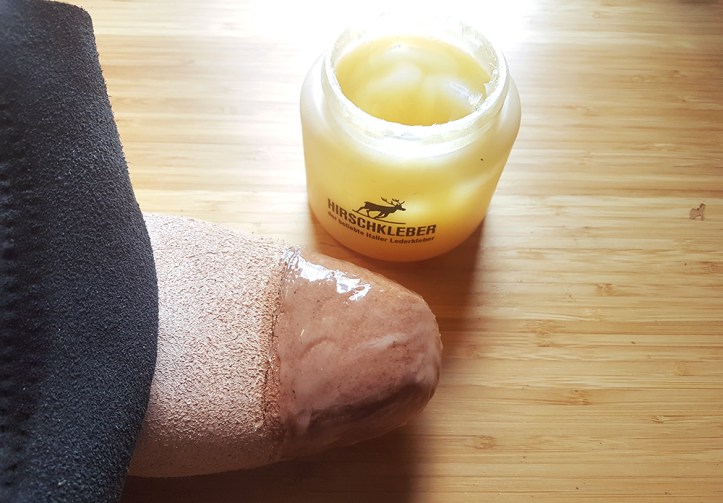
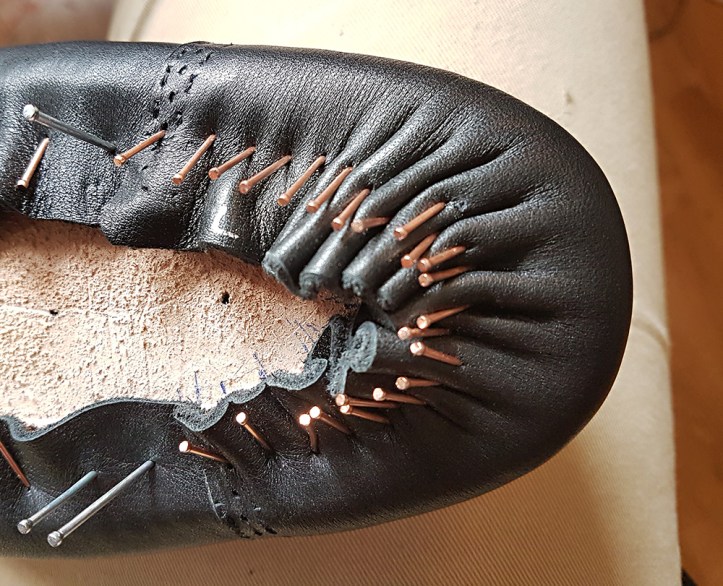
After the lining had dried thoroughly, I lasted 5 oz veg tanned shoulder leather with Hirschkleber craft paste, to reinforce the toes and heels. (The Hirschkleber was first applied straight from the jar with a paint brush and then slightly watered down directly on the leather, using the same paint brush dipped in water.) I love the smell of Hirschkleber in the morning.
Prior to this step, the stiffener leather was cut out, skived, burned and bathed in warm water for 15 minutes before lasting. (After the image below was taken, I pounded the protruding nails towards the center of the last to secure the lasted shape.)

Same for the heels, which I again made ca 2 cm longer on each side compared to the heels of the upper pattern shape.
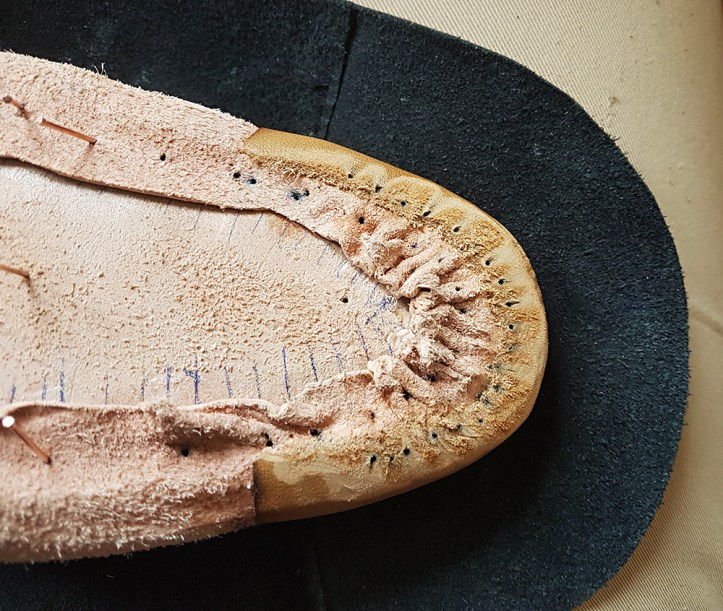
Once the stiffeners were dry, excess leather was trimmed off with a blade. I left very little excess at the toe (trying to cut the stiffener leather along the top of the holdfast of the insole), and left more excess at the heel (ca 15 mm on all sides of the heel, to later hammer pegs through). After the image below was taken, I moistened it and hammered it slightly before proceeding to the final lasting.
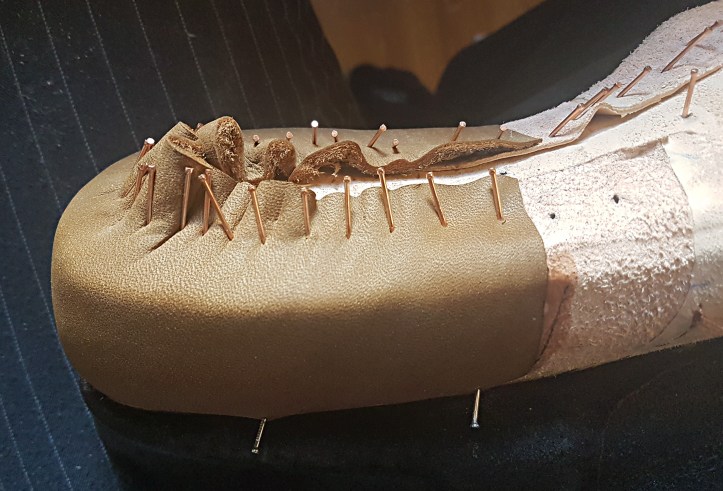
Then, finally, it was time for the final lasting. I put more slightly watered down Hirschkleber on top of the toe puff, put a nail in on both sides of the ball, and then lasted the toe. (The big nails in the image below are there simply because I ran out of my favorite nails while lasting… I have since ordered more.)
This was repeated for the heel, and the rest of the shoes were lasted. With the final lasting complete, Sigtuna is starting to take shape.
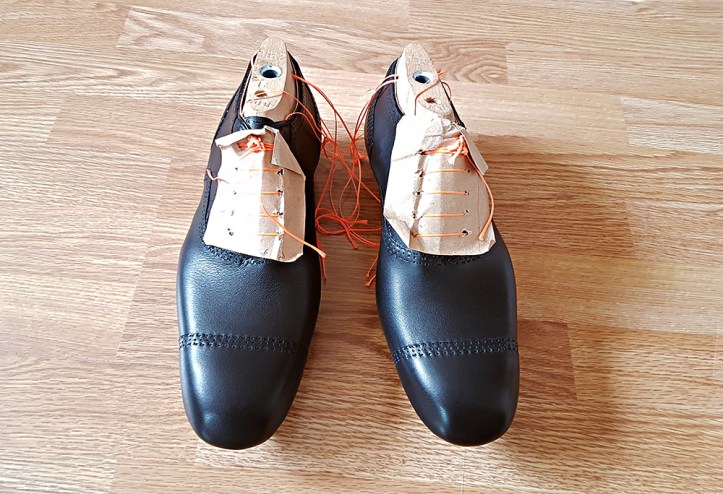
Up through the final lasting, I’ve worked on this pair effectively for 44 hours (excluding Instagram and blogging, keeping tedious records in Excel of the work hours).
As I do not have any tutor or education in shoemaking, I am trying my best to pull this off on my own…

Hey men..just found your post on shoe group in fb, btw nice work.
I’m crafter from Malaysia also very newbies and have to learn more how to make a shoe. Im right now to find 2nd shoes last for coming project. Hope more skill from you can share and i can learn from it.
Cerio mate.
Regards
Shafid Donato
LikeLike
Hello Shafid,
Thanks – and nice that you stopped by! I don’t have much experience with lasts, but can really recommend Springline.net. I wish you the best of luck (and skill)! 🙂
LikeLike
I just ordered lasts from Springline too! I’m very excited!
LikeLike
Awesome! It will be a worthy investment I am sure. 🙂
LikeLike
You are SO much further along than me. I’m still skiving and putting holes in my leather. 🙂 The only think I see is generally cobblers use a double running stitch. I can’t wait to see how your shoes progress in future!
LikeLike
Hi Cynthia, and thanks for the comment! 🙂 I find that shoemaking and stress are not compatible, so I hope you enjoy the journey – before long I’m sure that nice results will follow! 🙂
I also think a double running stitch is more common (at least for the row closest to the edge, if not both rows), and will probably do it on my next pair! (I’m constantly planning my next pair, even with hours and hours left on the current one…)
LikeLike