Disclaimer: This post contains a very old attempt at shoemaking, during the very beginning of my journey. I really didn’t know what I was doing at this time, and the post is left online for archive purposes only. Please do not “learn” anything from it, as the post is certainly riddled with mistakes. It’s just a documentation on some of my thoughts as a beginner in this venture. For a more updated view of my shoemaking, please see my latest posts instead.

Fancy shoes require fancy names. Thus, I have named my first attempt at a proper pair of shoes Wenngarn, after the Swedish castle. This post covers the progress all the way to the final lasting. Before the pictures (and there are lots), here’s a summary of what I’m doing differently from my prototype shoe:
Improvements / Experiments
- New lasts. Wenngarn is built upon Springline’s last 977 in size 10F. Hopefully this should be a good if not splendid fit for me.
- One pattern, not two. I realized that as long as I don’t make any adjustments to the lasts, they are mirrored. Hence, I only made the pattern on the right shoe, and simply flipped all the cardboard patterns upside down when cutting out leather for the left shoe.
- Leather choice. I’m using chrome tanned 3 oz (1,2 mm) dark brown calf for the uppers, and 1 oz (0,6 mm) goat skin for the lining.
- Gluing the uppers. I experimented with textile glue and white wood glue, but with no success. When all else failed, I just glued the uppers with contact cement. (This requires extreme caution and precision, as using too much or spilling ever so slightly on the leather will ruin the fun. Contact cement threads more easily than molten mozzarella, in nanometer thickness.) (Edit: later on, I would instead use Renia Gummilösung, which I’ve found far superior to contact cement.)
- Wider stitches. For the uppers, I used a different pricking wheel than before, resulting in slightly wider stitches. This in turn made it much easier to sew the uppers.
- New awl. I got a Vergez Blanchard Curved Diamond Awl off ebay.
- Stitching the uppers more carefully. Thanks to greater caution, I never tangled the nylon thread on this pair.
- Logo added to the lining. I made experiments with pens and dyes, and found that a simple CD/DVD-marker did it best. (For my next or a future pair, I may or may not do an embedded logo in contrast leather.)
- Eyelets.
- Thicker insoles. I made my insoles this time around using prime leather outsoles, bought from Leather & Grindery.
That’s the list thus far, and it will expand ere the shoes are done. In conclusion, I’ve made several improvements compared to the prototype pair. There’s still lots of room for further improvements for my next pair. On to the pictures.
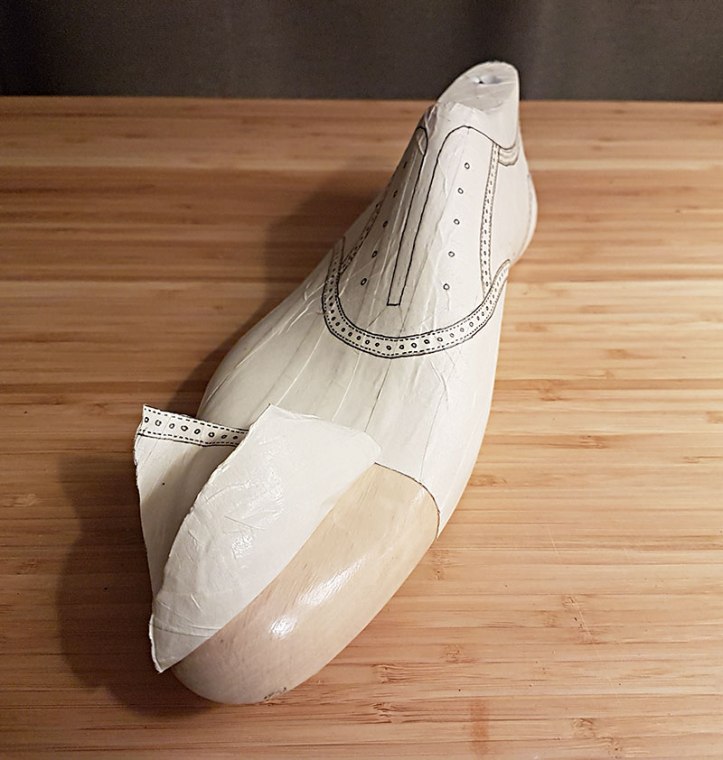
Pattern from above:

Peeling the pattern from the last:
Making the cardboard patterns:

Cardboard patterns complete:

For some reason, I didn’t take any pictures while clicking the uppers.
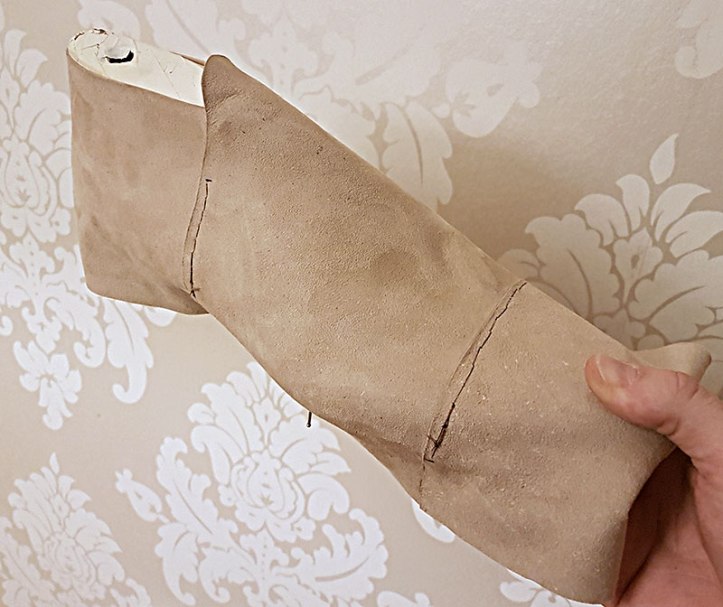
One goat = lining for one pair of shoes:

Lining complete:
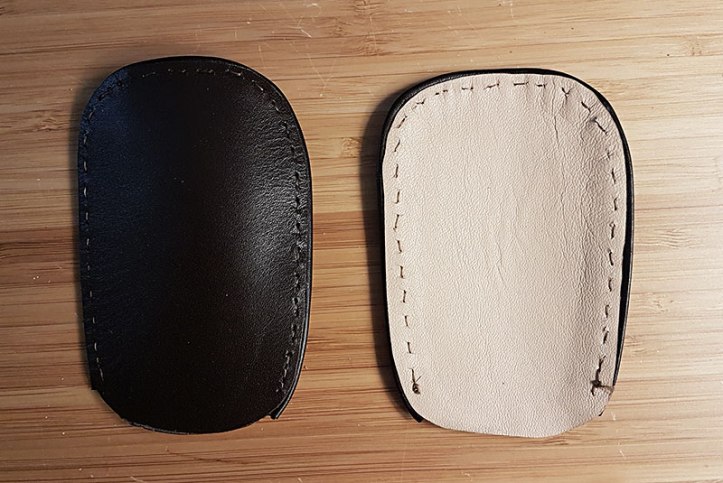
Top beads made from black baby calf:
Using my new awl – without having to build a leather anvil or use a hammer:
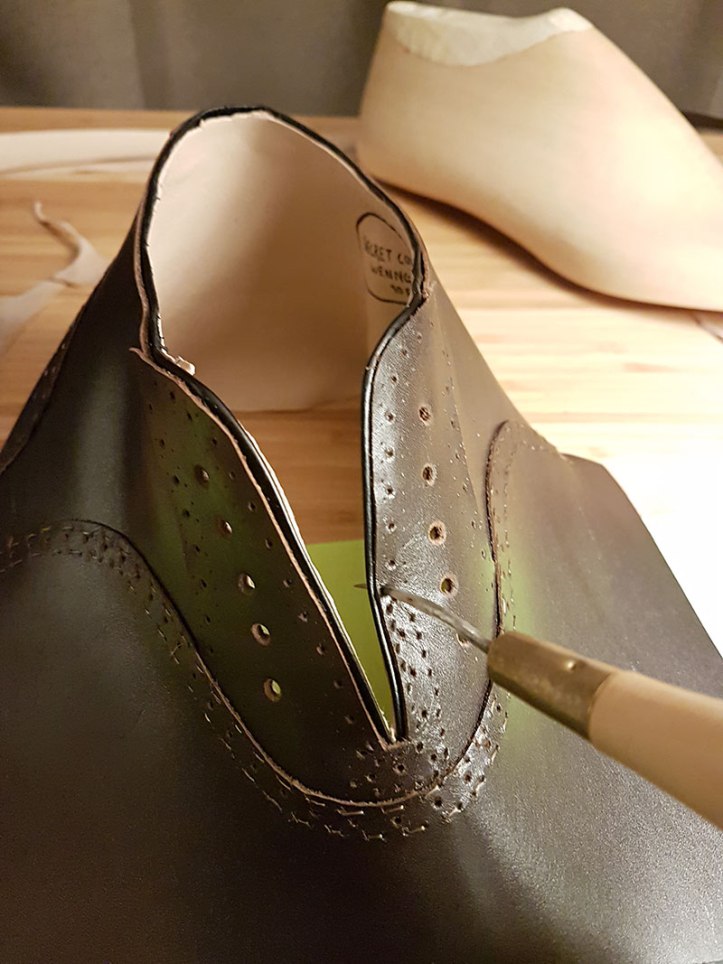
Lining seen from the inside (with crooked logo in place):
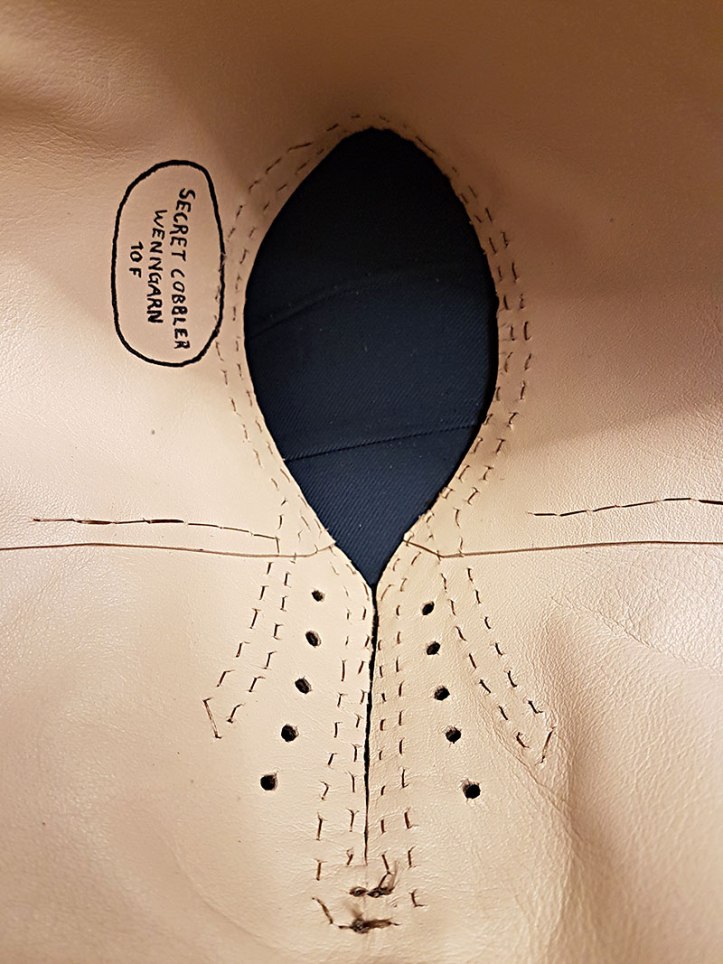
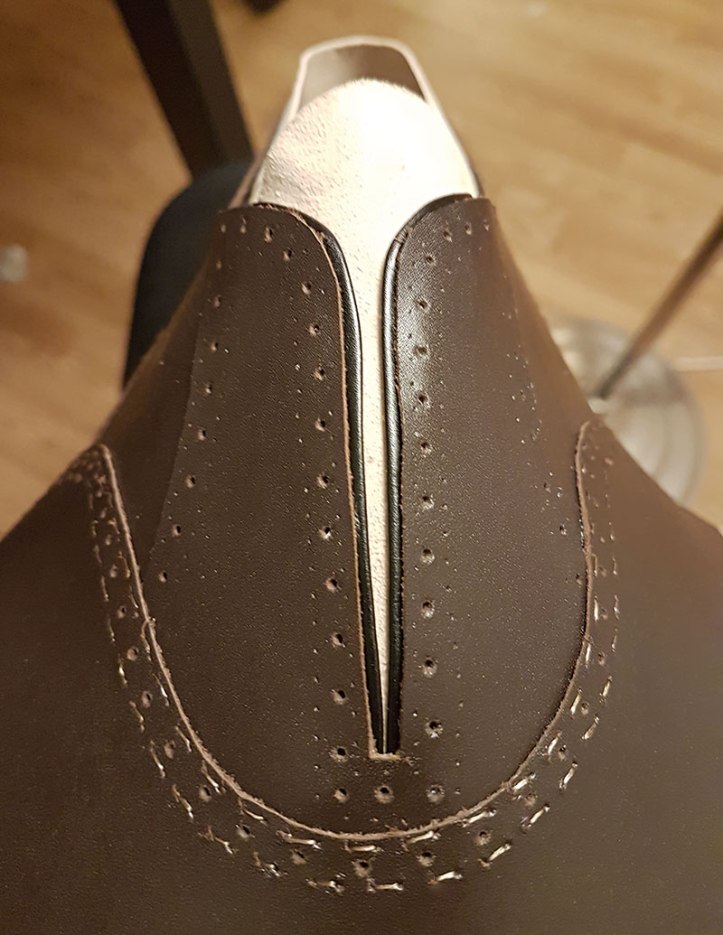
Tongues complete:
Eyelets and tongue in place:

Insoles (from outsole leather) going for a swim:
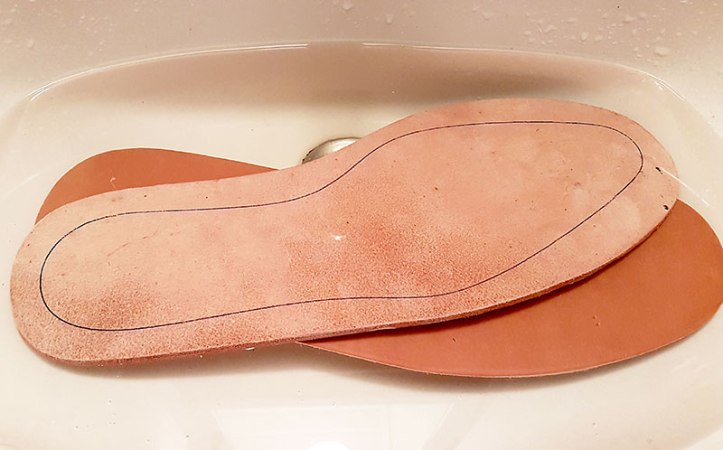
Insoles cut out:

Insoles hammered into place and shape:

Hole drilled through the lasts (to make unlasting easier):

Just the lining lasted:

My blood is in these shoes:(I cut open a preexisting cut wound while lasting.)

Heel counter lasted with Hirschkleber:

Excess cut from the toe puff, after the Hirschkleber had dried:
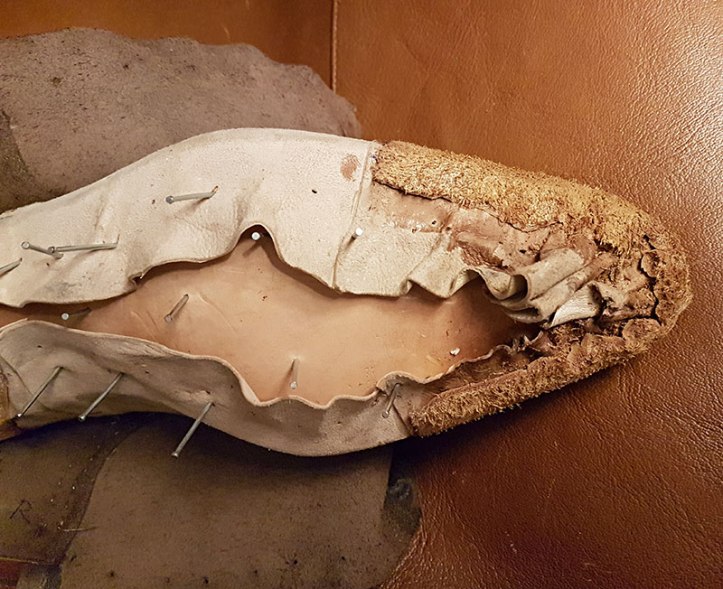
Toe puff lasted for the final time, with more Hirschkleber on top:

Whole shoe lasted for the final time:
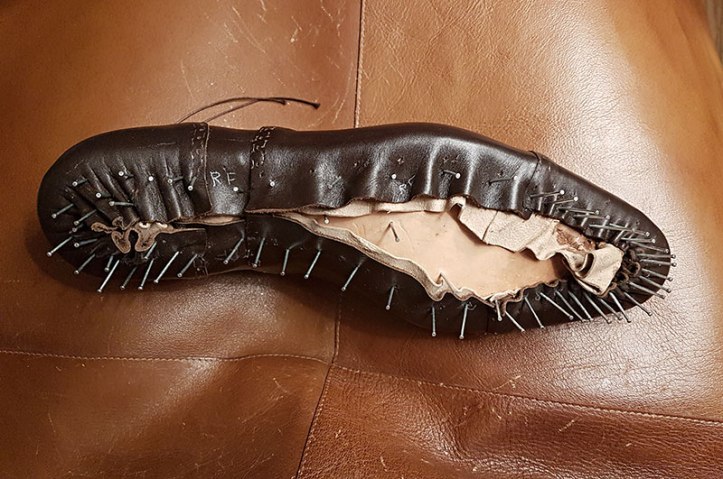
And here we are:

And so, Wenngarn is slowly but surely taking shape.
I made the final lasting today (november 16). Being my first ‘real’ shoe, I am very happy.
