Disclaimer: This post contains a very old attempt at shoemaking, during the very beginning of my journey. I really didn’t know what I was doing at this time, and the post is left online for archive purposes only. Please do not “learn” anything from it, as the post is certainly riddled with mistakes. It’s just a documentation on some of my thoughts as a beginner in this venture. For a more updated view of my shoemaking, please see my latest posts instead.
With summer vacation from my day job, work has been progressing in the secret workshop. “Upsala” is coming to life.
To serve as rand, I used a thick veg tanned crust leather, carefully selected from Tärnsjö Garveri. I love their leather shop, and can spend hours rummaging through the boxes of scrap leather. With a little time invested, some real gems can be mined in those boxes.
I pegged the rand with Blau Ring wooden pegs, this time in peg size 4/14. (The peg sizing system isn’t exactly intuitive, so here’s a link to a size chart). Previously, I’ve used larger pegs at size 6/11, and while that works I enjoyed working with these smaller ones. They were hammered in just as far as the larger pegs, but I didn’t need to cut them off individually with a cutter. Instead, when I was done hammering, I just graced the very small parts still protruding with a knife.

I have decided to leave my method of making custum ‘combo’ pieces of rand and welt behind – at least for now – and do rand and welt separately like everyone else. For the welt, I used natural color welting leather from Leather & Grindery, which was an instant favorite.
On my last shoe (Kirby), I used almost the same welting leather, only it was then pre-dyed black. I found that the pre-dyed version released pigment when bathed in warm water, which I didn’t like. Instead, I dyed this natural welting leather myself with Fiebing’s Pro Dye in black, before welting. After one day’s drying time, the Pro Dye didn’t release an atom of pigment (at least not a detectable one), even as I gave it a warm bath. I have a feeling this is how I will be welting for some time to come.
The insoles were made out of a thick veg tan side, also a catch from the scrap boxes of Tärnsjö Garveri. It was much easier to work with than the hard outsole leather I usually use for insoles.

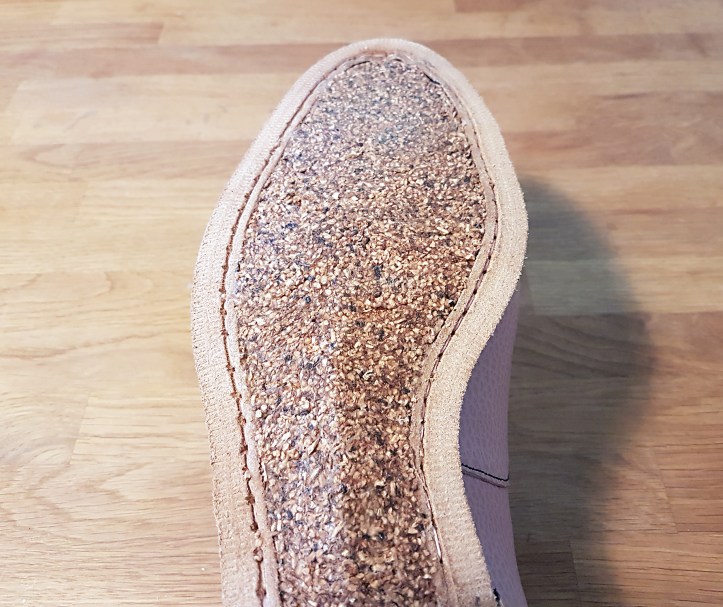
Then, for the first time, i tried out some canned cork as bottom filler. I’ve been wanting to try this for a long time and finally managed to pick up some cork filler on a can. (Previously I’ve used 1-3 layers of sheet cork.) This product is available from Leather & Grindery (but not via airmail) as well as a Dutch site, shoe-accessories.eu. It was very easy to fill the shoe with cork – here’s a simple video demonstration someone else uploaded to youtube.
I wore disposable gloves, and the cork substance made the gloves flake quite a lot. (I’m no expert, but that made me think using protection was a good choice.) That said, the cork was very pleasant to work with, feeling like some childish dough.
I inserted the shanks before using the cork filler. Then I shaped the waist part like below to help with the coming outsole waist decoration. Once the cork had dried (which it did fairly quickly, from being very easily worked into shape), it became quite stiff. As far as I can tell, the dried cork hadn’t shrunk or expanded anything compared to when it was still workable.
For outsoles, I used 9-10 oz hard tempered butt. The outsoles were first bathed in warm water for 3 hours, laid to rest while carefully wrapped up in a towel for ca 14 hours, air dried for ca 3-4 hours, and then cemented on with Kövulfix contact cement.
I hammered the outsoles firmly, used a bone folder to secure the welt against the outsole, and trimmed off excess outsole.
Trimming freshly pounded outsole is always a satisfying step, I find.
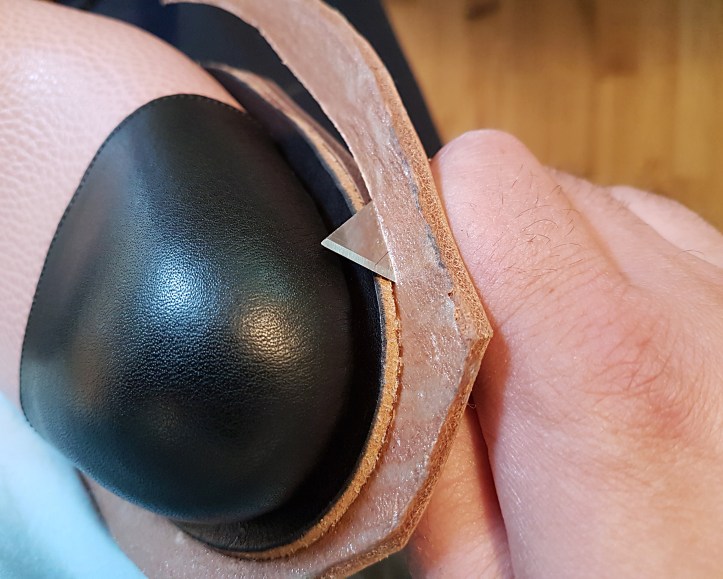
With the outsole still moist, I proceeded to cut open a flap, and made a channel for the outsole stitch.
Then, I used a square awl to stitch the outsoles at 12 stitches per inch, with 1 mm waxed polyester thread. Major thanks to @ygtyftree for the tips and tricks!
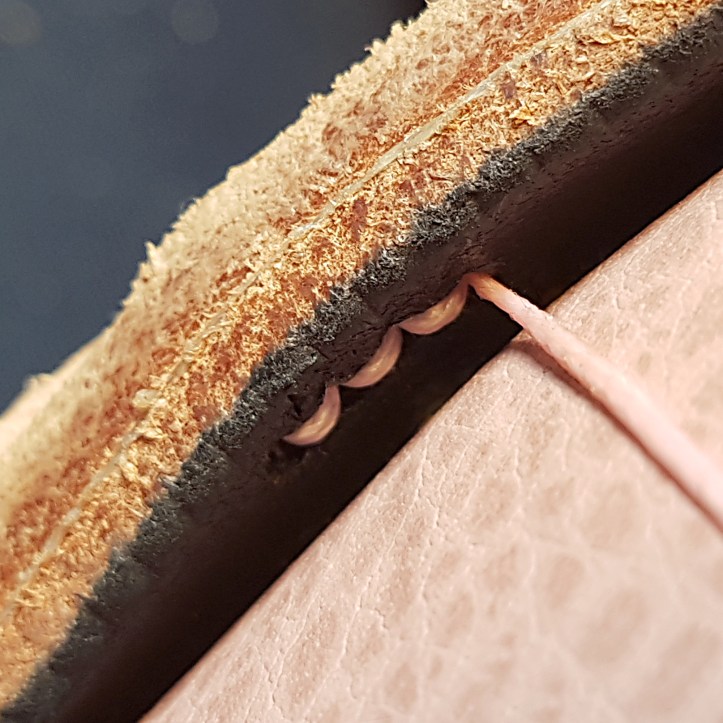
It was tedious work, and it didn’t become all that straight either. The only fudge wheel I had readily available at home was 12 spi – I would much rather have done 8 stitches per inch.
While I do think the image above is a great photo, it’s not the most honest image I’ve ever published – the finished seam became far more crooked, despite the good start.

I believe the problem lies in the alignment of where I made the awl holes, and not with how I pulled and tightened the thread. Next time, I will probably try to skip the fudge wheel (unless I find one at 8 spi), and instead use a pricking wheel to mark the stitches at 8-9 spi.
With the outsole stitch done, it was time to build some heels and finish up. For the second, horse-shoe shaped rand, I used Italian 5 oz veg tanned shoulder. For the heel lifts in three layers, I used about an 8 oz veg tan from Tärnsjö. I sanded each heel lift down towards the front gradually, after I had cemented them.
I find it’s quite nice to do sanding work outdoors in the summertime. 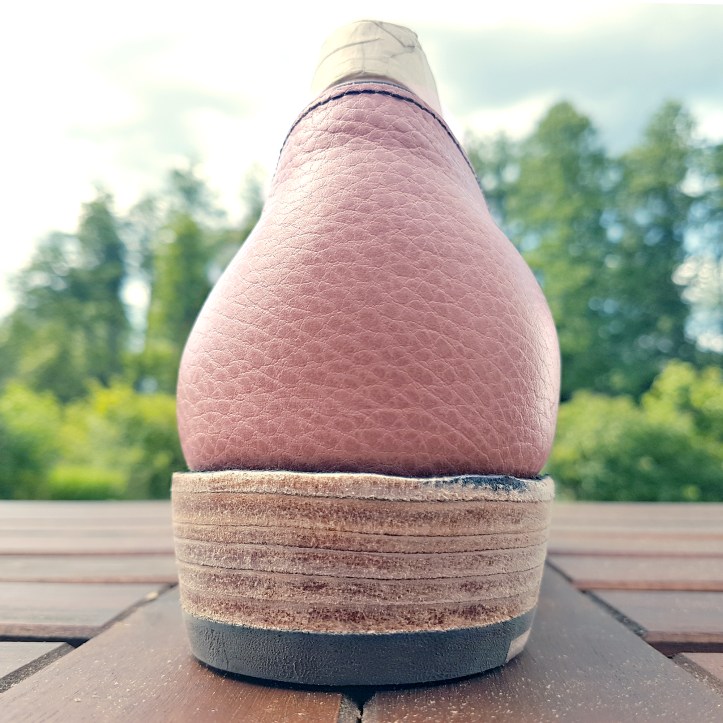
Now the shoe is constructed, and “only” the finishing remains…
