Disclaimer: This post contains a very old attempt at shoemaking, during the very beginning of my journey. I really didn’t know what I was doing at this time, and the post is left online for archive purposes only. Please do not “learn” anything from it, as the post is certainly riddled with mistakes. It’s just a documentation on some of my thoughts as a beginner in this venture. For a more updated view of my shoemaking, please see my latest posts instead.

After an ‘intermission’ of sorts, in which I’ve produced a couple of non-shoe leather products, it’s finally time to make a pair of shoes again. I name this pair Waxholm, after the Waxholm Citadel. This is a cap toe oxford specator, suitable for strolling through a Citadel courtyard, though it’s very discreet as far as spectators go. The uppers are made out of dark brown calf (the very same calf as Wenngarn), contrasted by a dark brown pebble grain.
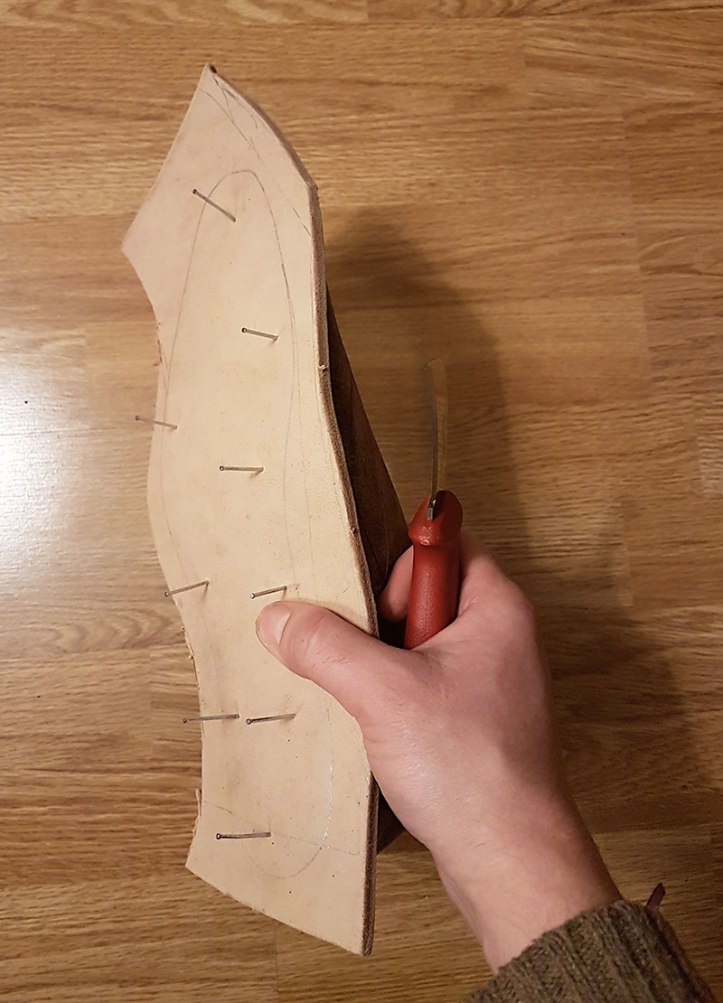
Again, I made the tape pattern on only one shoe and flipped the cardboard patterns over when clicking the leather.
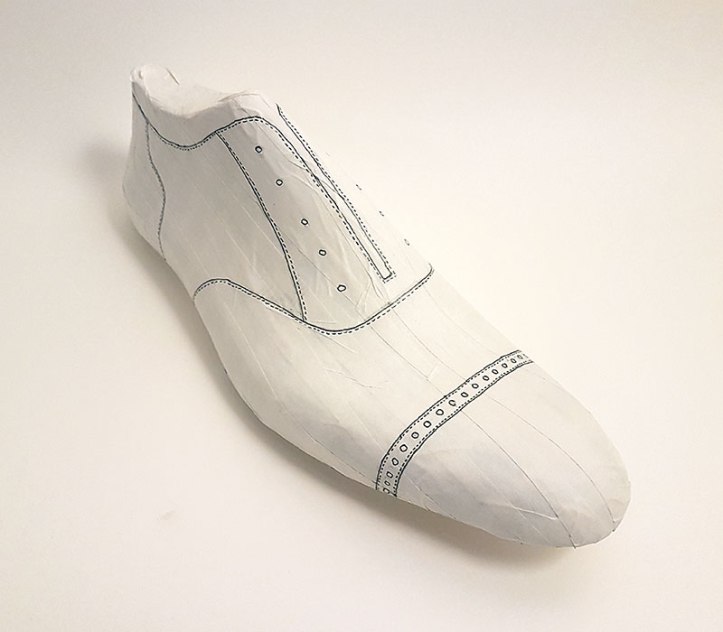
This is as far as I could take a pattern like this in two dimensions, before it needed to fold around the last and glue in three dimensions:
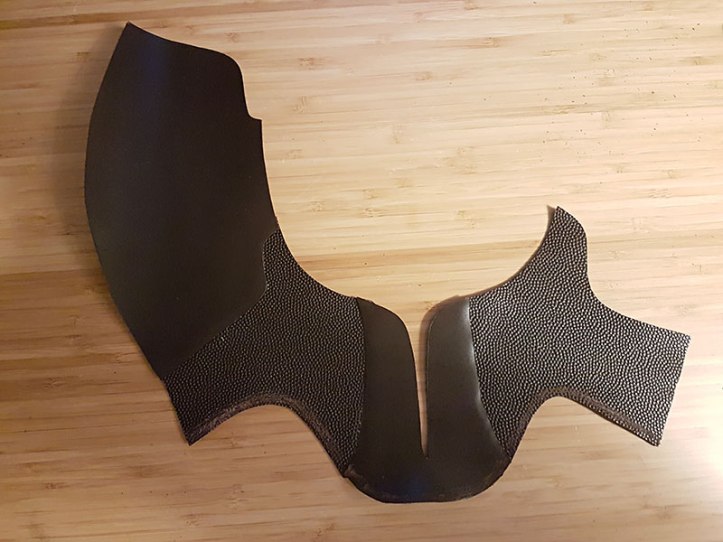
Here, the uppers are sewn together, excluding around the opening and facing:
The lining used for this pair is all vegetable tanned baby calf, 2 oz (0,8 mm).
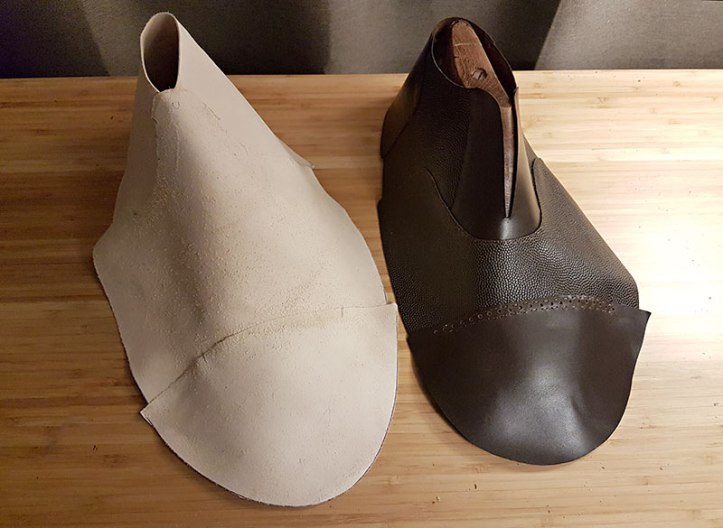
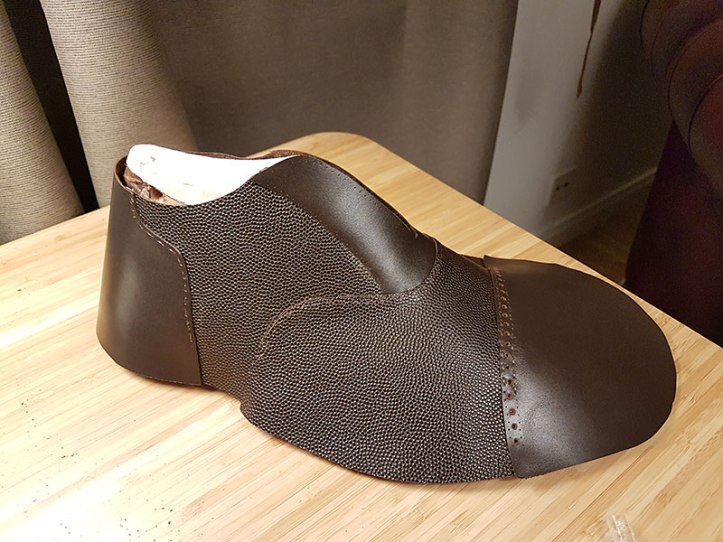
Here the uppers are attached to the lining, excess has been cut off, the top-beads are in place (made of 1-2 oz black baby calf), and the facing is sewn a second lap to create a solid stitch. The sand-colored thread will take shoe cream very well.

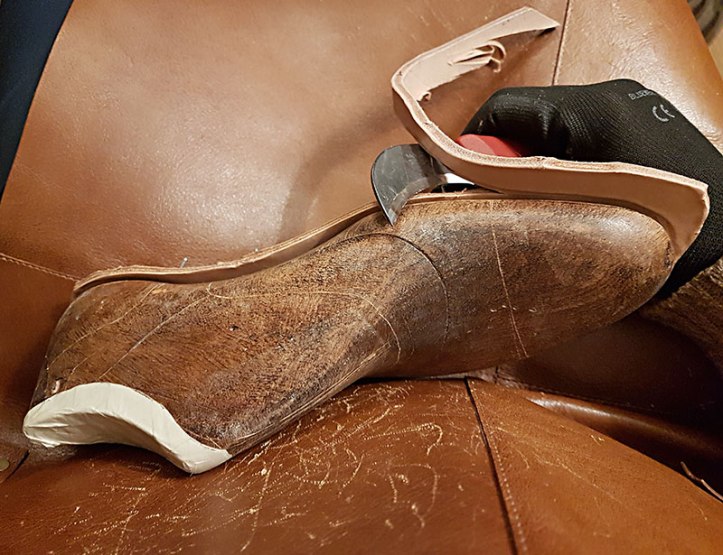
The insoles are made out of 12-13 oz (5,0 mm) vegetable tanned calf butt. Unlike on Wenngarn, I put a whole chunk of leather on the last to carve a feather edge on the last.
While working with this thick vegetable tanned leather, it’s important to keep the leather moist and to never carve as if you’re aiming to stab yourself in a lung. I got a new knife for this purpose, which was very convenient to use. After the feather was carved, the insoles were re-moistened and thoroughly hammered into shape to fit snugly against the lasts. (Before lasting, the insoles were also removed entirely for a wee bit of fine-tuning.)
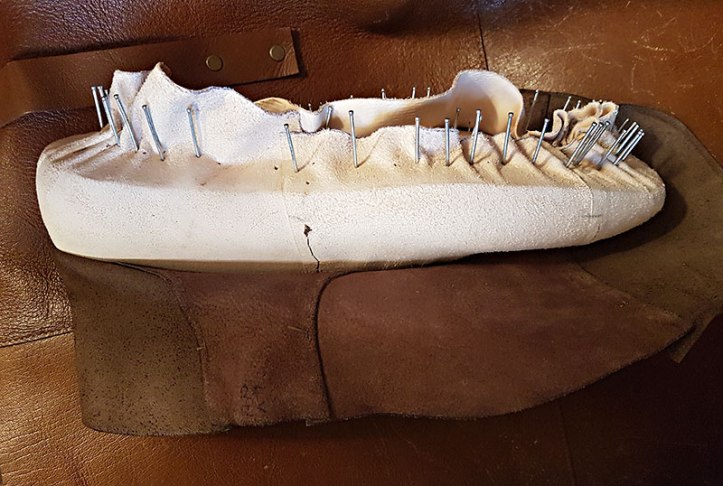
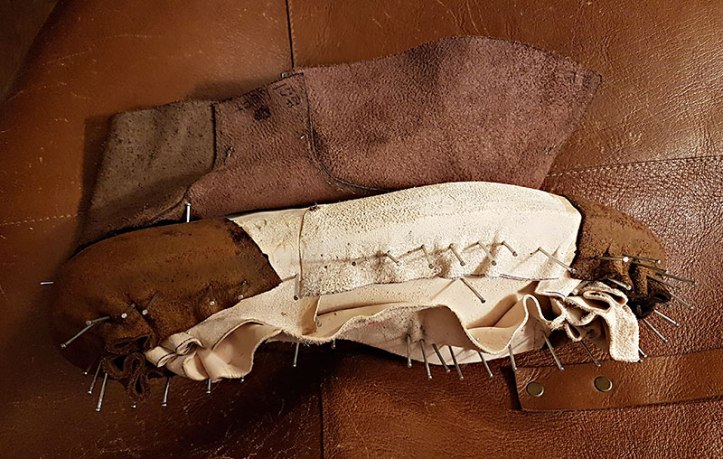
After first lasting the entire shoe, all the nails were pulled out and just the lining was lasted. Once I had lasted the lining, I moistened it a little bit and hammered along the edges. This produced a nice edge on the veg tanned lining:
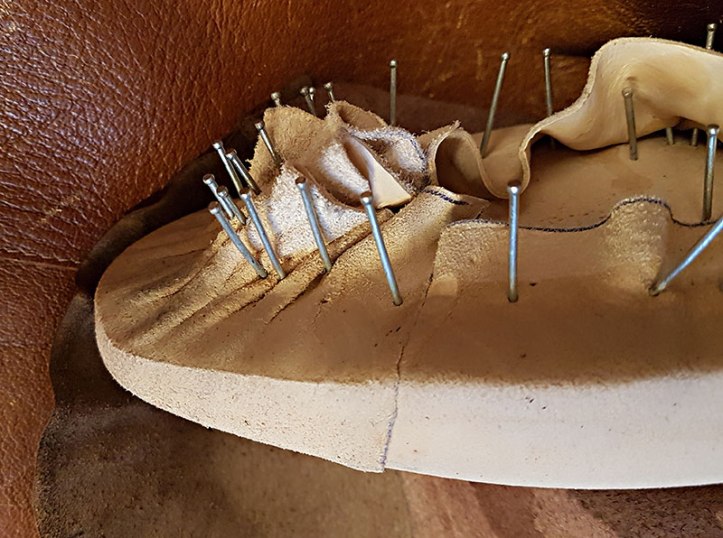
Closeup:
Then came the toe puff and heel counter. These were made out of 5 oz vegetable tanned shoulder leather, which was well moistened before lasting with Hirschkleber underneath and left to dry overnight. These too were very neatly lasted – I think I’m at least starting to get the hang of this. I also really like the color palette:
Here’s one of the toe puffs while (almost) dry:

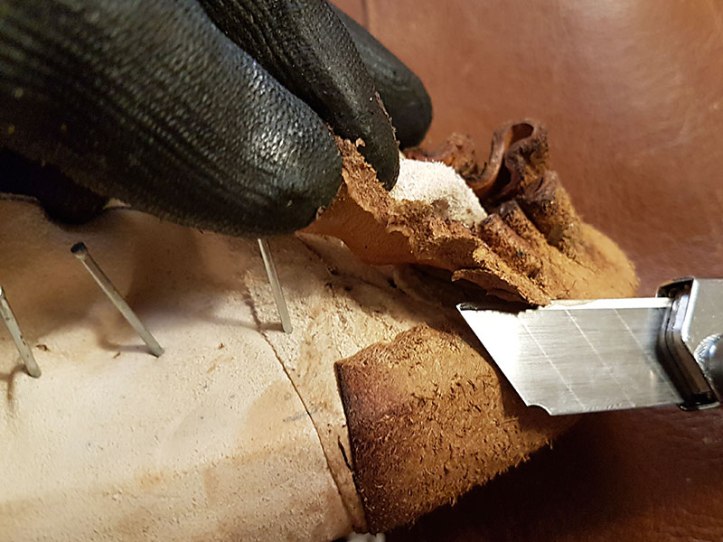
Excess shoulder leather was gently cut off as preparation for the final lasting:
The final lasting was successful (for being my second shoe):
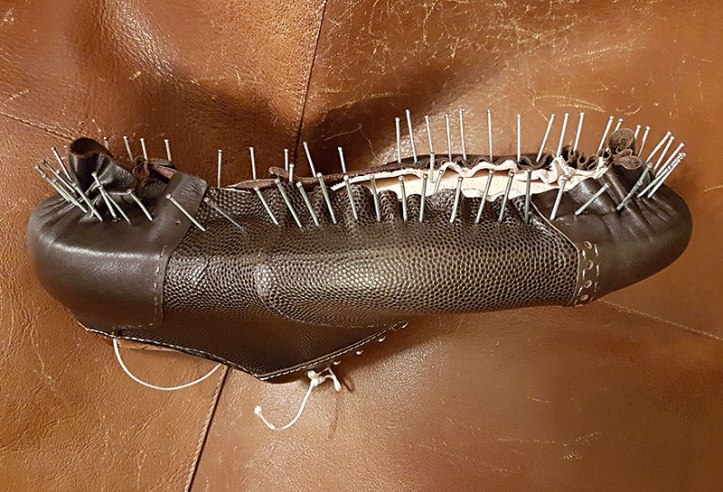
And here we are – Waxholm is taking shape:

Continue reading Part 2 ⇨
